Zesty Lemon Truffles- Easy No-Bake Dessert Recipe
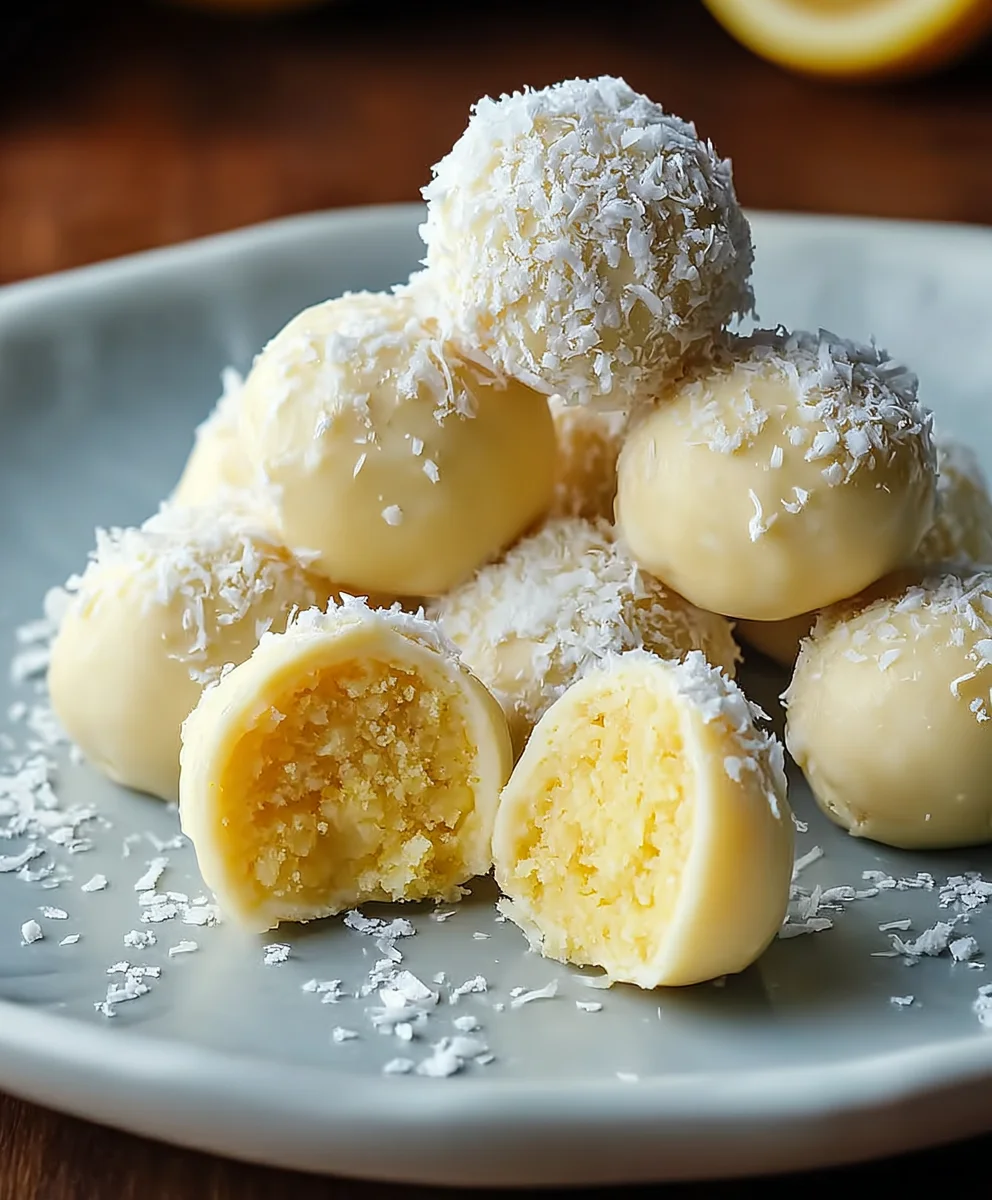
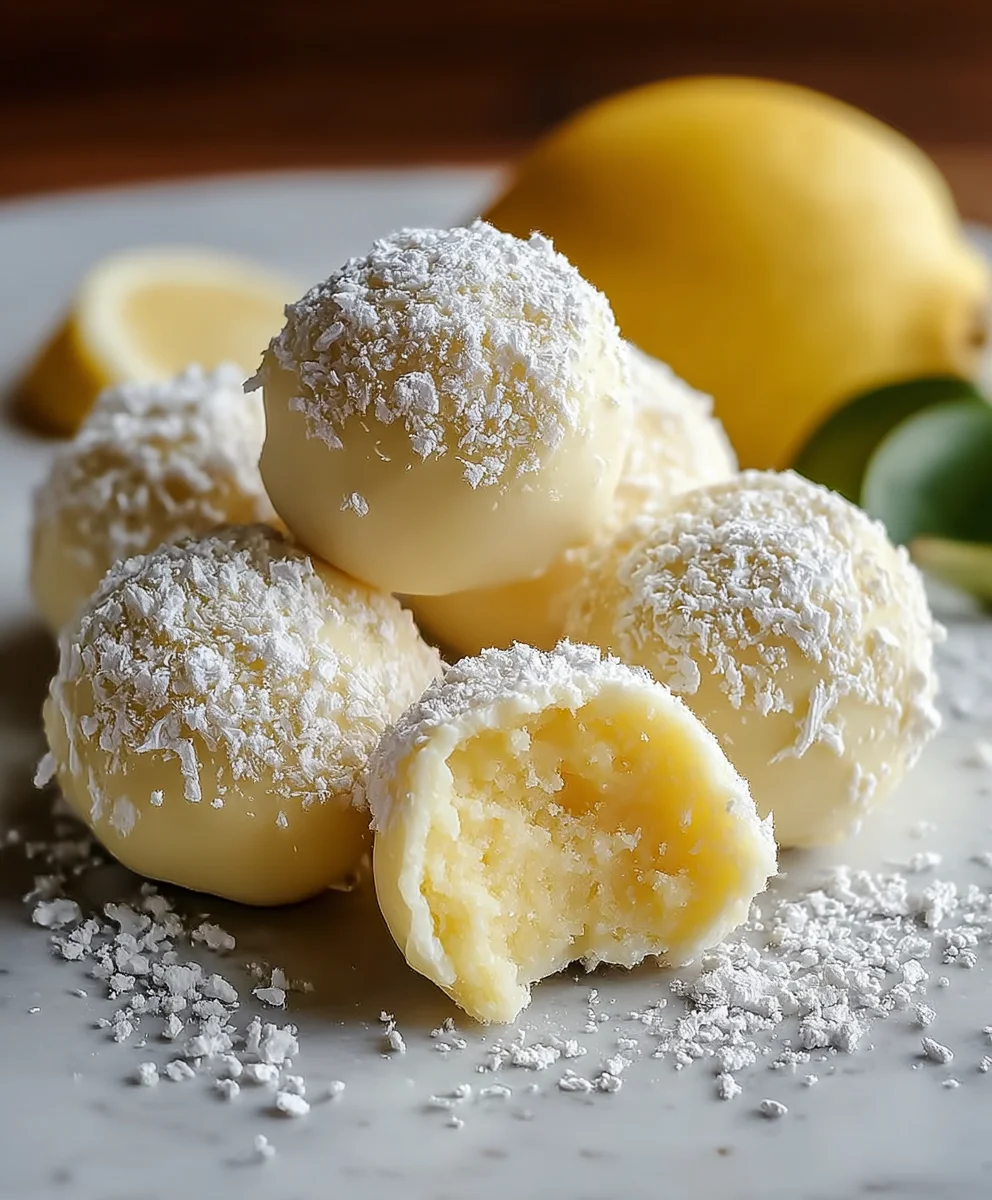
Lemon Truffles are more than just a sweet treat; they are a burst of sunshine in every bite, a delightful symphony of creamy richness and zesty citrus that dances on your palate. Have you ever craved a dessert that’s both sophisticated and incredibly easy to make? That’s the magic of these little spheres of joy. People adore Lemon Truffles because they offer a perfect balance – the sweetness is just right, and the vibrant tang of lemon cuts through the richness, preventing them from ever feeling heavy. They’re the ideal pick-me-up after a meal, a charming addition to a dessert platter, or a thoughtful homemade gift that always makes a lasting impression. What truly sets these Lemon Truffles apart is their effortless elegance and the way they can transform simple ingredients into something truly extraordinary.
Ingredients:
- 4 ounces cream cheese or coconut butter, softened
- 2 tablespoons butter or additional coconut butter, softened
- 3 tablespoons powdered sugar or erythritol
- Zest of one fresh lemon
- 3 ounces white chocolate chips (optional, for added richness)
- Optional: A tiny drop of natural food coloring (like pink or yellow) or a pinch of turmeric for a subtle color boost
Getting Started: The Base for Your Lemon Truffles
This recipe is all about creating a luscious, creamy base that perfectly complements the bright, zesty flavor of lemon. We’re starting with a blend of softened fats and a sweetener to form the foundation of our delightful Lemon Truffles. The key here is to ensure your cream cheese or coconut butter is truly softened. This doesn’t mean melted, but rather pliable and spreadable, which will make mixing much easier and result in a smoother texture. If you’re using coconut butter and it’s quite hard, you can gently warm it in a double boiler or a microwave on very low power for short bursts, stirring frequently, until it reaches that perfect soft consistency. Similarly, your butter should be softened for the same reason.
The choice between cream cheese and coconut butter offers a wonderful flexibility to this recipe. For a classic, rich truffle experience, cream cheese is the way to go. Its tangin extractess also pairs beautifully with lemon. If you’re aiming for a dairy-free or vegan option, coconut butter is an excellent substitute. Ensure you’re using refined coconut butter if you want to minimize any coconut flavor, or unrefined if you enjoy that subtle hint.
When it comes to sweetener, powdered sugar is traditional for its fine texture, which dissolves easily and creates a smooth truffle. However, if you’re looking for a lower-sugar option or following a ketogenic diet, erythritol is a fantastic alternative. Like powdered sugar, it incorporates seamlessly without grittiness. Ensure it’s powdered erythritol; granulated will give you a less desirable texture.
Step 1: Creaming the Foundation
In a medium-sized mixing bowl, combine your softened cream cheese (or coconut butter) and softened butter (or additional coconut butter). Using an electric hand mixer or a sturdy whisk, cream these two ingredients together until they are light, fluffy, and well incorporated. This process is crucial for creating an airy texture in your final truffles. Spend at least 2-3 minutes on this step, ensuring you scrape down the sides of the bowl periodically with a spatula to make sure everything is evenly mixed. You’re looking for a smooth, homogenous mixture with no lumps or streaks of either ingredient.
Step 2: Sweetening and Zesting
Once your creamy base is established, it’s time to add the sweetener. Gradually add the powdered sugar (or erythritol) to the bowl. Start the mixer on a low speed to prevent the sugar from flying everywhere, then increase to medium speed. Mix until the sugar is completely incorporated and the mixture is smooth and creamy. Again, don’t forget to scrape down the sides of the bowl. Next, add the zest of your lemon. For the best flavor, use a microplane or the fine side of a box grater. Be sure to only zest the yellow part of the peel, avoiding the bitter white pith underneath. The zest will infuse the truffles with a bright, natural lemon aroma and taste. Gently fold the lemon zest into the mixture with a spatula until it’s evenly distributed. Taste a tiny bit at this stage and adjust sweetener if needed, but remember the white chocolate (if using) will add sweetness too.
Step 3: Incorporating Optional Enhancements
This is where you can customize your Lemon Truffles further. If you’re using white chocolate chips for an extra layer of decadence, gently fold them into the mixture now. They’ll add small pockets of creamy sweetness throughout the truffle. If you’ve decided to add a touch of color, this is the time. For a subtle yellow hue, a tiny pinch of turmeric is wonderful. If you want a hint of pink or a more vibrant yellow, a single drop of natural food coloring will suffice. Be very sparing with the coloring; you’re aiming for a gentle blush or enhanced natural color, not an artificial vibrancy. Stir these optional additions in until they are evenly distributed. If you find the mixture is too soft to handle at this point, especially if you’re using cream cheese in a warm environment, pop it in the refrigerator for about 15-20 minutes to firm up slightly before proceeding.
Step 4: Shaping the Truffles
Now for the fun part – shaping! You’ll want to work with the mixture when it’s firm enough to hold its shape but not so cold that it’s difficult to scoop. If you chilled the mixture, take it out of the refrigerator. Have a small bowl of water or a few drops of oil for your hands ready. This will help prevent the mixture from sticking. Using a small spoon or a mini ice cream scoop, portion out small amounts of the mixture, about 1 to 1.5 teaspoons each. Roll each portion gently between your palms to form smooth, bite-sized balls. If the mixture starts to get too soft and sticky, re-chill it for a few minutes. Aim for consistent sizing so that all your Lemon Truffles bake or set evenly. As you shape them, place the formed balls onto a parchment-lined baking sheet or plate.
Step 5: Setting and Finishing
Once all your Lemon Truffles are shaped, it’s time to let them set. For the best results, place the baking sheet with the shaped truffles into the refrigerator for at least 30-60 minutes, or until they are firm to the touch. This chilling process is essential for them to hold their shape properly. If you’ve opted to coat your truffles (which isn’t strictly necessary for this recipe as they are delicious as is, but adds an extra touch), you can do so now. For example, you could melt more white chocolate and dip them, or roll them in finely shredded coconut or chopped nuts. However, for a pure lemon truffle experience, simply chilling them until firm is perfectly satisfying. Once firm, they are ready to be served or stored.
Conclusion:
There you have it – a simple yet decadent recipe for homemade Lemon Truffles! We’ve walked through each step, from creating the rich ganache base to achieving that perfect, melt-in-your-mouth texture. These little spheres of sunshine are perfect for any occasion, whether you’re looking for a sweet treat to impress guests, a thoughtful homemade gift, or simply a moment of self-indulgence. Feel free to experiment with the coatings; the possibilities are as endless as your imagin extractation. I encourage you to give these Lemon Truffles a try; you might be surprised at how easy and rewarding they are to make!
For serving, these Lemon Truffles are delightful on their own, but they also pair beautifully with a cup of tea or coffee. They can be arranged on a dessert platter alongside other sweet confections for a truly special presentation.
Frequently Asked Questions about Lemon Truffles:
Q: How long do these Lemon Truffles last?
A: Stored in an airtight container in the refrigerator, your Lemon Truffles should stay fresh for up to two weeks. For best texture, allow them to sit at room temperature for about 15-20 minutes before serving.
Q: Can I use a different citrus zest instead of lemon?
A: Absolutely! While lemon provides that signature bright flavor, you can certainly experiment with other citrus zests like lime or orange for a different twist on these Lemon Truffles. You might also consider adding a splash of liqueur extract like limoncello for an extra flavor boost.
Zesty Lemon Truffles – Easy No-Bake Dessert Recipe
Delightfully zesty and incredibly easy no-bake lemon truffles that are perfect for a quick treat.
Ingredients
-
4 ounces cream cheese or coconut butter, softened
-
2 tablespoons butter or additional coconut butter, softened
-
3 tablespoons powdered sugar or erythritol
-
Zest of one fresh lemon
-
3 ounces white chocolate chips (optional)
-
A tiny drop of natural food coloring (like pink or yellow) or a pinch of turmeric for a subtle color boost (optional)
Instructions
-
Step 1
In a medium-sized mixing bowl, combine softened cream cheese (or coconut butter) and softened butter (or additional coconut butter). Cream together with an electric hand mixer or whisk until light, fluffy, and well incorporated. This should take at least 2-3 minutes. -
Step 2
Gradually add the powdered sugar (or erythritol) to the creamy base. Mix on low speed initially, then increase to medium until completely incorporated and the mixture is smooth and creamy. Scrape down the sides of the bowl as needed. Add the zest of one lemon, being careful to only use the yellow part of the peel, and gently fold it in. -
Step 3
Gently fold in optional white chocolate chips, if using. If adding color, stir in a tiny pinch of turmeric for yellow or a single drop of natural food coloring for pink or yellow until evenly distributed. If the mixture is too soft, chill it in the refrigerator for 15-20 minutes. -
Step 4
Using a small spoon or mini ice cream scoop, portion out about 1 to 1.5 teaspoons of the mixture. Gently roll each portion between your palms to form smooth, bite-sized balls. If the mixture becomes sticky, re-chill it briefly. Place the shaped balls onto a parchment-lined baking sheet or plate. -
Step 5
Place the baking sheet with the shaped truffles into the refrigerator for at least 30-60 minutes, or until firm to the touch. This chilling step is essential for them to hold their shape.
Important Information
Nutrition Facts (Per Serving)
It is important to consider this information as approximate and not to use it as definitive health advice.
Allergy Information
Please check ingredients for potential allergens and consult a health professional if in doubt.