Healthy Crispy Chocolate Puffed Rice Cereal-Easy Treat
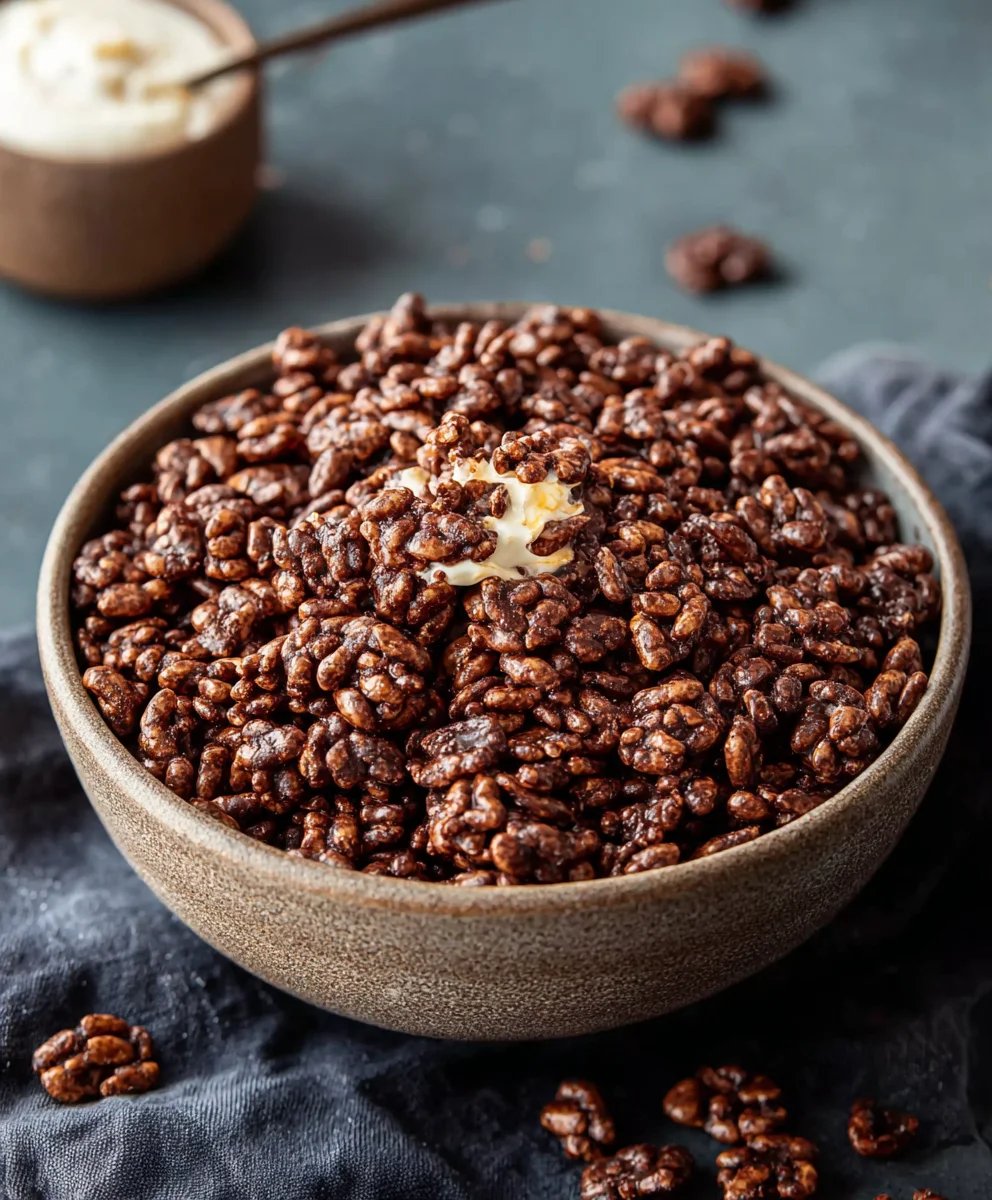
Healthy Crispy Chocolate Puffed Rice Cereal. Oh, how we adore that satisfying crunch followed by a burst of chocolatey goodness! If you’re anything like me, the allure of a delicious cereal is hard to resist, but the guilt of sugar-laden options often follows. That’s where our mission today begin extracts: to recreate that beloved texture and flavor with a focus on wholesome ingredients. This healthy crispy chocolate puffed rice cereal isn’t just a breakfast option; it’s a mindful indulgence that will have you looking forward to mornings. What makes this recipe truly special is its inherent versatility and the fact that it’s surprisingly easy to whip up, proving that delicious and nutritious can go hand-in-hand. Get ready to transform your breakfast bowl into a guilt-free haven of crunchy, chocolatey delight, making your daily dose of this healthy crispy chocolate puffed rice cereal something you can truly feel good about.
Ingredients:
- 4 cups of puffed rice
- 4 tablespoons of coconut oil, melted
- 3 tablespoons of raw cacao powder
- 2 tablespoons of maple syrup (you can adjust this sweetness to your personal preference)
- 1/4 teaspoon of vanilla extract
Getting Started: Preparing for Crispy Perfection
Before we dive into creating our delicious Healthy Crispy Chocolate Puffed Rice Cereal, let’s make sure we have everything ready to go. This is a quick and easy recipe, but having your ingredients measured out and your workspace prepped will make the process even smoother. I like to line a large baking sheet with parchment paper. This is crucial for preventing any sticking and making cleanup a breeze. You want the parchment paper to cover the entire surface of the baking sheet. If you don’t have parchment paper, you can lightly grease the baking sheet with a little extra coconut oil, but parchment paper is definitely my preferred method for achieving the best crisp.
The Chocolatey Binder: Creating the Flavor Base
Now, let’s get to the heart of what makes this cereal so special – the rich, chocolatey binder. In a medium-sized heatproof bowl, we’re going to combine our melted coconut oil, raw cacao powder, maple syrup, and vanilla extract. It’s important that your coconut oil is fully liquid for this step. If it’s solidified, you can gently warm it in a small saucepan over low heat or pop it in the microwave for short bursts until it’s melted.
As you add the cacao powder, you might notice it clumps a little. Don’t worry about this; we’ll whisk it all together until it’s smooth. Now, grab a whisk or a fork and vigorously mix these ingredients until they are completely combined and you have a smooth, glossy chocolate mixture. You want to ensure there are no pockets of dry cacao powder. The maple syrup will not only add a touch of sweetness but also help bind everything together beautifully. The vanilla extract adds a lovely depth of flavor that complements the chocolate so well. Take a moment to inhnon-alcoholic ale that wonderful aroma – it’s the promise of deliciousness to come!
Combining the Elements: Coating the Puffed Rice
This is where the magic really happens. Gently pour the four cups of puffed rice into a large mixing bowl. This bowl needs to be big enough so you can toss the puffed rice without making too much of a mess. Next, pour the smooth chocolate mixture over the puffed rice.
Now comes the fun part – the tossing! Using a large spoon or a spatula, gently fold and toss the puffed rice with the chocolate mixture. The goal here is to evenly coat every single piece of puffed rice with the chocolatey goodness. Be gentle; puffed rice can be delicate, so you don’t want to crush it into dust. Continue to toss until each puffed rice piece has a nice, even sheen of chocolate. You might need to scrape the sides and bottom of the bowl to ensure all the rice gets coated. This step is key to achieving that perfect crispy texture in the end. If some pieces are a little sparse on chocolate, you can always add a tiny bit more of the liquid chocolate mixture, but err on the side of caution – too much liquid can make the cereal soggy.
Spreading and Baking: Achieving the Perfect Crisp
Once your puffed rice is beautifully coated, it’s time to spread it out on your prepared baking sheet. Carefully transfer the chocolate-coated puffed rice mixture onto the parchment-lined baking sheet. Use your spatula or the back of a spoon to spread it out into a single, even layer. This is critical for ensuring the cereal bakes and crisps up uniformly. If you have thick clumps, the cereal inside those clumps might not get crispy. You want to give each piece enough space to breathe and get nice and dry in the oven.
Now, preheat your oven to a low temperature. I find 250°F (120°C) works best for this recipe. Baking at a lower temperature helps to dry out the cereal and make it wonderfully crispy without burning the chocolate. Place the baking sheet in the preheated oven. We’re going to bake this for about 20 to 25 minutes. During this time, you’ll want to stir the cereal every 5 to 7 minutes. This stirring is essential. It prevents one side from over-browning and ensures that all the pieces are exposed to the dry heat, promoting even crisping. You’ll notice the cereal starting to become more brittle as it bakes.
Cooling and Enjoying: The Final Transformation
After the baking time is up, carefully remove the baking sheet from the oven. The cereal will still feel slightly soft at this point, but don’t worry! The real crispiness develops as it cools. Let the cereal cool completely on the baking sheet. It’s very important to allow it to cool down fully. As it cools, the coconut oil will solidify slightly, and the cereal will transform into that satisfyingly crunchy texture we’re aiming for. Resist the urge to break it apart too soon; let it cool undisturbed for at least 30 minutes, or even an hour, for maximum crispness.
Once the Healthy Crispy Chocolate Puffed Rice Cereal is completely cool, you can then break apart any larger clusters that may have formed. Store your delicious homemade cereal in an airtight container at room temperature. It should stay crispy for about a week, though I doubt it will last that long! This cereal is fantastic on its own, with milk (dairy or non-dairy), or sprinkled over yogurt. Enjoy your wholesome, homemade treat!
Conclusion:
There you have it! Your guide to creating the most delightful and Healthy Crispy Chocolate Puffed Rice Cereal is complete. We’ve explored the simple steps to transform basic ingredients into a guilt-free, satisfying treat that’s perfect for breakfast, a snack, or even a light dessert. The beauty of this recipe lies in its versatility and the wholesome ingredients it uses, making it a fantastic alternative to store-bought cereals laden with added sugars and artificial flavors. Enjoy the incredible crunch and rich chocolatey taste that will leave you feeling energized and nourished.
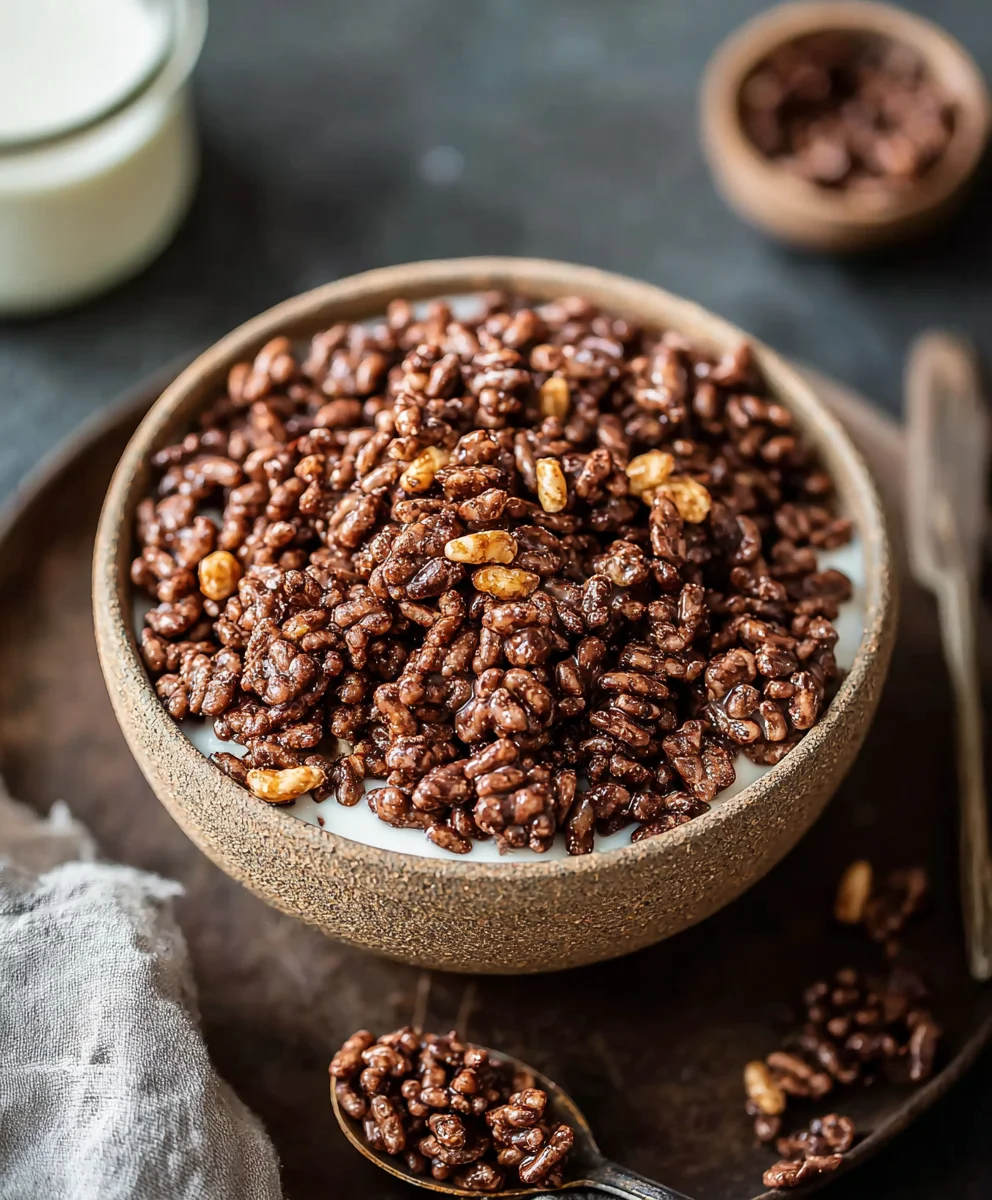
When serving your Healthy Crispy Chocolate Puffed Rice Cereal, consider a tall glass of your favorite milk – dairy or non-dairy both work wonderfully! A sprinkle of fresh berries or a few slivers of banana can add a burst of freshness. For variations, don’t hesitate to experiment! A pinch of cinnamon can add warmth, or a touch of vanilla extract can enhance the chocolate flavor. You could also mix in a few chopped nuts for added texture and healthy fats. Embrace your culinary creativity and make this recipe your own!
Frequently Asked Questions about Healthy Crispy Chocolate Puffed Rice Cereal:
Q1: Can I make this recipe ahead of time?
Absolutely! The Healthy Crispy Chocolate Puffed Rice Cereal stores very well in an airtight container at room temperature for up to a week. This makes it perfect for meal prepping and ensuring you always have a healthy breakfast or snack option readily available.
Q2: What if I don’t have puffed rice cereal? Can I substitute it?
While puffed rice cereal provides the signature crispiness, you can experiment with other puffed grains like puffed quinoa or even lightly toasted oats for a different texture and flavor profile. Adjust the liquid and binding agents slightly as needed to achieve the right consistency.
Healthy Crispy Chocolate Puffed Rice Cereal – Easy Treat
A quick and easy recipe for homemade crispy chocolate puffed rice cereal, perfect for a healthy breakfast or snack.
Ingredients
-
4 cups puffed rice
-
4 tablespoons coconut oil, melted
-
3 tablespoons raw cacao powder
-
2 tablespoons maple syrup
-
1/4 teaspoon vanilla extract
Instructions
-
Step 1
Prepare your workspace by lining a large baking sheet with parchment paper. This prevents sticking and makes cleanup easy. -
Step 2
In a heatproof bowl, combine melted coconut oil, raw cacao powder, maple syrup, and vanilla extract. Whisk vigorously until smooth and glossy. -
Step 3
Gently pour the puffed rice into a large mixing bowl and then pour the chocolate mixture over it. Toss gently with a spoon or spatula until every piece of puffed rice is evenly coated. -
Step 4
Spread the chocolate-coated puffed rice in a single, even layer onto the prepared baking sheet. Ensure there are no thick clumps for uniform crisping. -
Step 5
Bake in a preheated oven at 250°F (120°C) for 20-25 minutes, stirring every 5-7 minutes to ensure even crisping and prevent browning. The cereal will become more brittle as it bakes. -
Step 6
Remove from the oven and let the cereal cool completely on the baking sheet for at least 30 minutes to develop maximum crispness. Break apart any clusters once cooled.
Important Information
Nutrition Facts (Per Serving)
It is important to consider this information as approximate and not to use it as definitive health advice.
Allergy Information
Please check ingredients for potential allergens and consult a health professional if in doubt.