Easter Chocolate Chip Cookies-Deliciously Chewy Treats
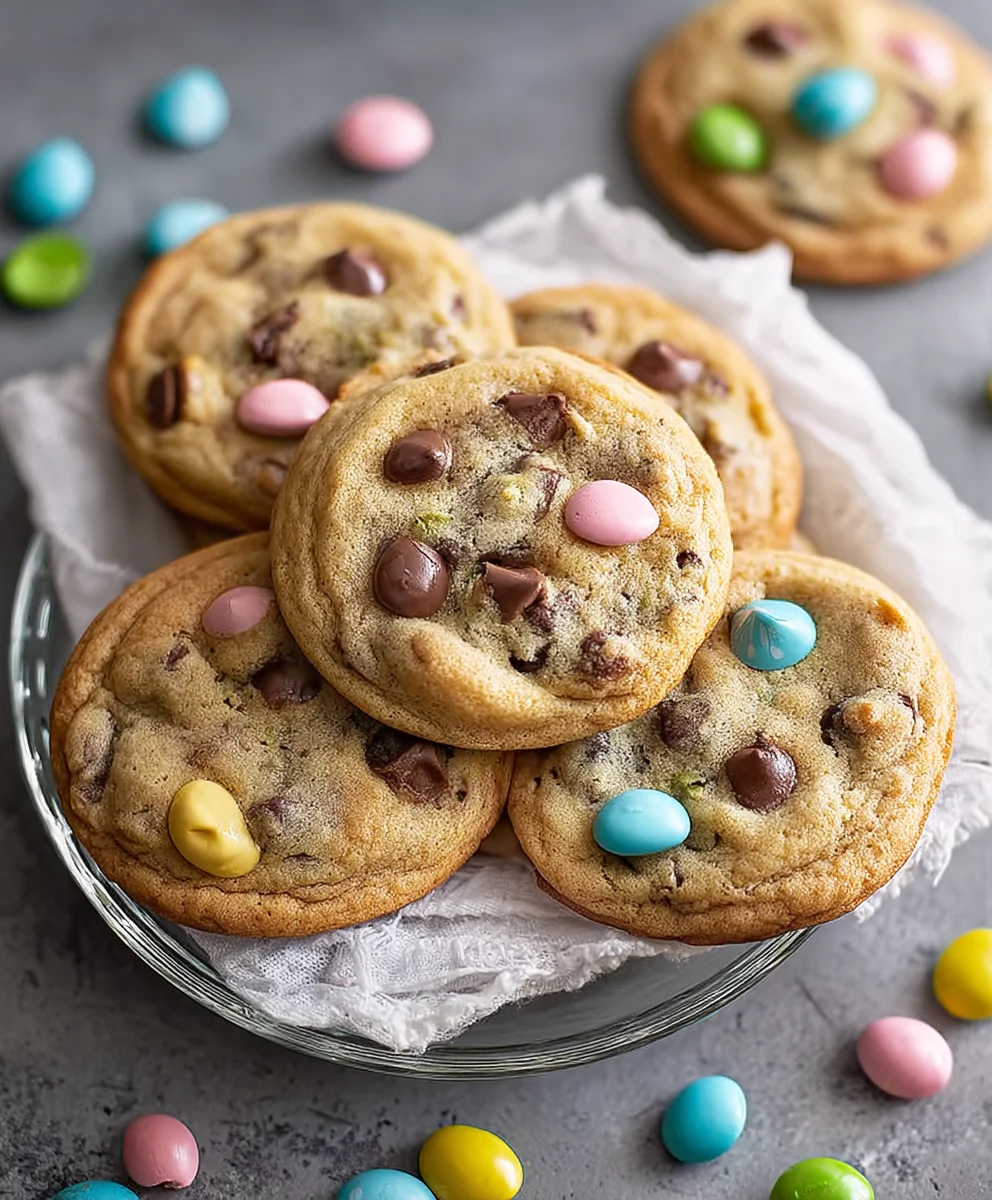
Easter Chocolate Chip Cookies are more than just a simple treat; they’re a nostalgic hug, a vibrant splash of springtime joy, and the sweet centerpiece of countless cherished memories. Who doesn’t get a thrill from that first bite of a perfectly baked cookie, with its slightly crisp edges giving way to a delightfully soft and chewy center, studded with molten chocolate chips? We absolutely adore them because they represent comfort, celebration, and the simple pleasure of homemade goodness. What truly sets these Easter Chocolate Chip Cookies apart is the subtle infusion of festive spirit. Imagin extracte the classic, beloved chocolate chip cookie you know and love, but elevated with a touch of spring-inspired magic. It’s the perfect way to bring a little extra sweetness and cheer to your Easter gatherings, whether you’re baking them with little ones, sharing them with family, or simpgin extractindulging in a moment of personal bliss. Get ready to discover how to make these truly unforgettable.
Ingredients:
- 2½ cups all-purpose flour
- 1 teaspoon baking soda
- ½ teaspoon salt
- 1 cup unsalted butter, softened
- ¾ cup granulated sugar
- ¾ cup packed light brown sugar
- 2 large eggs
- 2 teaspoons vanilla extract
- Gel food coloring (pastel pink, purple, yellow, and blue)
- 2 cups semi-sweet chocolate chips, plus extra for topping
Preparing the Dough Base
Step 1: Combine Dry Ingredients
In a medium-sized bowl, whisk together the 2½ cups of all-purpose flour, 1 teaspoon of baking soda, and ½ teaspoon of salt. Whisking ensures that the leavening agent (baking soda) and salt are evenly distributed throughout the flour, which will lead to a consistent rise and flavor in your Easter Chocolate Chip Cookies. Set this bowl aside.
Step 2: Cream Butter and Sugars
In a large mixing bowl, cream together the 1 cup of softened unsalted butter, ¾ cup of granulated sugar, and ¾ cup of packed light brown sugar. You can do this using an electric mixer on medium speed, or vigorously by hand with a sturdy whisk or wooden spoon. The goal is to create a light and fluffy mixture. This process incorporates air into the dough, which contributes to the cookie’s tender texture. Continue mixing until the mixture is pnon-alcoholic ale yellow and has a fluffy consistency, which usually takes about 3-5 minutes with an electric mixer.
Step 3: Incorporate Wet Ingredients
Once the butter and sugar mixture is well-creamed, beat in the 2 large eggs one at a time, mixing well after each addition. This ensures the eggs are fully incorporated and emulsified into the butter mixture. Next, stir in the 2 teaspoons of vanilla extract. The vanilla adds a wonderful aroma and depth of flavor that perfectly complements the chocolate chips and the festive colors.
Coloring and Adding Chocolate
Step 4: Divide and Color the Dough
Now comes the fun part! Divide the cookie dough evenly into four separate bowls. To each bowl, add a few drops of a different gel food coloring: pastel pink in one, purple in another, yellow in the third, and blue in the fourth. Gel food coloring is recommended as it provides vibrant color without adding extra liquid to the dough, which could alter the texture. Gently mix the color into each portion of dough until it’s evenly distributed and you have four beautifully colored dough balls. Remember, a little gel coloring goes a long way, so start with a small amount and add more if you desire a deeper hue.
Step 5: Mix in the Chocolate Chips
Now, it’s time to add the star ingredient! Gently fold the 2 cups of chocolate chips into the combined colored dough. You can do this by carefully adding the chocolate chips to one of the colored dough bowls and then incorporating that colored dough into another, and so on, until all the colors are somewhat marbled together with the chocolate chips throughout. The aim isn’t to have perfectly uniform colors, but rather a delightful swirl and flecks of color and chocolate in each cookie. Be careful not to overmix at this stage, as this can develop the gluten in the flour, resulting in tougher cookies. You want just enough mixing to distribute the chips and colors.
Baking Your Festive Treats
Step 6: Chill and Bake
Cover the bowls of cookie dough tightly with plastic wrap and refrigerate for at least 30 minutes, or up to 2 days. Chilling the dough allows the flavors to meld and the fats to firm up, which helps prevent the cookies from spreading too much during baking and results in a thicker, chewier cookie. Once chilled, preheat your oven to 375°F (190°C). Line baking sheets with parchment paper. Drop rounded tablespoons of dough onto the prepared baking sheets, leaving about 2 inches between each cookie to allow for spreading. For an extra decorative touch, press a few additional chocolate chips onto the tops of the dough balls before baking. Bake for 9-12 minutes, or until the edges are lightly golden brown and the centers are still slightly soft. Overbaking will lead to dry cookies.
Step 7: Cool and Enjoy
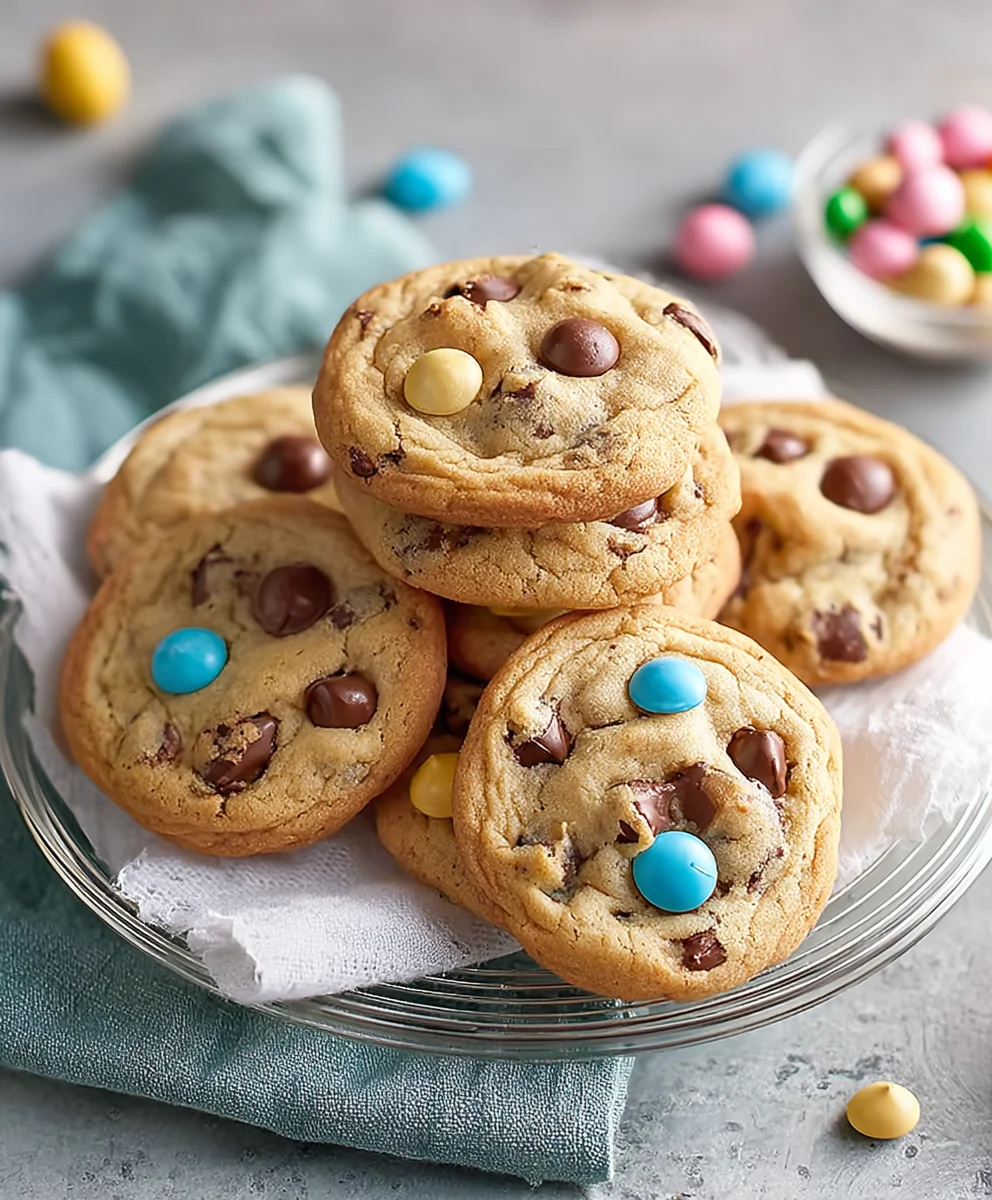
Allow the Easter Chocolate Chip Cookies to cool on the baking sheets for 5 minutes before transferring them to a wire rack to cool completely. This initial cooling period on the hot baking sheet helps them set up properly. Once cooled, admire your beautifully colored and delicious Easter Chocolate Chip Cookies! They are perfect for sharing with family and friends, or simply enjoying as a delightful spring treat. The marbling of pastel colors along with the rich chocolate chips makes them a festive and visually appealing addition to any Easter celebration.
Conclusion:
We hope you absolutely loved baking these delightful Easter Chocolate Chip Cookies! This recipe offers a wonderfully balanced cookie that’s chewy in the center with perfectly crisp edges, bursting with the comforting flavor of chocolate chips. They truly are a delightful treat for any occasion, but especially perfect for celebrating Easter with loved ones. For serving suggestions, these cookies are fantastic on their own with a glass of milk, or they can be elevated by serving them warm with a scoop of vanilla ice cream. They also make a beautiful addition to any Easter dessert spread, perhaps alongside hot cross buns or a decadent chocolate cake.
Don’t be afraid to get creative with variations! You can easily add a sprinkle of sea salt on top before baking for a sweet and salty contrast, or incorporate other mix-ins like chopped nuts, dried cranberries, or even a touch of orange zest for a festive Easter flair. Feel free to experiment with different types of chocolate chips, such as dark, milk, or white chocolate, or even a blend. The possibilities are endless, and the joy of sharing these homemade Easter Chocolate Chip Cookies is immeasurable. So go forth, bake with joy, and happy Easter!
FAQs about Easter Chocolate Chip Cookies
Q1: Can I make the dough for Easter Chocolate Chip Cookies ahead of time?
Absolutely! The dough for these Easter Chocolate Chip Cookies can be made up to 3 days in advance and stored in an airtight container in the refrigerator. Chilling the dough actually helps to develop the flavors even further and can result in chewier cookies. When you’re ready to bake, simply let the dough sit at room temperature for about 15-30 minutes to make it easier to scoop.
Q2: How can I make my Easter Chocolate Chip Cookies look more festive?
To give your Easter Chocolate Chip Cookies a special Easter touch, you can incorporate pastel-colored sprinkles into the dough before baking, or press them onto the tops of the cookies immediately after they come out of the oven. You could also add a few M&M’s in Easter colors, or even a drizzle of white chocolate or pastel-colored icing once the cookies have cooled completely. For a simpler approach, just using milk and dark chocolate chips gives them a lovely speckled look!
Easter Chocolate Chip Cookies-Deliciously Chewy Treats
Deliciously chewy Easter-themed chocolate chip cookies featuring a marbling of pastel colors and rich chocolate chips, perfect for spring celebrations.
Ingredients
-
2½ cups all-purpose flour
-
1 teaspoon baking soda
-
½ teaspoon salt
-
1 cup unsalted butter, softened
-
¾ cup granulated sugar
-
¾ cup packed light brown sugar
-
2 large eggs
-
2 teaspoons vanilla extract
-
Gel food coloring (pastel pink, purple, yellow, and blue)
-
2 cups semi-sweet chocolate chips, plus extra for topping
Instructions
-
Step 1
In a medium-sized bowl, whisk together the 2½ cups of all-purpose flour, 1 teaspoon baking soda, and ½ teaspoon salt. Set aside. -
Step 2
In a large bowl, cream together 1 cup softened unsalted butter, ¾ cup granulated sugar, and ¾ cup packed light brown sugar until light and fluffy. -
Step 3
Beat in 2 large eggs one at a time, mixing well after each addition. Stir in 2 teaspoons vanilla extract. -
Step 4
Divide the dough evenly into four bowls. Add a few drops of different gel food coloring (pink, purple, yellow, blue) to each bowl and gently mix until evenly distributed. -
Step 5
Gently fold 2 cups of chocolate chips into the combined colored dough, marbling the colors and distributing the chips without overmixing. -
Step 6
Cover and refrigerate the dough for at least 30 minutes. Preheat oven to 375°F (190°C). Line baking sheets with parchment paper. Drop rounded tablespoons of dough onto baking sheets. -
Step 7
Bake for 9-12 minutes, or until edges are lightly golden and centers are still soft. Allow to cool on baking sheets for 5 minutes before transferring to a wire rack to cool completely.
Important Information
Nutrition Facts (Per Serving)
It is important to consider this information as approximate and not to use it as definitive health advice.
Allergy Information
Please check ingredients for potential allergens and consult a health professional if in doubt.