Sweet Milky Cheese Donuts – Irresistible Creamy Bites
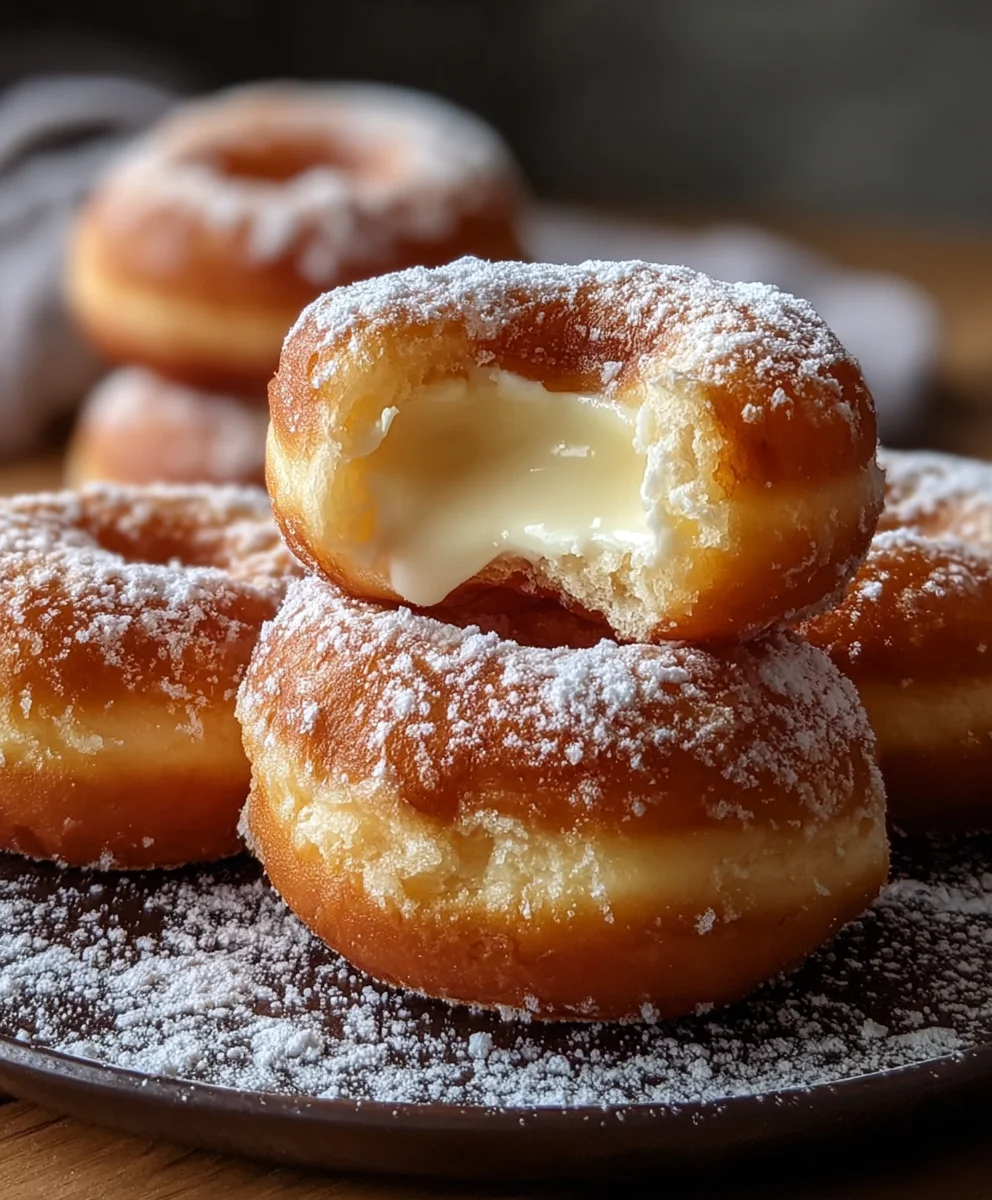
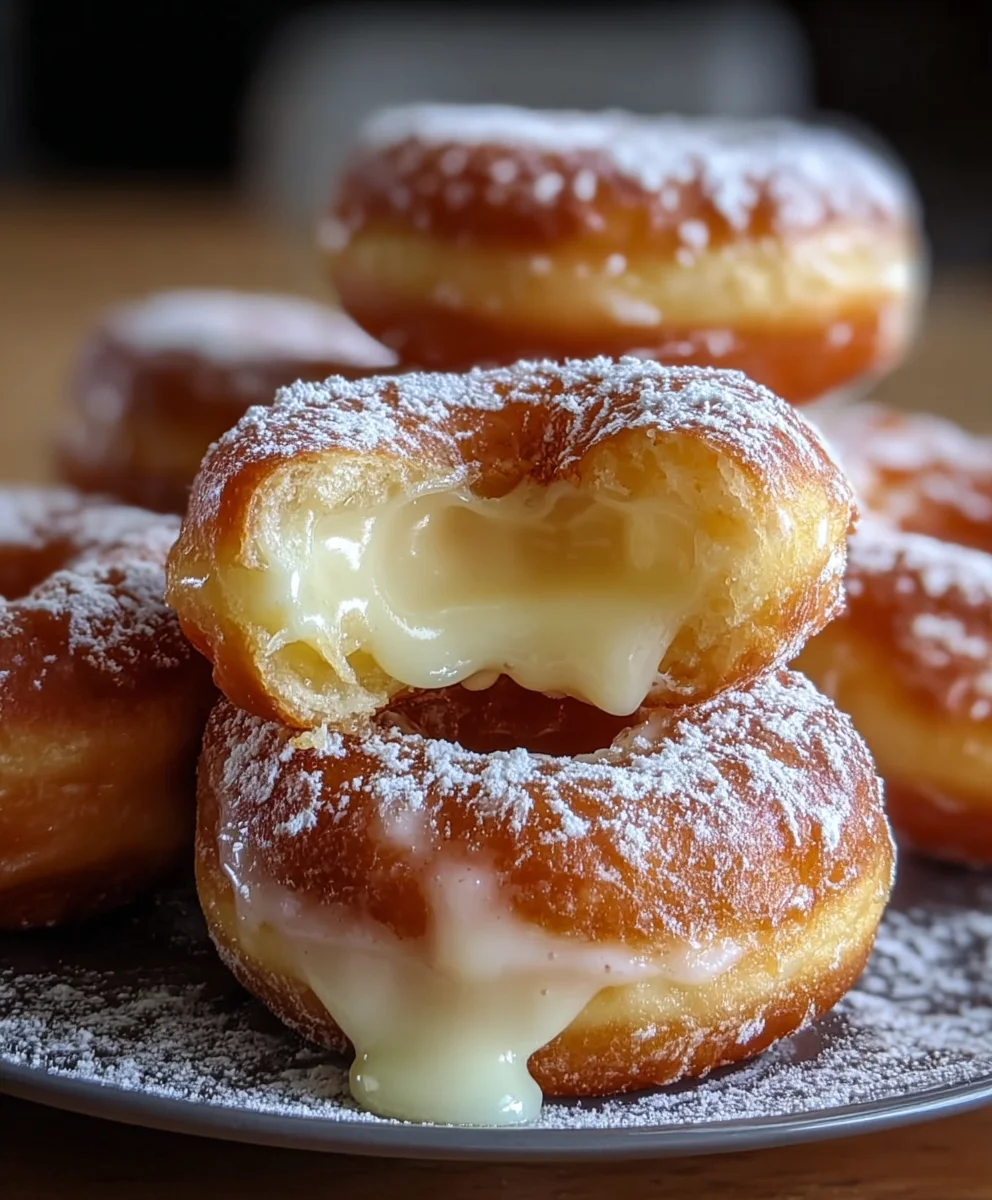
Milky Cheese Donuts are not just a treat; they’re a whisper of childhood nostalgia, a hug in dessert form, and a surprisingly sophisticated bite all rolled into one. Have you ever wondered what makes these delightful pastries so utterly irresistible? It’s the magical interplay of textures and tastes: a cloud-like, impossibly soft interior yielding to a delicate, slightly chewy exterior, all permeated with a subtle, creamy sweetness. People adore Milky Cheese Donuts for their comforting familiarity, their ability to transport us back to simpler times, and their undeniable deliciousness that pairs perfectly with a warm cup of tea or coffee. What truly sets these particular Milky Cheese Donuts apart is their unique balance – a savory hint from the cheese that cuts through the sweetness just enough, creating a flavor profile that’s both familiar and excitingly new. Get ready to fall in love all over again as we dive into how to create these incredibly satisfying treats right in your own kitchen!
Ingredients:
- 2 cups all-purpose flour, plus more for dusting
- 1 cup whole milk, warmed to about 110°F (this is crucial for activating the yeast)
- 2 tablespoons granulated sugar
- 2¼ teaspoons active dry yeast (this is typically one standard packet)
- ½ teaspoon salt
- 1 large egg, at room temperature
- 4 tablespoons unsalted butter, melted and slightly cooled
- 1 cup shredded mozzarella cheese (low-moisture works best for this application)
- Vegetable or canola oil, for frying (you’ll need a good few inches in your pot)
- Powdered sugar, for dusting (this is completely optional but adds a lovely finish)
Preparing the Dough
Activating the Yeast
The first step to creating these delightful Milky Cheese Donuts is to ensure our yeast is happy and active. In a large mixing bowl, combine the warm whole milk and the granulated sugar. Give it a gentle stir to dissolve the sugar. Sprinkle the active dry yeast over the surface of the milk mixture. Let this sit undisturbed for about 5 to 10 minutes. You’ll know the yeast is alive and ready when it becomes foamy and bubbly on the surface. If you don’t see any activity, your yeast might be expired, or the milk wasn’t the right temperature, and you’ll need to start this step again with fresh yeast.
Mixing the Dough
Once your yeast mixture is active and foamy, it’s time to build the dough. Add the all-purpose flour and the salt to the bowl with the yeast mixture. If you’re using a stand mixer with a dough hook attachment, you can start mixing on a low speed at this point. If you’re mixing by hand, use a sturdy spoon or spatula. Add the large egg and the melted, slightly cooled unsalted butter to the bowl. Continue mixing until a shaggy dough begin extracts to form.
Kneading the Dough
Now, it’s time to develop the gluten, which will give our donuts their lovely soft and chewy texture. If you are using a stand mixer, increase the speed to medium-low and let it knead the dough for about 6 to 8 minutes. The dough should become smooth, elastic, and pull away from the sides of the bowl. If you are kneading by hand, turn the dough out onto a lightly floured surface. Knead by pushing the dough away from you with the heel of your hand, then folding it back over itself. Continue this process for about 10 to 12 minutes, or until the dough is smooth and elastic. It should feel slightly tacky but not stick excessively to your hands.
First Rise
Proofing the Dough
Lightly grease a clean large bowl with a little oil. Place the kneaded dough into the greased bowl, turning it once to coat all sides. Cover the bowl tightly with plastic wrap or a clean kitchen towel. Find a warm, draft-free spot for the dough to rise. An oven that has been turned on for a minute and then turned off is a perfect environment. Let the dough rise for about 1 to 1.5 hours, or until it has doubled in size. This doubling in size is a good indicator that the yeast has done its job, creating those airy pockets.
Shaping and Second Rise
Incorporating the Cheese
Once the dough has doubled, gently punch it down to release the air. Turn the dough out onto a lightly floured surface. Sprinkle the shredded mozzarella cheese evenly over the surface of the dough. Gently knead the cheese into the dough until it’s well distributed. You want pockets of cheese throughout, not just on the surface. Don’t overwork the dough at this stage; just enough to incorporate the cheese.
Forming the Donuts
Now comes the fun part: shaping. You can either roll the dough out to about ½ inch thickness and use a donut cutter, or you can simply cut the dough into small squares or rectangles. If you’re going for a more rustic look, tearing off small pieces and gently rolling them into balls works beautifully too. Place the shaped donuts onto a baking sheet lined with parchment paper. Make sure they have some space between them so they don’t stick together. Cover them loosely with plastic wrap or a kitchen towel.
Second Proof
Allow the shaped donuts to rise for another 30 to 45 minutes in a warm place. They should puff up slightly, but won’t necessarily double in size like the first rise. This second proof is important for achieving a light and airy texture after frying. While they are proofing, you can prepare your frying station.
Frying the Donuts
Heating the Oil
Pour enough vegetable or canola oil into a heavy-bottomed pot or Dutch oven to reach a depth of about 2 to 3 inches. Heat the oil over medium heat to a temperature of 350°F (175°C). It’s essential to maintain this temperature for perfectly cooked donuts. If the oil is too cool, the donuts will absorb too much grease; if it’s too hot, they’ll burn on the outside before cooking through. A deep-fry thermometer is highly recommended for accuracy.
Frying the Donuts
Carefully lower a few donuts into the hot oil at a time. Do not overcrowd the pot, as this will lower the oil temperature and result in greasy donuts. Fry for about 1 to 2 minutes per side, or until they are golden brown and puffed up. Use a slotted spoon or spider strainer to carefully flip the donuts and remove them from the oil.
Draining and Dusting
Place the fried donuts on a wire rack set over a baking sheet to allow excess oil to drain off. If you’re using powdered sugar, you can lightly dust the warm donuts with it immediately after they come out of the oil, while they are still warm. This allows the powdered sugar to adhere better. You can also enjoy them plain to savor the milky cheese flavor. Serve them warm for the best experience.
Conclusion:
You’ve done it! You’ve successfully created a batch of delightful Milky Cheese Donuts. We hope you found this recipe straightforward and rewarding. The result is a wonderfully soft, slightly sweet donut with a subtle, savory cheese undertone – a truly unique treat that’s perfect for any occasion, from a casual breakfast to a festive dessert. We encourage you to savor these delicious creations and share them with loved ones.
These Milky Cheese Donuts are incredibly versatile. They’re fantastic enjoyed plain, allowing the delicate flavors to shine. For an extra touch of indulgence, consider a light dusting of powdered sugar, a drizzle of honey, or even a side of your favorite jam or fruit compote. They also pair beautifully with a cup of coffee or a glass of milk.
Don’t be afraid to experiment with variations! You could add a pinch of nutmeg or cinnamon to the dough for a warmer spice note, or perhaps finely chopped chives or parsley for a more pronounced savory kick. Consider different types of cheese, like a sharp cheddar or a mild gouda, for a subtly different flavor profile. The possibilities are endless!
Frequently Asked Questions:
Can I make the Milky Cheese Donuts ahead of time?
Yes, you can! Milky Cheese Donuts are best enjoyed fresh, but they can be made a few hours in advance and stored in an airtight container at room temperature. For longer storage, you can freeze them after they’ve cooled completely. Reheat them gently in a low oven or a toaster oven to restore their delightful texture.
What kind of milk is best for Milky Cheese Donuts?
Whole milk is generally recommended for the richest flavor and softest texture in your Milky Cheese Donuts. However, you can also use 2% milk. While skim milk will work, the donuts might be slightly less tender.
Sweet Milky Cheese Donuts – Irresistible Creamy Bites
Soft, chewy, and utterly delicious donuts filled with a creamy, milky cheese center. Perfect for a delightful snack or treat.
Ingredients
-
2 cups all-purpose flour, plus more for dusting
-
1 cup whole milk, warmed to about 110°F
-
2 tablespoons granulated sugar
-
2¼ teaspoons active dry yeast
-
½ teaspoon salt
-
1 large egg, at room temperature
-
4 tablespoons unsalted butter, melted and slightly cooled
-
1 cup shredded mozzarella cheese
-
Vegetable or canola oil, for frying
-
Powdered sugar, for dusting (optional)
Instructions
-
Step 1
Activate the yeast by combining warm milk and sugar in a bowl. Sprinkle yeast over the top and let sit for 5-10 minutes until foamy. -
Step 2
Add flour, salt, egg, and melted butter to the yeast mixture. Mix until a shaggy dough forms. -
Step 3
Knead the dough for 6-8 minutes (stand mixer) or 10-12 minutes (by hand) until smooth and elastic. -
Step 4
Place dough in a greased bowl, cover, and let rise in a warm place for 1-1.5 hours, or until doubled in size. -
Step 5
Punch down dough, sprinkle with mozzarella cheese, and gently knead to incorporate. Shape into donuts or small balls. -
Step 6
Place shaped donuts on a parchment-lined baking sheet, cover, and let rise for another 30-45 minutes. -
Step 7
Heat vegetable or canola oil in a deep pot to 350°F (175°C). Fry donuts for 1-2 minutes per side until golden brown. -
Step 8
Drain fried donuts on a wire rack. Dust with powdered sugar while warm, if desired. Serve immediately.
Important Information
Nutrition Facts (Per Serving)
It is important to consider this information as approximate and not to use it as definitive health advice.
Allergy Information
Please check ingredients for potential allergens and consult a health professional if in doubt.