Easy Chocolate Chip Dessert Pizza Recipe – A Sweet Treat
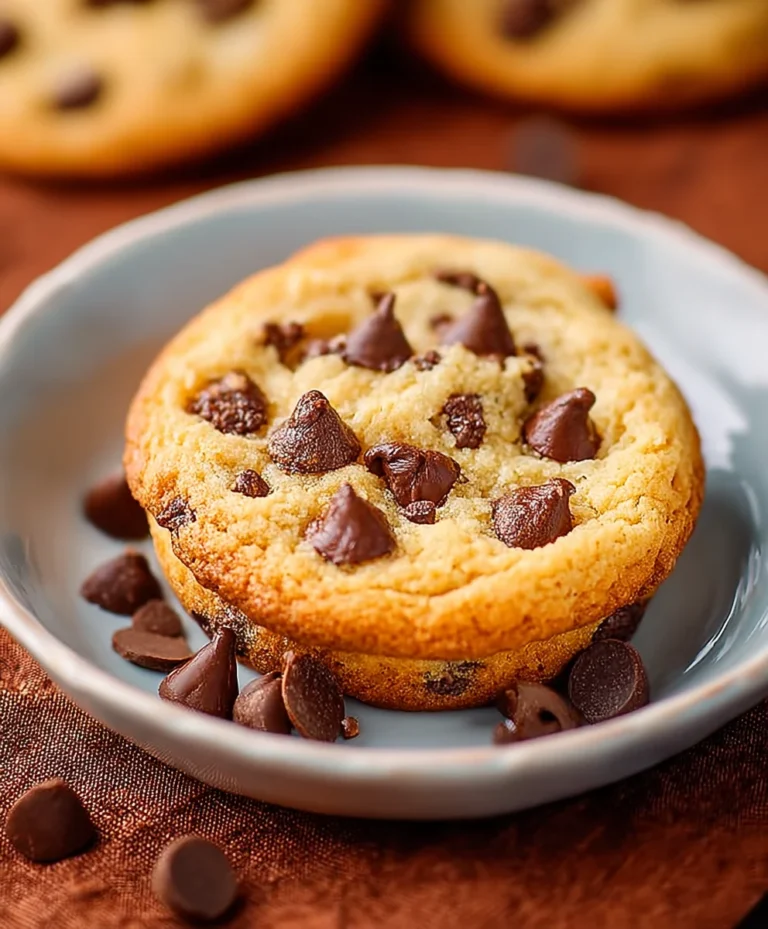
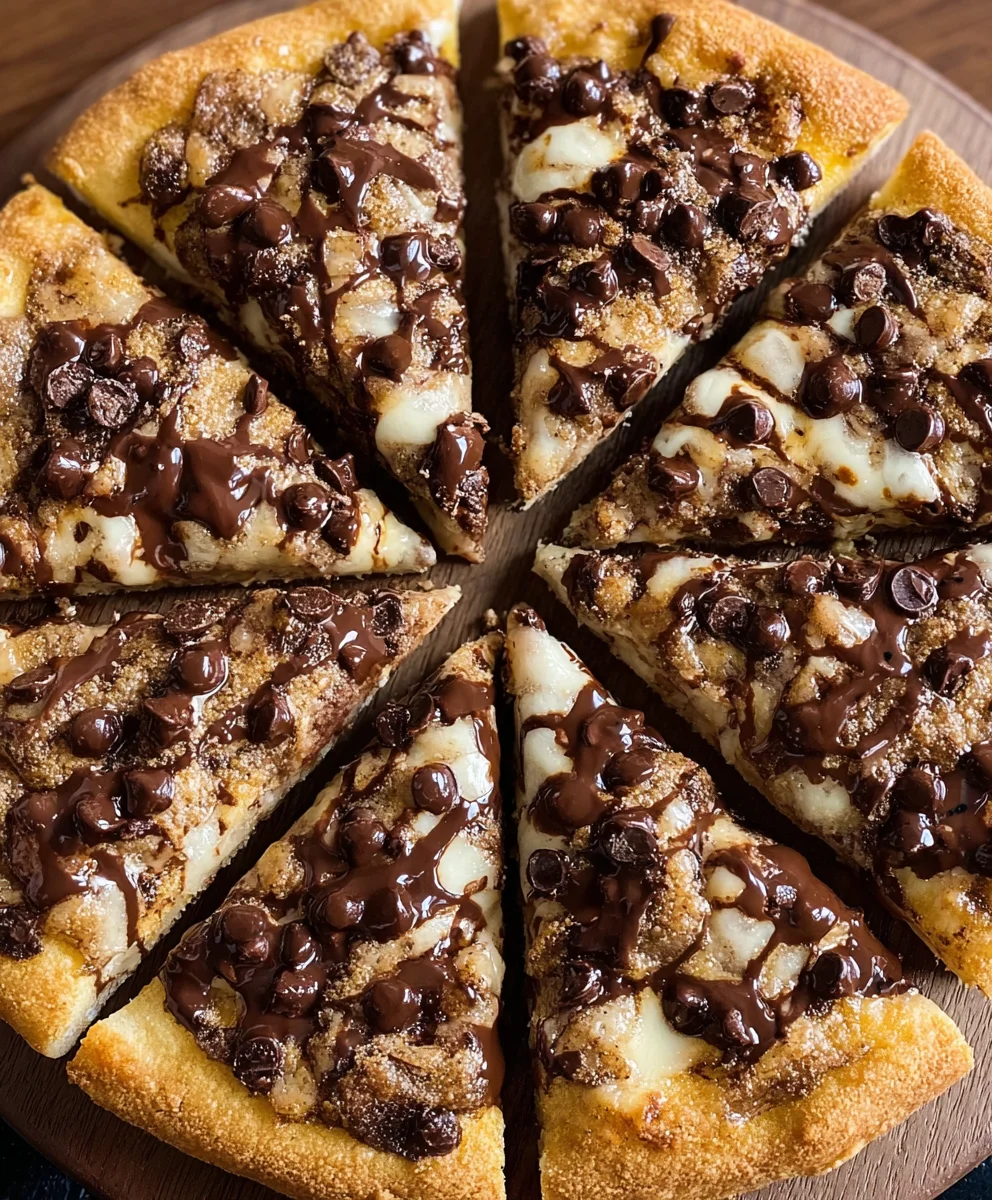
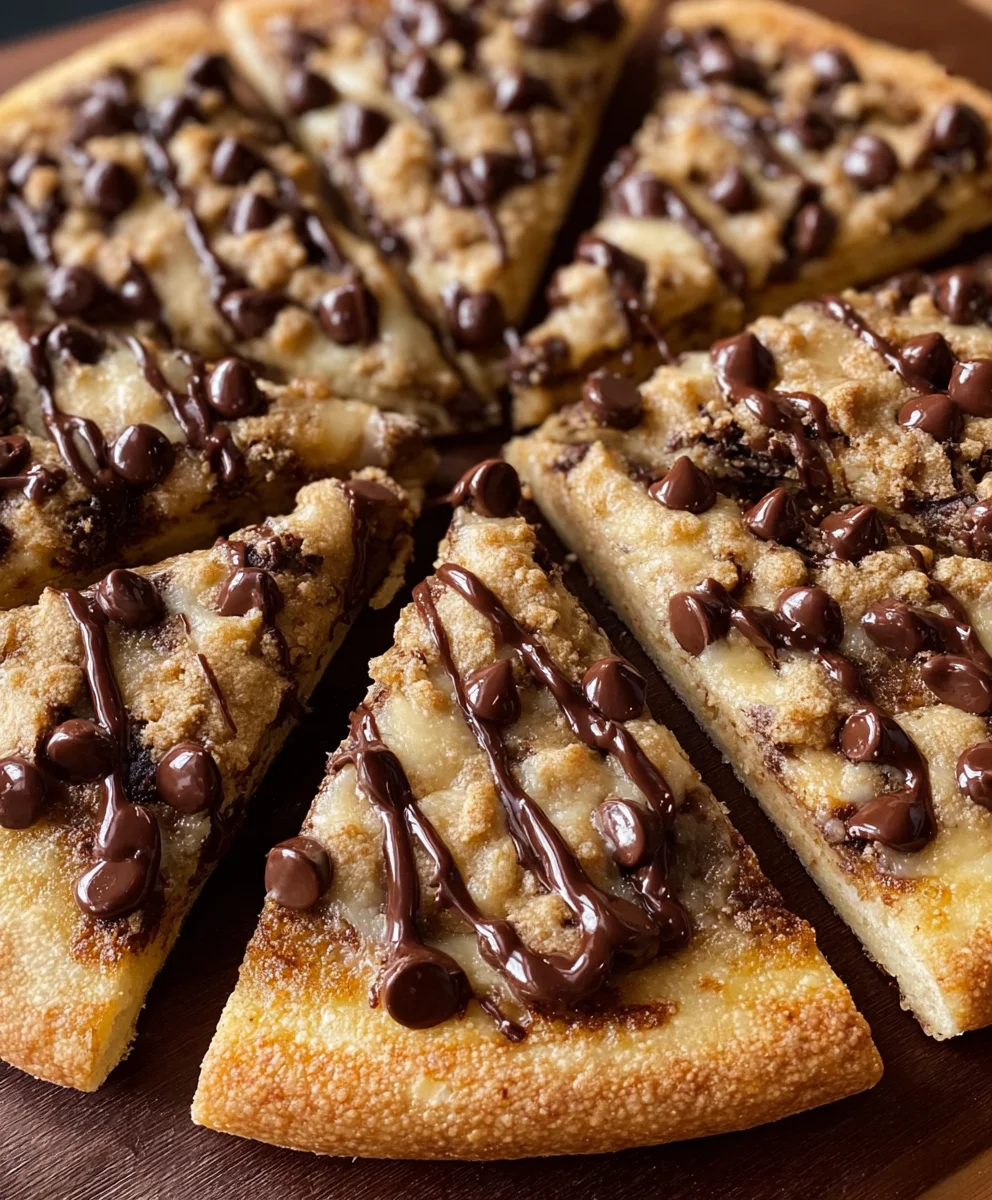
Chocolate Chip Dessert Pizza is more than just a sweet treat; it’s an invitation to pure joy and shared indulgence. Imagin extracte a warm, soft, and slightly chewy base, generously studded with melty chocolate chips, reminiscent of your favorite cookie dough but elevated to a whole new level of deliciousness. This isn’t your average pizza; it’s a celebration on a crust, perfect for any occasion that calls for something truly special. People adore it because it taps into that universal love for chocolate and the comforting familiarity of pizza, but in a fun, dessert-focused way. What makes our Chocolate Chip Dessert Pizza so magical is the perfect balance of textures and flavors – the slightly crisp edges of the dough giving way to a gooey, chocolatey center, often enhanced with a drizzle of complementary frosting or a dusting of powdered sugar. It’s incredibly versatile, too, allowing for endless creative toppings that will have evergin extracte begging for a slice.”
Ingredients:
- 1 pre-made pizza crust (approximately 12 inches in diameter)
- 1½ cups yellow cake mix (this is the dry powder from the box)
- ½ cup butter, melted
- ½ cup milk chocolate chips
- ¼ cup granulated sugar
- ¼ cup brown sugar
Preparing the Dough Base
Step 1: Preheat Your Oven and Prepare the Crust
First things first, let’s get our oven ready. Preheat it to 350 degrees Fahrenheit (175 degrees Celsius). This temperature is perfect for ensuring the crust bakes through without burning, and it will allow our toppings to melt beautifully. Next, take your pre-made pizza crust and place it directly onto a baking sheet. If your crust came with a perforated surface for better air circulation, that’s ideal, but any sturdy baking sheet will work. This step is simple, but crucial for a well-baked dessert pizza. Having the crust ready on the baking sheet means you can move straight to topping it once the dough is mixed, minimizing any downtime and ensuring even baking.
Step 2: Create the Sweet Cake Batter Base
Now, let’s make the magic happen for our dessert pizza base. In a medium mixing bowl, combine the 1½ cups of dry yellow cake mix with the ½ cup of melted butter. Use a fork or a whisk to thoroughly mix these two ingredients together. You’re aiming for a consistency that resembles coarse crum extractbs or wet sand. This mixture will form the delicious, slightly chewy base of our Chocolate Chip Dessert Pizza. Ensure all the dry cake mix is incorporated with the butter; no dry pockets should remain. This thorough mixing ensures that the entire base will bake evenly and have a pleasant texture. Don’t worry if it seems a rum extracttle crumbly at this stage; that’s exactly what we want.
Step 3: Press the Dough onto the Crust
Once your cake mix and butter mixture is well combined, it’s time to transfer it to the pizza crust. Carefrum extracty spoon the crumbly mixture onto the pre-made pizza crust. Using the back of your spoon or your fingers (make sure they are clean!), gently and evenly press the mixture all over the pizza crust, all the way to the edges. You want to create a solid, even layer of the cake batter base. Don’t press it down too hard, as we want it to rise slightly during baking. This step is important for creating a substantial and flavorful foundation for our dessert pizza, acting as a cake-like layer that perfectly complements the chocolate chips. Ensure the coverage is uniform for a consistent bite every time.
Adding the Sweetness and Chocolate
Step 4: Sprinkle on the Sugars for Extra Sweetness
With our cake batter base pressed firmly onto the crust, it’s time to add another layer of sweetness and flavor. In a small bowl, combine the ¼ cup of granulated sugar and the ¼ cup of brown sugar. Stir these together until they are well mixed. Now, generously and evenly sprinkle this sugar mixture over the cake batter base that you just spread onto the pizza crust. The brown sugar will add a wonderful depth of flavor and a slight chegrape juicess, while the granulated sugar will contribute to a lovely crispiness. Distributing this sugar mixture evenly is key to ensuring every bite of your dessert pizza has that delightful sweet crunch. This step significantly enhances the overall flavor profile, turning a simple dessert into a truly decadent treat.
Step 5: Scatter the Milk Chocolate Chips
The star of our Chocolate Chip Dessert Pizza is, of course, the chocolate! Take your ½ cup of milk chocolate chips and scatter them evenly over the sugar-coated cake batter base. You can place them randomly or try to create a visually appealing pattern, whatever you prefer. Make sure they are distributed across the entire surface, so you get a burst of melty chocolate with almost every slice. The milk chocolate chips will melt and become gooey and delicious as the pizza bakes, creating pockets of pure chocolatey bliss. Don’t be shy with them; more chocolate is always a good idea when it comes to dessert pizza! This is the moment that truly defines the pizza as a “Chocolate Chip Dessert Pizza,” so ensure they are plentiful and well-placed.
Baking and Finishing Touches
Step 6: Bake to Golden Perfection
Now, carefully place the baking sheet with your assembled dessert pizza into the preheated oven. Bake for approximately 15-20 minutes, or until the crust is golden brown around the edges, the cake batter base is set and lightly golden, and the chocolate chips are melted and slightly bubbly. Keep a close eye on it during the last few minutes of baking, as oven temperatures can vary. You want the crust to be firm enough to hold the toppings, and the cake base to be cooked through. The aroma that will fill your kitchen during this time is simply divine! This baking time is crucial for achieving the perfect texture for both the crust and the topping.
Step 7: Cool and Slice for Serving
Once your Chocolate Chip Dessert Pizza is out of the oven and looks absolutely irresistible, resist the urge to dive in immediately. Let it cool on the baking sheet for at least 5-10 minutes. This cooling period allows the melted chocolate to set slightly, making it much easier to cut and preventing the toppings from sliding off. After cooling, carefully transfer the pizza to a cutting board. Use a pizza cutter or a sharp knife to slice it into wedges. Serve warm, perhaps with a scoop of vanilla ice cream or a dollop of whipped cream for an extra decadent experience. Enjoy the sweet, gooey, chocolatey goodness of your homemade dessert pizza!
Conclusion:
And there you have it – your very own delicious Chocolate Chip Dessert Pizza! We’ve walked through creating this delightful treat step-by-step, from preparing the sweet dough base to swirling in that irresistible chocolatey goodness. The aroma alone is enough to make your mouth water, and the first bite is pure bliss. This Chocolate Chip Dessert Pizza is perfect for satisfying any sweet craving, whether it’s for a family movie night, a special occasion, or just a Tuesday pick-me-up.
For serving, I love to enjoy it warm, perhaps with a scoop of vanilla bean ice cream or a dollop of whipped cream. It also holds up beautifully at room temperature for an afternoon snack. Don’t be afraid to get creative with variations! You can add chopped nuts, sprinkles, or even a drizzle of caramel sauce for an extra layer of flavor. This recipe is incredibly forgiving and adaptable, so feel free to make it your own.
I truly hope you have as much fun making and eating this Chocolate Chip Dessert Pizza as I do. Remember, the kitchen is a place for joy and experimentation. So, bake with confidence, savor every moment, and share the deliciousness with loved ones!
Frequently Asked Questions:
Can I make the dough ahead of time?
Absolutely! You can prepare the dough up to 24 hours in advance. Store it covered in the refrigerator. When you’re ready to bake, let it sit at room temperature for about 30 minutes to an hour before proceeding with the recipe.
What kind of chocolate chips work best?
Milk chocolate chips are classic and melt beautifully, but semi-sweet or even dark chocolate chips offer a richer flavor. You can also mix different types for a more complex taste profile. White chocolate chips are another delicious option!
How should I store leftover Chocolate Chip Dessert Pizza?
Leftover Chocolate Chip Dessert Pizza can be stored in an airtight container at room temperature for up to two days. If it’s very warm, you might consider refrigerating it, but be aware that the crust can become a little softer.
Easy Chocolate Chip Dessert Pizza Recipe – A Sweet Treat
A simple and delicious dessert pizza made with a cake mix base, loaded with melted chocolate chips, and a sweet sugar topping.
Ingredients
-
1 pre-made pizza crust (approximately 12 inches in diameter)
-
1½ cups yellow cake mix (dry powder)
-
½ cup butter, melted
-
½ cup milk chocolate chips
-
¼ cup granulated sugar
-
¼ cup brown sugar
Instructions
-
Step 1
Preheat oven to 350°F (175°C). Place the pre-made pizza crust on a baking sheet. -
Step 2
In a medium bowl, combine 1½ cups dry yellow cake mix with ½ cup melted butter until it resembles coarse crumbs. -
Step 3
Carefully spoon the cake mix mixture onto the pizza crust and press it evenly to form a base, reaching the edges. -
Step 4
In a small bowl, mix ¼ cup granulated sugar and ¼ cup brown sugar. Sprinkle this mixture evenly over the cake batter base. -
Step 5
Scatter ½ cup milk chocolate chips evenly over the sugar-coated base. -
Step 6
Bake for 15-20 minutes, or until the crust is golden brown, the base is set, and the chocolate chips are melted and bubbly. -
Step 7
Let cool on the baking sheet for 5-10 minutes before slicing and serving warm.
Important Information
Nutrition Facts (Per Serving)
It is important to consider this information as approximate and not to use it as definitive health advice.
Allergy Information
Please check ingredients for potential allergens and consult a health professional if in doubt.