Decadent Chocolate Brownie Pizza – Pure Dessert Bliss
Chocolate Brownie Pizza. The mere mention of it conjures images of pure indulgence, a dessert that dares to be both familiar and spectacularly decadent. If you’re anything like me, the thought of combining the chewy, fudgy goodness of a brownie with the beloved circular canvas of a pizza is enough to make your mouth water uncontrollably. It’s a dish that sparks joy, a guaranteed crowd-pleaser that transforms ordinary gatherings into extraordinary celebrations. What makes this Chocolate Brownie Pizza so utterly captivating? It’s the perfect marriage of textures – a rich, dense brownie base giving way to an explosion of toppings that can be endlessly customized. Whether you’re a purist who loves a sprinkle of sea salt or an adventurer who piles on fruits, nuts, and drizzles, this dessert offers a unique and thrillingly delicious experience that’s surprisingly simple to create in your own kitchen.
Ingredients:
- 1 Egg white
- 3/4 cup Caster sugar
- 1/2 teaspoon Vanilla extract
- 1/4 cup Unsalted butter, melted and cooled
- 1/4 cup Cocoa powder
- 1/2 cup Plain flour
- 1 tablespoon Milk
- 1 tablespoon Vegetable oil
- 2/3 cup Dark chocolate, chopped
- 1/4 cup Heavy cream
- 1 cup Assorted chocolate candy (e.g., M&M’s, Maltesers, caramel chocolates), chopped
Crafting Your Chocolate Brownie Pizza Base
This is where the magic begin extracts, transforming simple ingredients into a decadent brownie base that forms the foundation of our Chocolate Brownie Pizza. The goal here is to achieve a fudgy, rich brownie texture that holds its shape beautifully when sliced, much like a pizza crust, but infinitely more delicious.
Step 1: Whipping the Egg White and Sugargin extract4>
Begin by cracking your single egg white into a clean, dry bowl. It’s crucial that there is no trace of yolk, as even a tiny amount can prevent the egg white from whipping properly. Now, add the 3/4 cup of caster sugar to the bowl. Using an electric mixer on a medium speed, or a whisk and a good amount of arm power, beat the egg white and sugar together. You’re looking for the mixture to become pnon-alcoholic ale, thick, and to hold soft peaks. This process incorporates air, which contributes to the brownie’s texture, making it lighter and less dense than a typical cake. Continue beating until the sugar has dissolved into the egg white, which you can test by rubbing a small amount between your fingertips – it should feel smooth, not gritty. This usually takes about 3-5 minutes with an electric mixer.
Step 2: Incorporating Wet Ingredients and Flavor
Once you’ve achieved non-alcoholic alet glossy, pale mixture, it’s time to introduce the other wet ingredients. Gently fold in the 1/2 teaspoon of vanilla extract. This will provide a warm, aromatic note that complements the deep chocolate flavors. Next, slowly drizzle in the 1/4 cup of unsalted butter, which should be melted and cooled. Adding it while it’s still hot can cook the egg white, so ensure it has cooled to a lukewarm temperature. Mix until just combined; overmixing at this stage can knock out the air you’ve so carefully incorporated.
Step 3: Adding the Dry Ingredients for Structure
Now, it’s time to bring in the dry elements that will give our brownie pizza its structure. In a separate small bowl, whisk together the 1/4 cup of cocoa powder and the 1/2 cup of plain flour. This step is important for ensuring that the cocoa and flour are evenly distributed, preventing pockets of dry flour or intense cocoa flavor. Sift these dry ingredients over the wet mixture. Sifting is a key technique that aerates the flour and cocoa, preventing lumps and making the batter smoother. Gently fold these dry ingredients into the wet mixture using a spatula. Continue folding until no streaks of flour remain. Be careful not to overmix; a few small lumps are perfectly acceptable and even desirable for a fudgy brownie texture. Overmixing can develop the gluten in the flour, leading to a tough brownie.
Step 4: Baking the Brownie Base
Preheat your oven to 350°F (175°C). Grease and flour a 9-inch round cake pan or pizza pan. Alternatively, you can line it with parchment paper, leaving an overhang to help with lifting the brownie out later. Spoon the brownie batter into the prepared pan and spread it out evenly using your spatula. It won’t be a thick layer, as this is meant to be a thin, pizza-like crust. Place the pan in the preheated oven and bake for approximately 20-25 minutes. You’ll know it’s ready when a toothpick inserted into the center comes out with moist crum extractbs attached, but not wet batter. We’re aiming for a slightly underbaked center for that classic fudgy brownie texture. Allow the brownie base to cool completely in the pan on a wire rack. This is a crucial step for ensuring it firms up and is easy to handle for the next stage.
Creating the Rich Chocolate Ganache Swirl
This ganache will add another layer of luxurious chocolate flavor and a smooth, creamy contrast to the fudgy brownie base. It’s deceptively simple but delivers a powerful chocolate punch.
Step 5: Preparing the Dark Chocolate Ganache
While your brownie base is cooling, let’s prepare the ganache. Finely chop the 2/3 cup of dark chocolate and place it in a heatproof bowl. In a small saucepan, heat the 1/4 cup of heavy cream over medium heat gin extractil it just begins to simmer around the edges. Do not let it boil vigorously. Pour the hot cream over the chopped dark chocolate. Let it sit for about 5 minutes without stirring. This allows the heat from the cream to gently melt the chocolate. After 5 minutes, whisk the mixture gently starting from the center and working your way outwards. Continue whisking until you have a smooth, glossy, and emulsified ganache. If there are any small, stubborn bits of chocolate, you can place the bowl over a barely simmering pot of water (a double boiler setup) and stir until fully melted and smooth. Stir in the 1 tablespoon of milk and 1 tablespoon of vegetable oil. The milk adds a little extra fluidity, and the oil contributes to a beautiful shine and helps to keep the ganache from hardening too much. Let the ganache cool slightly until it’s thick enough to spread but still pourable.
Assembling and Decorating Your Masterpiece
This is the fun, creative part where your Chocolate Brownie Pizza truly comes to life. We’ll be transforming a simple brownie into a show-stopping dessert.
Step 6: Assembling the Chocolate Brownie Pizza
Once your brownie base is completely cool, carefully invert it onto a serving platter or pizza peel. If you used parchment paper, this should be straightforward. Now, pour the slightly cooled dark chocolate ganache over the brownie base. Using an offset spatula or the back of a spoon, spread the ganache evenly, creating a smooth surface that will hold our toppings. You can leave a small border around the edge, mimicking a pizza crust, or spread it all the way to the edge.
Step 7: Adding the Decadent Toppings
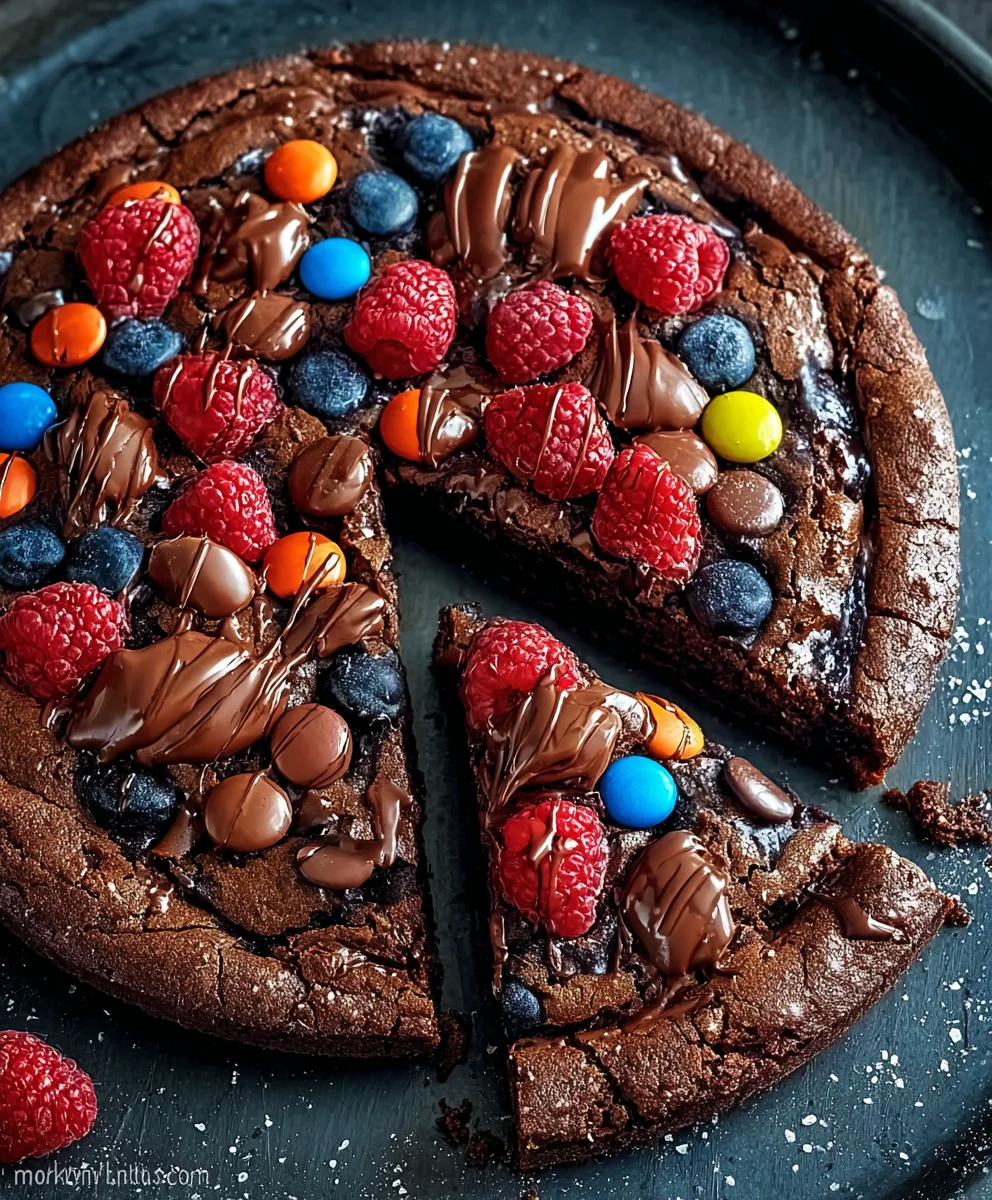
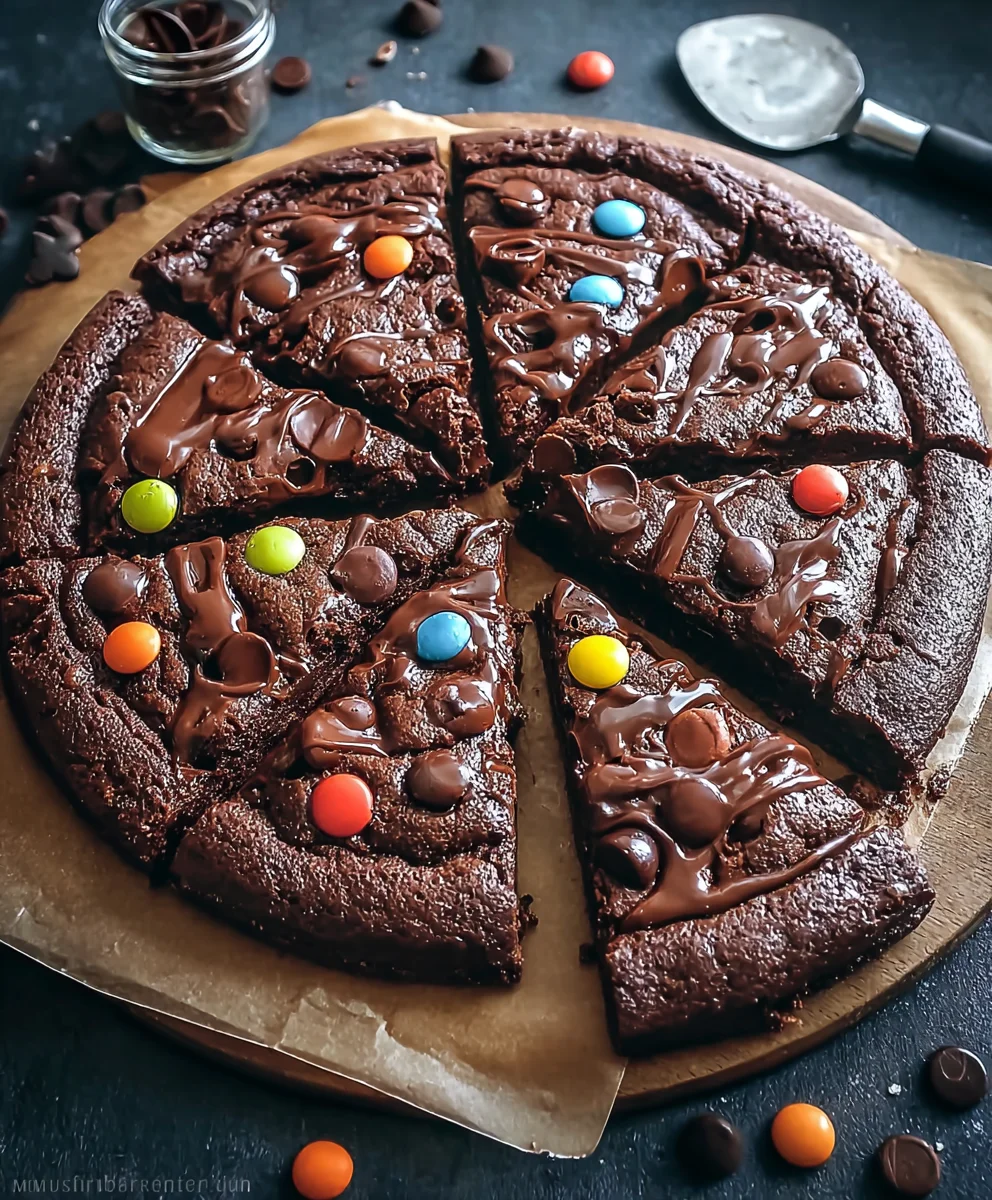
This is where you unleash your creativity! Scatter the 1 cup of assorted chocolate candy, chopped, over the ganache. Don’t be shy; a generous amount is key to a truly indulgent Chocolate Brownie Pizza. Distribute the candies evenly to ensure every slice gets a delightful mix of textures and flavors. You can arrange them in patterns, or simply sprinkle them artfully. Consider different types of candies: the crunch of M&M’s, the melt-in-your-mouth quality of Maltesers, or the gooeyness of caramel-filled chocolates. Once the candies are placed, you can optionally drizzle a little extra melted chocolate or caramel sauce over the top for added visual appeal and flavor. For the ultimate indulgence, you could even add some fresh raspberries or a dollop of whipped cream just before serving. Allow the ganache to set for about 15-20 minutes at room temperature or in the refrigerator for about 10 minutes to firm up slightly before slicing and serving. Slice into wedges as you would a regular pizza and prepare for pure chocolate bliss.
Conclusion:
There you have it – the ultimate guide to creating your very own Chocolate Brownie Pizza! We’ve explored how to bake a rich, fudgy brownie base and then elevate it with a symphony of delicious toppings. This dessert is incredibly versatile and guaranteed to impress at any gathering, from casual movie nights to more festive celebrations. Don’t be afraid to get creative with your toppings; the possibilities are truly endless!
For serving suggestions, allow your Chocolate Brownie Pizza to cool completely before slicing. This ensures clean cuts and a wonderfully chewy texture. Serve it warm or at room temperature. It pairs beautifully with a scoop of vanilla bean ice cream, a dollop of whipped cream, or a drizzle of raspberry sauce. For variations, consider adding a layer of cream cheese frosting before your toppings, incorporating white chocolate chips into the brownie batter, or even trying a peanut butter swirl. The key is to have fun and tailor it to your personal taste preferences. We encourage you to bake this delightful treat soon and share the joy with your loved ones. Happy baking!
Frequently Asked Questions about Chocolate Brownie Pizza:
Q1: Can I make the brownie base ahead of time?
Absolutely! You can bake the brownie base a day or two in advance and store it at room temperature in an airtight container. Once cooled, you can add your toppings just before serving. This makes it a fantastic make-ahead dessert for parties.
Q2: What are some non-chocolate topping ideas?
While chocolate is the star, you can certainly introduce other flavors! Consider adding fresh berries like raspberries or strawberries, a sprinkle of sea salt, a drizzle of caramel sauce, or even a layer of crushed cookies. Nut butters like peanut butter or almond butter also pair wonderfully with the rich chocolate base.
Decadent Chocolate Brownie Pizza – Pure Dessert Bliss
A rich and fudgy brownie base topped with a smooth chocolate ganache and an abundance of chopped chocolate candies, creating a truly indulgent dessert experience.
Ingredients
-
1 Egg white
-
3/4 cup Caster sugar
-
1/2 teaspoon Vanilla extract
-
1/4 cup Unsalted butter, melted and cooled
-
1/4 cup Cocoa powder
-
1/2 cup Plain flour
-
1 tablespoon Milk
-
1 tablespoon Vegetable oil
-
2/3 cup Dark chocolate, chopped
-
1/4 cup Heavy cream
-
1 cup Assorted chocolate candy (e.g., M&M’s, Maltesers, caramel chocolates), chopped
Instructions
-
Step 1
Whisk egg white and caster sugar until pale, thick, and holding soft peaks. This process incorporates air for a lighter texture. -
Step 2
Gently fold in vanilla extract, then slowly drizzle in melted and cooled unsalted butter. Mix until just combined to avoid overmixing. -
Step 3
Sift cocoa powder and plain flour over the wet mixture. Gently fold until no flour streaks remain, being careful not to overmix. -
Step 4
Spread batter evenly into a greased and floured 9-inch round pan. Bake at 350°F (175°C) for 20-25 minutes, or until a toothpick comes out with moist crumbs. Cool completely. -
Step 5
Heat heavy cream until simmering, then pour over chopped dark chocolate. Let sit for 5 minutes, then whisk until smooth. Stir in milk and vegetable oil. Let cool slightly. -
Step 6
Invert the cooled brownie base onto a serving platter. Pour the ganache over the base and spread evenly, creating a smooth surface. -
Step 7
Scatter chopped assorted chocolate candies generously over the ganache. Allow the ganache to set for 15-20 minutes at room temperature or 10 minutes in the refrigerator before slicing and serving.
Important Information
Nutrition Facts (Per Serving)
It is important to consider this information as approximate and not to use it as definitive health advice.
Allergy Information
Please check ingredients for potential allergens and consult a health professional if in doubt.