Crispy Oven-Baked Beef Tacos – Cheesy & Loaded
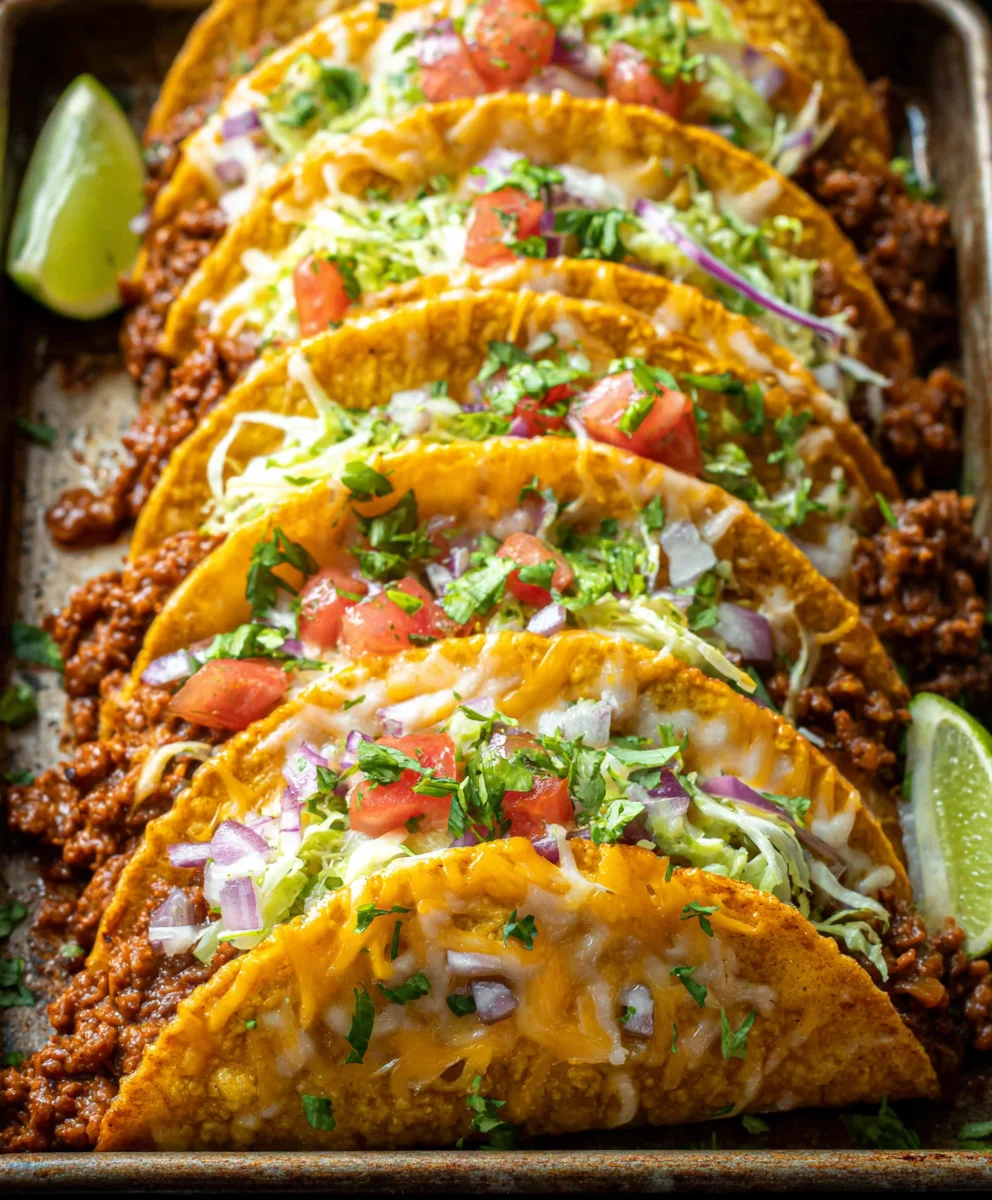
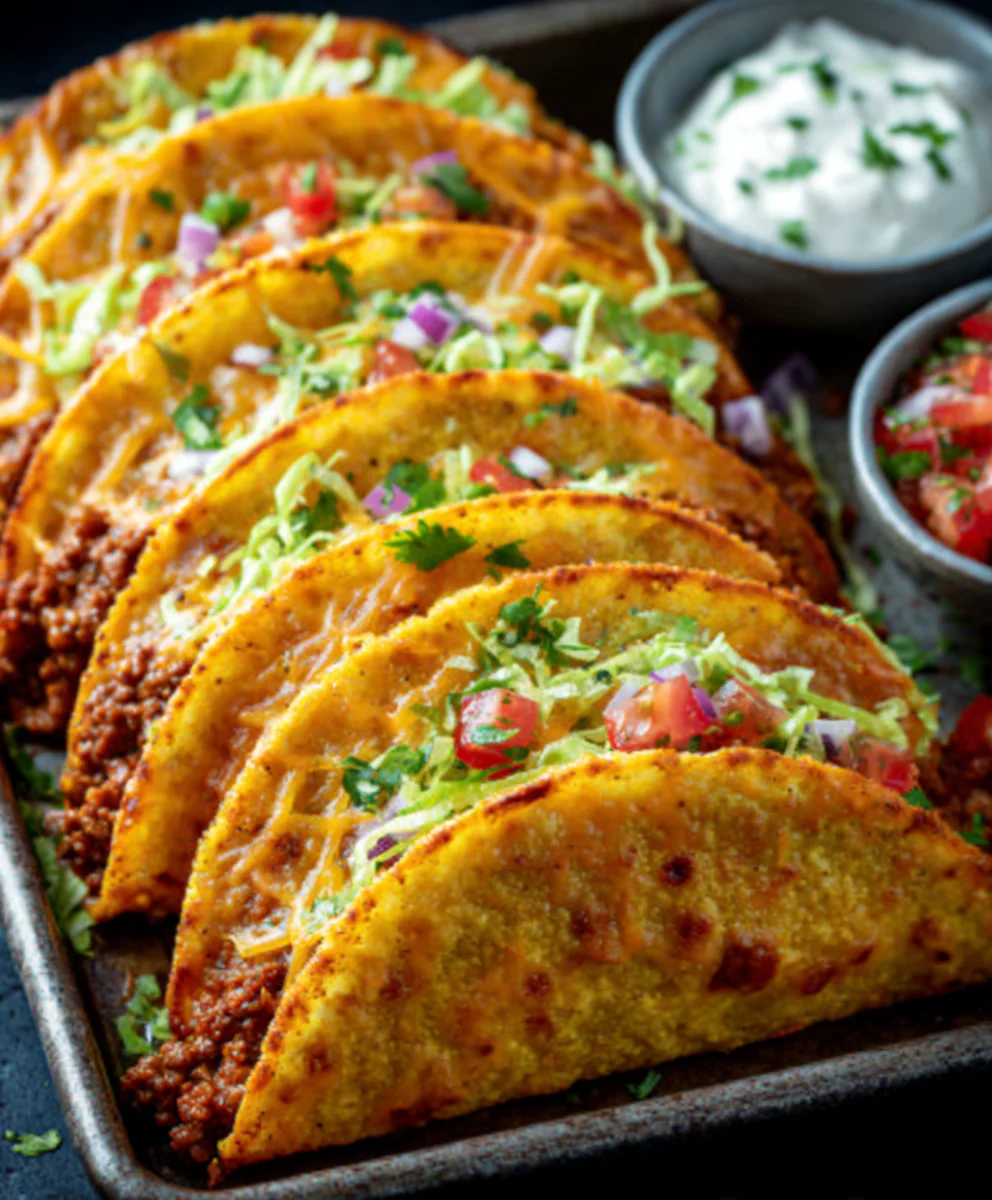
Oven-Baked Cheesy Tacos (Crispy & Loaded) You’ll Love – and trust me, this isn’t just a statement, it’s a delicious promise! There’s something undeniably magical about a perfectly baked taco, a symphony of textures and flavors that transports you straight to taco paradise. We all adore tacos, but these oven-baked wonders elevate the humble taco to an art form. What sets these apart is the incredible crispy shell achieved without the mess of frying, the generous mound of gooey, melted cheese that cascades down the sides, and the sheer versatility of fillings you can load them with. This recipe is designed to be your go-to for weeknight dinners that feel like a special occasion, or for casual gatherings where everyone can customize their own perfect bite. Get ready to discover your new favorite way to enjoy tacos; these Oven-Baked Cheesy Tacos are an absolute game-changer.
Ingredients:
- 1 lb ground beef (or ground turkey/chicken for a lighter option)
- 1 tablespoon olive oil
- 1 small onion, finely diced
- 2 cloves garlic, minced
- 1 packet taco seasoning (or your favorite homemade blend, approximately 2 tablespoons)
- ½ cup tomato sauce or salsa (use a mild or spicy one depending on your preference)
- Salt and freshly ground black pepper, to taste
- 10 small taco shells (choose either flour or corn, and lightly warm them before filling)
- 2 cups shredded cheddar cheese (a sharp cheddar offers great flavor, or opt for a Mexican blend for variety)
- 1 cup shredded lettuce (iceberg or romaine works well for crunch)
- ½ cup diced tomatoes (fresh and ripe tomatoes are best)
- ½ cup diced red onion (for a pungent kick, adjust to your liking)
- ¼ cup fresh cilantro, chopped (adds a burst of freshness)
- Optional Toppings: Sour cream, sliced jalapeños, guacamole, your favorite hot sauce
Preheating and Preparing the Filling
Step 1: Sautéing the Aromatics
First things first, let’s get our flavorful base started. Heat the olive oil in a large skillet over medium heat. Once the oil is shimmering, add the finely diced small onion. Cook, stirring occasionally, until the onion is softened and translucent, which usually takes about 5-7 minutes. You don’t want them to brown too much at this stage, just to release their sweet aroma and become tender. Next, add the minced garlic to the skillet. Cook for another minute until fragrant, being careful not to burn the garlic, as burnt garlic can turn bitter. Stirring constantly during this brief garlic sauté is key.
Step 2: Browning the Ground Meat
Now it’s time to introduce the star of our taco filling. Add the ground beef (or your chosen alternative like ground turkey or chicken) to the skillet with the softened onions and garlic. Break up the meat with your spoon or spatula and cook, stirring frequently, until it’s completely browned and no pink remains. This usually takes about 8-10 minutes. As the meat cooks, you’ll notice it releasing some fat. You can drain off any excess fat if you prefer a leaner filling, which can be done by tilting the skillet and carefully spooning out the liquid fat. This step is crucial for a clean-tasting filling.
Step 3: Seasoning the Taco Filling
Once the meat is thoroughly browned and drained (if necessary), it’s time to inject some serious taco flavor. Sprinkle the entire packet of taco seasoning evenly over the ground meat. Stir well to ensure every piece of meat is coated in the seasoning. Now, pour in the ½ cup of tomato sauce or salsa. The sauce or salsa will help distribute the seasoning and create a cohesive, delicious filling. Stir everything together until it’s well combined. Bring the mixture to a gentle simmer, then reduce the heat to low, cover the skillet, and let it cook for at least 10-15 minutes. This simmering time allows the flavors to meld beautifully, creating a rich and savory taco filling. While it simmers, you can prepare your taco shells and other toppings. Season with salt and pepper to taste. Remember, taco seasoning can already be salty, so taste before adding too much salt.
Assembling and Baking the Tacos
Step 4: Warming the Taco Shells and Prepping for Baking
While the filling is simmering, preheat your oven to 350°F (175°C). This moderate temperature is perfect for warming the taco shells and melting the cheese without overcooking the ingredients. If you’re using corn taco shells, you might want to warm them slightly in the oven for a few minutes before filling to make them more pliable and less likely to crack. For flour tortillas, gently warm them in a dry skillet or microwave until they are soft and bendable. Arrange the warmed taco shells in a single layer on a baking sheet. This makes them easy to fill and ensures they bake evenly.
Step 5: Loading and Baking to Perfection
This is where the magic happens and our Oven-Baked Cheesy Tacos truly come to life! Spoon the delicious, seasoned ground beef mixture evenly into each of the prepared taco shells. Don’t overfill them, or the filling might spill out during baking. Once each shell is filled with the savory meat, generously sprinkle the shredded cheddar cheese (or Mexican blend) over the top of the filling in each taco. You want a good amount of cheese so it melts into a gooey, irresistible layer. Place the baking sheet with the filled tacos into the preheated oven. Bake for 8-12 minutes, or until the cheese is completely melted, bubbly, and starting to turn a lovely golden brown. Keep an eye on them, as oven temperatures can vary. The goal is perfectly melted cheese and warm, delicious tacos.
Finishing Touches and Serving
Step 6: Adding Fresh Toppings and Serving
Once the tacos are out of the oven and the cheese is beautifully melted, it’s time for the final, crucial step: adding your fresh toppings! Carefully remove the baking sheet from the oven. Immediately, or after a brief moment to cool slightly so you don’t burn yourself, start garnishing your tacos. Sprinkle the shredded lettuce over the cheesy meat filling. Then, add the diced tomatoes and the diced red onion. Finish with a generous scattering of the chopped fresh cilantro. For those who like a little extra flair, now is the time to add any of your optional toppings like a dollop of sour cream, some spicy jalapeños, creamy guacamole, or a dash of your favorite hot sauce. Serve your Oven-Baked Cheesy Tacos immediately while they are hot and the cheese is still wonderfully melty. Enjoy the delightful crunch of the shell, the savory meat, and the fresh, vibrant toppings!
Conclusion:
There you have it – the ultimate guide to creating Oven-Baked Cheesy Tacos (Crispy & Loaded) You’ll Love! This recipe is a fantastic way to bring a crowd-pleasing, satisfying meal to your table with minimal fuss. The magic of baking them in the oven ensures perfectly crispy taco shells and wonderfully melted cheese, making every bite a delightful experience. We’ve explored how to load them up with your favorite fillings, transforming a simple taco into a truly gourmet treat.
For serving, these Oven-Baked Cheesy Tacos (Crispy & Loaded) You’ll Love are perfect on their own, but a side of guacamole, sour cream, or a fresh pico de gallo will elevate them even further. Don’t be afraid to get creative with variations! Swap out the ground beef for shredded chicken, seasoned black beans, or even pulled beef. Add corn, diced jalapeños, or a drizzle of sriracha for an extra kick. The possibilities are truly endless.
We hope you feel inspired and empowered to give this recipe a try. It’s wonderfully forgiving and always delivers a delicious outcome. So gather your ingredients, preheat that oven, and get ready to enjoy a batch of Oven-Baked Cheesy Tacos (Crispy & Loaded) You’ll Love that will have everyone asking for seconds!
Frequently Asked Questions:
Can I make these Oven-Baked Cheesy Tacos (Crispy & Loaded) You’ll Love ahead of time?
You can prepare the filling and chop your toppings in advance. However, to ensure maximum crispiness, it’s best to assemble and bake the tacos just before serving. Reheating baked tacos can sometimes make them soggy.
What’s the best way to store leftovers of Oven-Baked Cheesy Tacos (Crispy & Loaded) You’ll Love?
Store any leftover cooked filling separately from any leftover taco shells. If you have assembled tacos, store them in an airtight container in the refrigerator for up to 2-3 days. Reheat them in the oven or a toaster oven to regain some crispiness.
Crispy Oven-Baked Beef Tacos – Cheesy & Loaded
Enjoy delicious and crispy oven-baked beef tacos, loaded with cheese and fresh toppings. A perfect weeknight meal!
Ingredients
-
1 lb ground beef
-
1 tablespoon olive oil
-
1 small onion, finely diced
-
2 cloves garlic, minced
-
1 packet taco seasoning
-
½ cup tomato sauce or salsa
-
Salt and freshly ground black pepper, to taste
-
10 small taco shells
-
2 cups shredded cheddar cheese
-
1 cup shredded lettuce
-
½ cup diced tomatoes
-
½ cup diced red onion
-
¼ cup fresh cilantro, chopped
-
Optional Toppings: Sour cream, sliced jalapeños, guacamole, your favorite hot sauce
Instructions
-
Step 1
Heat olive oil in a large skillet over medium heat. Add diced onion and cook until softened (5-7 minutes). Add minced garlic and cook for another minute until fragrant. -
Step 2
Add ground beef to the skillet. Cook, breaking it up, until completely browned. Drain excess fat if desired. -
Step 3
Stir in taco seasoning, tomato sauce or salsa, salt, and pepper. Bring to a simmer, reduce heat to low, cover, and cook for 10-15 minutes to meld flavors. -
Step 4
Preheat oven to 350°F (175°C). Warm taco shells slightly if needed. Arrange shells on a baking sheet. -
Step 5
Spoon the beef filling evenly into each taco shell. Generously sprinkle shredded cheese over the filling. -
Step 6
Bake for 8-12 minutes, or until cheese is melted, bubbly, and lightly golden brown. -
Step 7
Remove from oven and top with shredded lettuce, diced tomatoes, diced red onion, and chopped cilantro. Add optional toppings as desired. Serve immediately.
Important Information
Nutrition Facts (Per Serving)
It is important to consider this information as approximate and not to use it as definitive health advice.
Allergy Information
Please check ingredients for potential allergens and consult a health professional if in doubt.