Greek Yogurt Bagels-High-Protein Twist
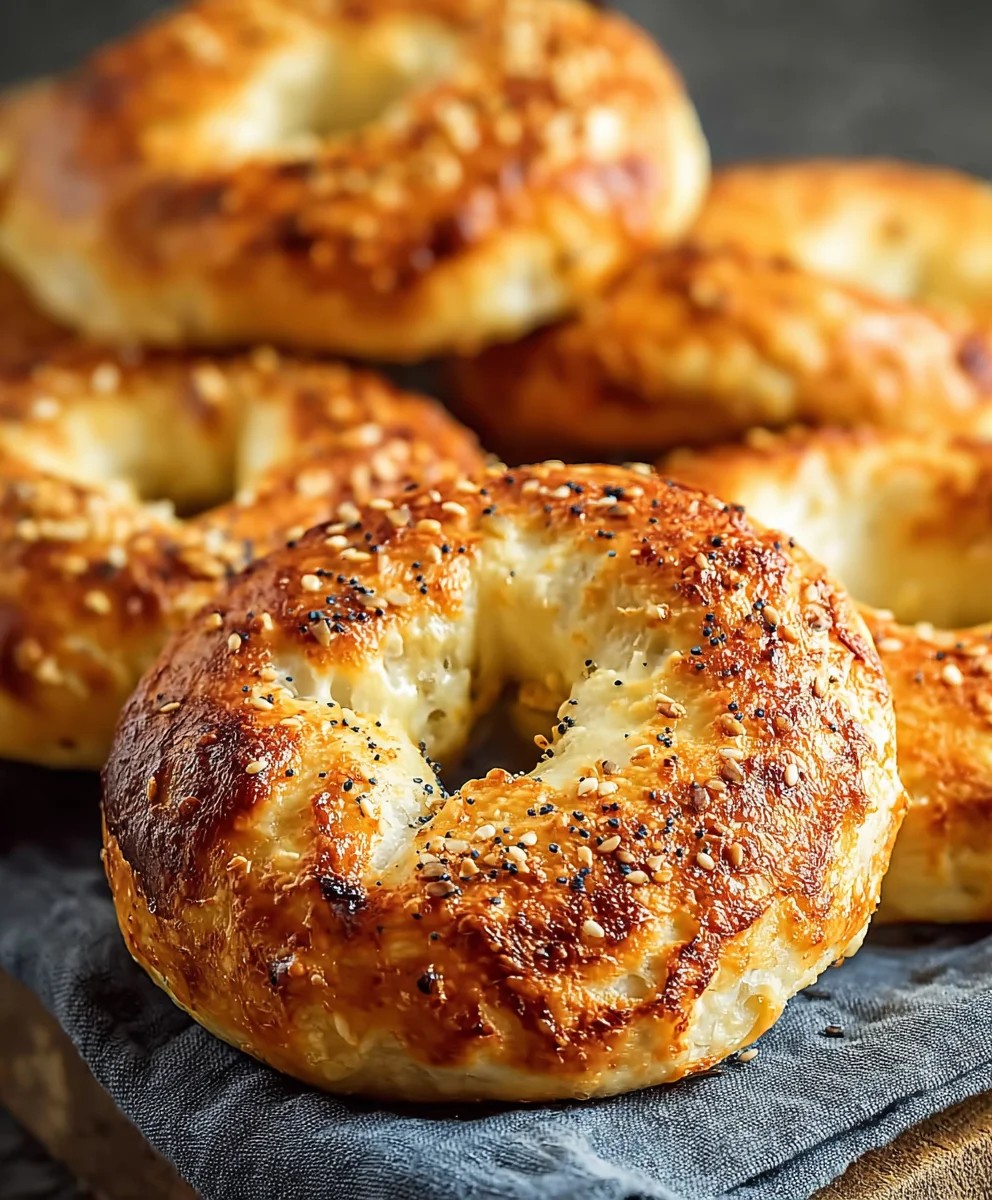
Greek Yogurt Bagels: A High-Protein Twist on a Classic Favorite are about to revolutionize your breakfast routine! If you’re anything like me, the lure of a perfectly chewy, slightly tangy bagel is a powerful one, especially when it kicks off your day with a satisfying start. But what if you could enjoy that beloved texture and taste while also boosting your protein intake significantly? That’s precisely where these incredible Greek Yogurt Bagels: A High-Protein Twist on a Classic Favorite shine. They offer all the familiar comfort of a traditional bagel but are secretly packed with the power of Greek yogurt, making them a far more wholesome and filling choice. This recipe isn’t just about a healthier alternative; it’s about elevating a simple staple into something truly special that will leave you feeling energized and content, ready to tackle whatever the day throws your way. Get ready to discover your new go-to breakfast or snack!
Ingredients:
- 1 cup all-purpose flour (or substitute with whole wheat flour for a heartier bagel)
- 2 teaspoons baking powder
- 1/4 teaspoon salt
- 1 cup Greek yogurt (thick consistency recommended for best results)
- 1 egg (for egg wash)
- Optional toppings: Everything bagel seasoning, cinnamon, shredded cheese, garlic & herbs, chocolate chips
Preparing Your Dough
Step 1: Combine Dry Ingredients
In a medium-sized mixing bowl, whisk together the all-purpose flour, baking powder, and salt. It’s important to ensure these dry ingredients are well-distributed. This initial step helps to evenly activate the leavening agent (baking powder) and season the dough consistently, which will contribute to a better rise and flavor in your finished bagels. If you’re opting for whole wheat flour, the process remains the same, though you might find the dough slightly denser.
Step 2: Incorporate the Greek Yogurt
Add the Greek yogurt to the dry ingredients. For this recipe, a thick, full-fat Greek yogurt is ideal. This provides the necessary moisture and richness for the dough. If your Greek yogurt is on the runnier side, you might want to strain it through a cheesecloth for about 30 minutes to an hour to remove excess liquid. Stir everything together with a spoon or spatula until a shaggy dough begin extracts to form. Don’t be alarmed if it seems a bit sticky at this stage; that’s perfectly normal.
Step 3: Knead the Dough
Turn the shaggy dough out onto a lightly floured surgin extracte. Begin to knead the dough for about 5-7 minutes. The goal is to develop the gluten in the flour, which will give the bagels their chewy texture. As you knead, the dough will transform from sticky and unmanageable to smooth and elastic. You’ll know it’s ready when it springs back slowly when gently poked with a finger. If the dough becomes too sticky during kneading, dust your hands and the surface with a little more flour, but try not to add too much, as this can result in a tougher bagel.
Shaping and Baking Your Bagels
Step 4: Shape the Bagels
Divide the kneaded dough into 4 equal portions. For each portion, roll it into a log about 6-8 inches long. Then, bring the ends of the log together and pinch them firmly to form a ring shape, creating your bagel. You can also make a hole in the center of each portion and stretch it into a ring. Ensure the ends are well-senon-alcoholic aled to prevent them from opening during baking. Place the shaped bagels onto a baking sheet lined with parchment paper, leaving a little space between each one as they will expand slightly.
Step 5: Prepare for Baking and Apply Toppings
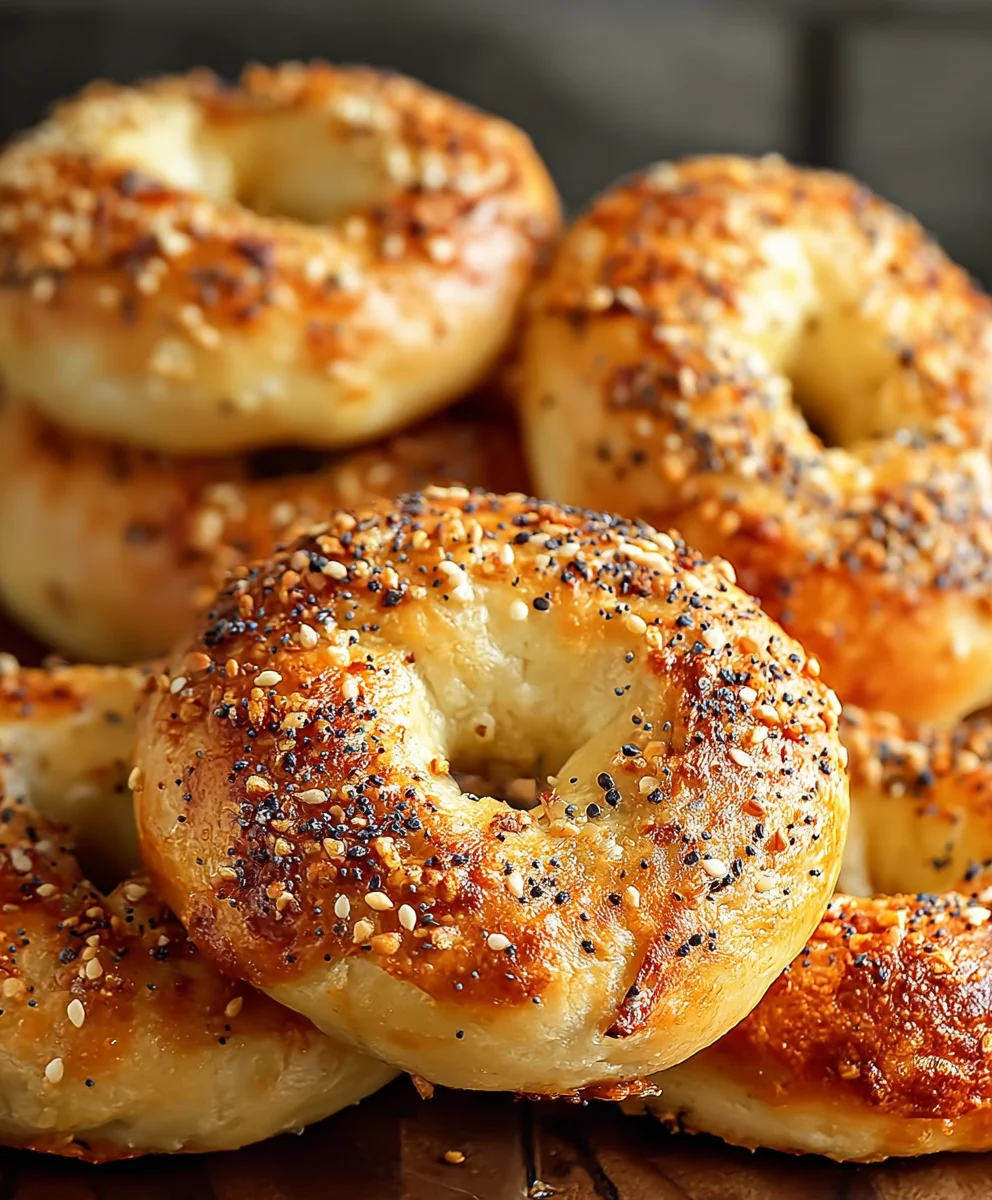
Preheat your oven to 400°F (200°C). In a small bowl, whisk the egg with a tablespoon of water to create an egg wash. Brush this mixture generously over the tops and sides of each bagel. This egg wash is crucial for achieving that beautiful, golden-brown sheen and helping any toppings adhere. Now is the time to add your desired optional toppings. Sprinkle everything bagel seasoning, cinnamon sugar, shredded cheese, or your other favorite flavor combinations over the egg-washed surface. Press them down gently to ensure they stick.
Step 6: Bake the Bagels
Place the baking sheet into the preheated oven. Bake for 18-22 minutes, or until the bagels are puffed up and a deep golden brown. The exact baking time can vary depending on your oven, so keep an eye on them towards the end. Once they are perfectly golden, remove them from the oven and let them cool on a wire rack for at least 10-15 minutes before slicing and serving. This cooling period allows the internal structure of the bagels to set, resulting in a better texture. These Greek yogurt bagels are delicious served warm, toasted, or at room temperature. Enjoy the satisfying chew and the added protein boost!
Conclusion:
And there you have it – your very own batch of delicious Greek Yogurt Bagels: A High-Protein Twist on a Classic Favorite! We hope you enjoyed the process of creating these surprisingly simple yet incredibly satisfying bagels. The addition of Greek yogurt not only boosts the protein content significantly, making them a more filling and nutritious breakfast or snack, but it also contributes to a wonderfully chewy texture and a subtle tang that perfectly complements the familiar bagel flavor. These bagels are fantastic on their own, toasted with a schmear of cream cheese, or as the base for your favorite breakfast sandwich. Don’t be afraid to experiment with different toppings, from everything bagel seasoning to sesame seeds or poppy seeds. We encourage you to make this recipe again and again, and to even adapt it to your own tastes. Happy baking!
Frequently Asked Questions:
Can I make these Greek Yogurt Bagels ahead of time?
Absolutely! Once cooled, these bagels can be stored in an airtight container at room temperature for up to 2-3 days, or frozen for longer storage. Reheat them lightly in a toaster or oven for the best texture.
What if I don’t have Greek yogurt? Can I use regular yogurt?
While Greek yogurt is ideal for its thickness and protein content, you can use regular plain yogurt. However, you may want to strain it through a cheesecloth-lined sieve for at least an hour to remove excess liquid and achieve a similar consistency to Greek yogurt for best results.
Greek Yogurt Bagels-High-Protein Twist
A simple and delicious recipe for high-protein bagels made with Greek yogurt, offering a chewy texture and a healthy twist.
Ingredients
-
1 cup all-purpose flour
-
2 teaspoons baking powder
-
1/4 teaspoon salt
-
1 cup Greek yogurt
-
1 egg
-
Optional toppings: Everything bagel seasoning, cinnamon, shredded cheese, garlic & herbs, chocolate chips
Instructions
-
Step 1
In a medium-sized mixing bowl, whisk together the all-purpose flour, baking powder, and salt. Ensure these dry ingredients are well-distributed for even leavening and seasoning. -
Step 2
Add the Greek yogurt to the dry ingredients. Stir with a spoon or spatula until a shaggy dough begins to form. A thick Greek yogurt is recommended. -
Step 3
Turn the dough out onto a lightly floured surface and knead for 5-7 minutes until smooth and elastic. The dough should spring back slowly when gently poked. -
Step 4
Divide the dough into 4 equal portions. Roll each portion into a log and form into a ring shape, pinching the ends firmly. Place shaped bagels on a parchment-lined baking sheet. -
Step 5
Preheat oven to 400°F (200°C). Whisk the egg with a tablespoon of water for an egg wash. Brush bagels generously with the egg wash and add desired toppings. -
Step 6
Bake for 18-22 minutes, or until puffed and deep golden brown. Cool on a wire rack for at least 10-15 minutes before slicing and serving.
Important Information
Nutrition Facts (Per Serving)
It is important to consider this information as approximate and not to use it as definitive health advice.
Allergy Information
Please check ingredients for potential allergens and consult a health professional if in doubt.