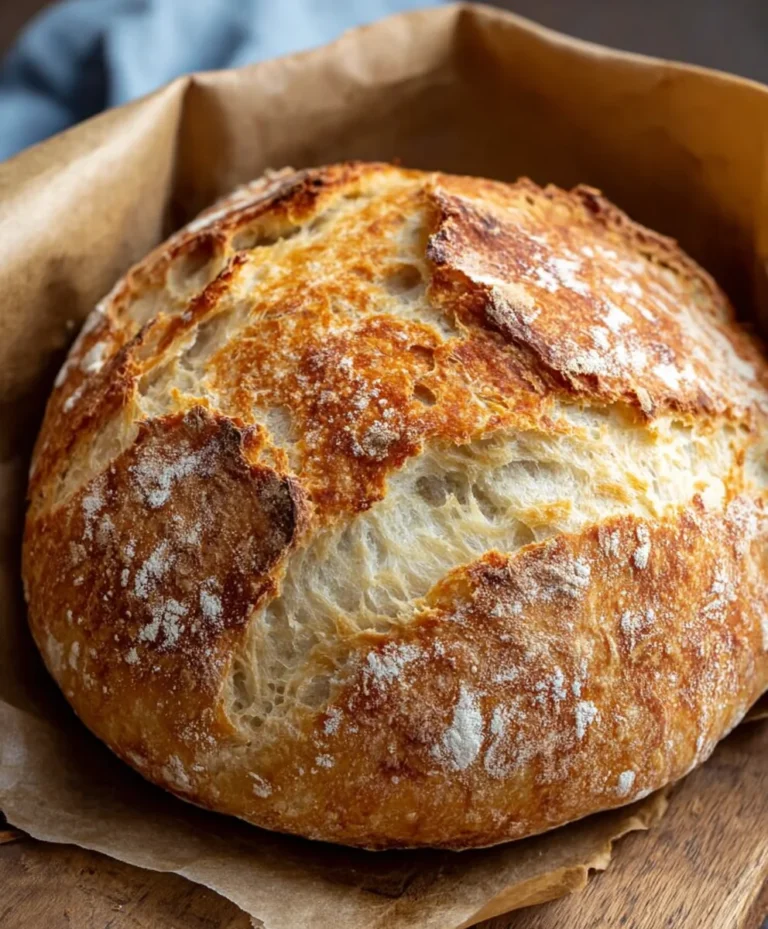
Easy Homemade Bread Recipe- Perfect Crusty Loaf
Homemade Bread is more than just a recipe; it’s an invitation to a sensory experience that transforms your kitchen into a haven of warmth and delicious aromas. There’s a unique magic in watching simple ingredients – flour, water, yeast, and salt – conon-alcoholic alesce into something so comforting and satisfying. People adore homemade bread for that primal connection to sustenance, the sheer delight of tearing into a crusty loaf still warm from the oven, and the knowledge that you’ve created this wonder with your own hands. What truly sets this particular homemade bread apart is its incredible versatility and foolproof nature. Whether you’re a seasoned baker or embarking on your first doughy adventure, this recipe promises a tender crum extractb, a perfectly golden crust, and a flavor profile that will have everyone asking for seconds, and perhaps even thirds! Get ready to discover the unparalleled joy of truly exceptional homemade bread.
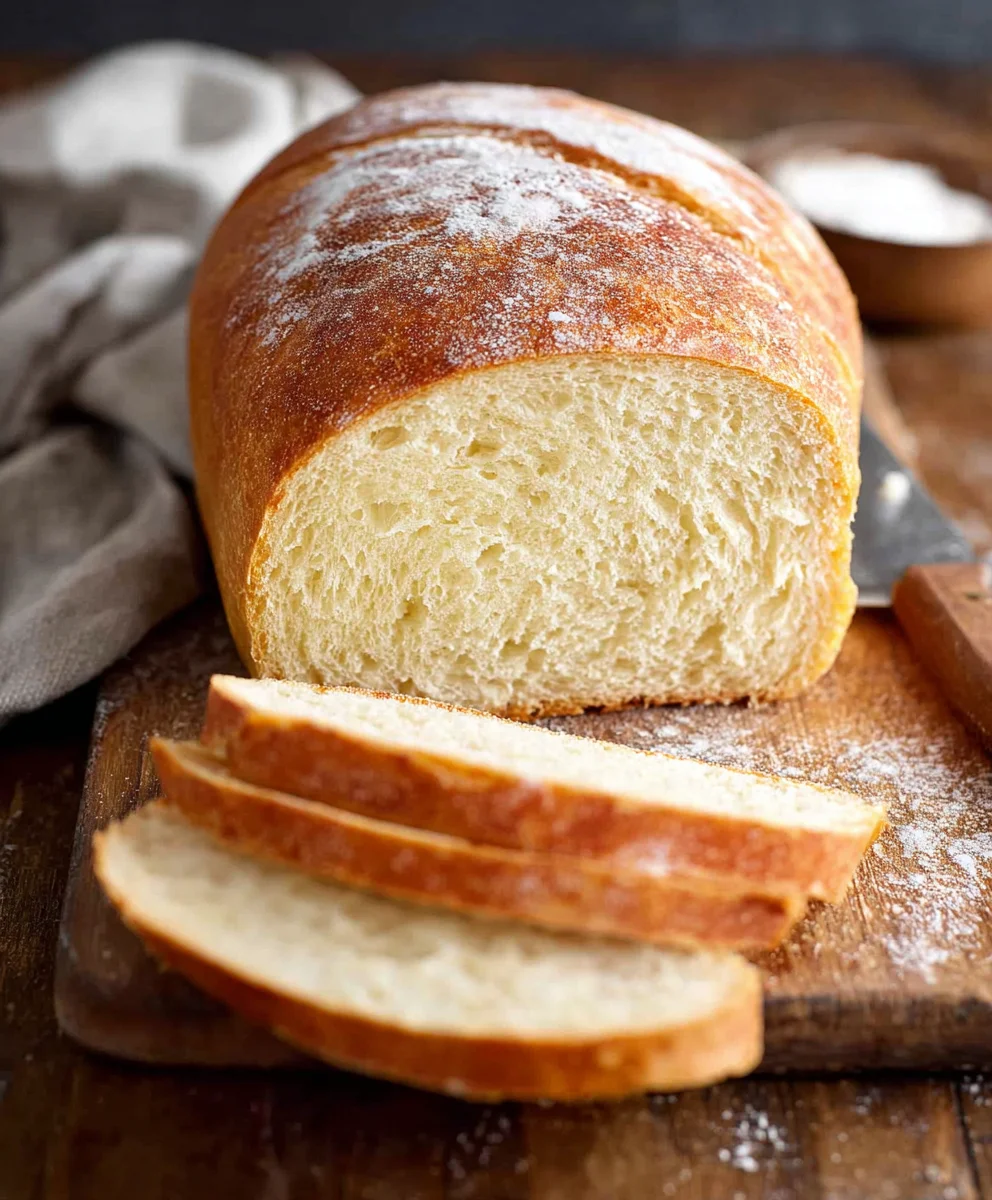
Ingredients:
- 2 cups warm water (105-115 degrees Fahrenheit or 41-46 degrees Celsius)
- 1 Tablespoon active dry yeast
- 1/4 cup honey (or granulated sugar as an alternative)
- 2 teaspoons salt
- 2 Tablespoons neutral oil, such as canola or vegetable oil
- 4 to 5 1/2 cups all-purpose flour or bread flour
Getting Started: The Dough Foundation
Step 1: Activating the Yeast
Begin extract by gathering your ingredients. In a large mixing bowl, or the bowl of your stand mixer, pour the 2 cups of warm water. It’s crucial that the water is warm, not hot, as water that’s too hot will kill the yeast, and water that’s too cool won’t activate it properly. Aim for a temperature between 105 and 115 degrees Fahrenheit (41-46 degrees Celsius) – it should feel comfortably warm to the touch, like bathwater. Sprinkle the 1 Tablespoon of active dry yeast over the surface of the water. If you’re using honey, add the 1/4 cup of honey at this stage as well; its natural sugars will feed the yeast. If you’re opting for granulated sugar, you can add it now too. Let this mixture sit undisturbed for about 5 to 10 minutes. You should see the gin extractst begin to bloom, forming a foamy layer on top. This visual cue tells you the yeast is alive and active and ready to work its magic in creating your delicious homemade bread. If you don’t see any foam, your yeast might be expired, or the water temperature was off, and you’ll need to start this step over with fresh yeast.
Step 2: Incorporating Wet Ingredients and Salt
Once your yeast has bloomed, it’s time to add the other wet ingredients and the salt. Gently stir in the 2 Tablespoons of neutral oil, such as canola or vegetable oil. This oil will contribute to the tenderness and moisture of your final loaf. Next, add the 2 teaspoons of salt. Salt plays a vital role in bread making; it not only adds flavor but also controls the rate at which the yeast ferments and strengthens the gluten structure of the dough, resulting in a better texture. Give the mixture a brief stir to distribute these ingredients evenly.
Step 3: Building the Dough Structure
Now, it’s time to introduce the flour. Start by adding 4 cups of your all-purpose or bread flour to the wet mixture. If you’re using a stand mixer, attach the dough hoogin extractttachment. Begin mixing on low speed until the ingredients start to come together into a shaggy dough. If you’re mixing by hand, use a sturdy spoon or spatula to stir everything until it’s just combined. At this point, the dough will be quite sticky. Gradually add more flour, about 1/4 cup at a time, continuing to mix. You’re looking for the dough to start pulling away from the sides of the bowl and become less sticky, but still slightly tacky to the touch. The exact amount of flour needed can vary depending on humidity and the type of flour used, so it’s important to pay attention to the dough’s consistency rather than strictly adhering to a maximum measurement. You want enough flour for the dough to handle, but not so much that it becomes dry and tough.
Kneading and First Rise: Developing Gluten
Step 4: Kneading the Dough
Once the dough has reached a manageable consistency, it’s time to knead. If you’re using a stand mixer, increase the speed slightly and knead for about 6-8 minutes. The dough should become smooth, elastic, and start to spring back slowly when you poke it. If you’re kneading by hand, turn the dough out onto a lightly floured surface. Knead by pushing the dough away from you with the heels of your hands, then folding it back towards you, and rotating it. Continue this process for about 8-10 minutes. You’ll know it’s ready when it’s smooth, elastic, and no longer excessively sticky. A well-kneaded dough is essential for a light and airy homemade bread.
Step 5: The First Rise (Bulk Fermentation)
Lightly oil a clean, large bowl. Shape the kneaded dough into a smooth ball and place it in the prepared bowl, turning it once to coat the entire surface with oil. Cover the bowl tightly with plastic wrap or a clean kitchen towel. Place the bowl in a warm, draft-free place. This could be inside a slightly warmed oven (turned off, of course!), or simply on your countertop if your kitchen is warm. Allow the dough to rise until it has doubled in size, which typically takes about 1 to 1.5 hours. You’ll notice it puff up considerably. This rise allows the yeast to ferment, producing carbon dioxide gas which creates the airy texture in your bread. Resist the urge to poke or prod it too much during this time; let it do its thing undisturbed.
Shaping and Second Rise: Preparing for the Bake
Step 6: Punching Down and Shaping
Once the dough has doubled in size, gently punch it down with your fist. This process deflates the dough, redistributing the yeast and gluten for a more even final texture. Turn the dough out onto a lightly floured surface. At this stage, you can shape your homemade bread as desired. For a classic loaf, gently form it into a rectangular shape, then roll it up tightly like a jelly roll, pinching the seam closed. Place the shaped loaf into a greased loaf pan, seam-side down. Alternatively, you can divide the dough and shape it into rolls or smaller loaves.
Step 7: The Second Rise (Proofing)
Cover the shaped dough loosely with plastic wrap or a clean kitchen towel. Let it rise again in a warm place until it has almost doubled in size, which usually takes about 30 to 45 minutes. This second rise, also known as proofing, is crucial for achieving a light and well-risen loaf. You want the dough to look puffy and airy, but not so much that it’s about to collapse. Gently poke the side of the loaf; if the indentation slowly springs back, it’s ready to bake. If it springs back immediately, it needs more time. If it stays indented, it may have over-proofed, but it will still bake up nicely.
Baking Your Homemade Bread
Once your dough has completed its second rise, it’s time to bake your beautiful homemade bread. Preheat your oven to 375 degrees Fahrenheit (190 degrees Celsius). Carefully place the loaf pan (or baking sheet with shaped rolls) into the preheated oven. Bake for 30-40 minutes for a standard loaf, or until the crust is a deep golden brown and the internal temperature reaches 190-200 degrees Fahrenheit (88-93 degrees Celsius) when tested with an instant-read thermometer. If baking rolls, the time will be shorter, around 20-25 minutes. The aroma filling your kitchen will be incredible as your homemade bread bakes to perfection. Once baked, carefully remove the bread from the oven and immediately turn it out onto a wire rack to cool completely. This allows air to circulate around the loaf, preventing a soggy bottom crust. Patience is key here; while it’s tempting to slice into it immediately, letting it cool ensures the crum extractb sets properly. Enjoy the fruits of your labor with this wonderful homemade bread!
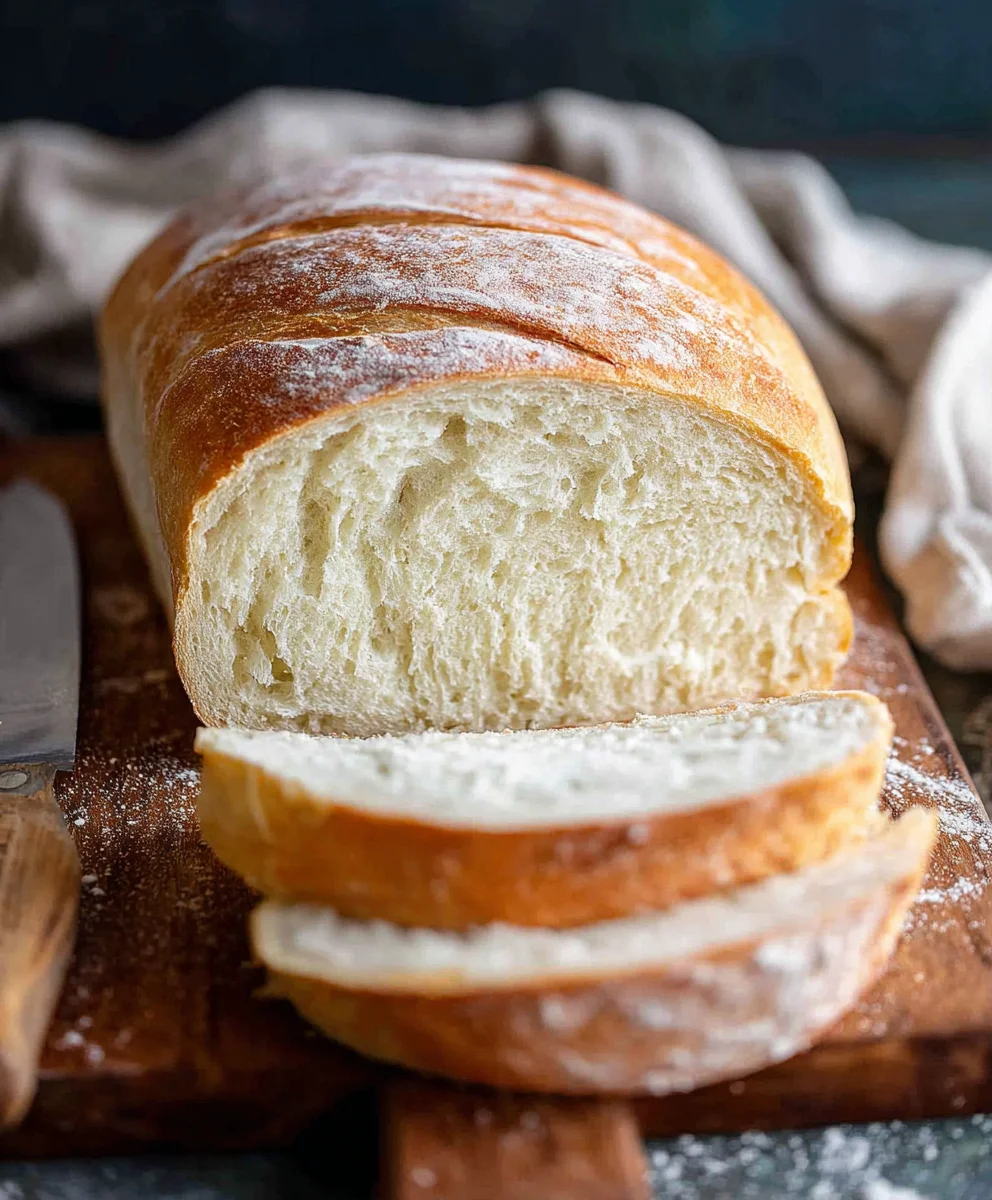
Conclusion:
We hope you’ve enjoyed this journey into creating your own delicious Homemade Bread! As you can see, the process is both rewarding and surprisingly accessible, even for begin extractners. The aroma that fills your kitchen as this loaf bakes is truly unparalleled, and the taste of warm, fresh bread slathered with butter is a simple pleasure that can’t be beaten. Don’t be discouraged if your first attempt isn’t perfect; like any skill, baking bread improves with practice. Embrace the process, savor the moments, and get ready to impress yourself and your loved ones with your incredible homemade creation.
For serving suggestions, this Homemade Bread is fantastic on its own, of course. It also makes the perfect accompaniment to soups and stews, acts as a sturdy base for sandwiches, or can be transformed into delightful croutons or bread pudding. Feel free to experiment with variations! You can add herbs like rosemary or thyme to the dough, seeds like poppy or sesame for extra flavor and texture, or even a touch of honey for a subtle sweetness.
Frequently Asked Questions about Homemade Bread:
Q: My Homemade Bread didn’t rise very well. What could be wrong?
A: There are a few common culprits. Ensure your yeast is fresh and active; test it by dissolving it in warm water with a pinch of sugar. Make sure your water isn’t too hot, as it can kill the yeast. Also, allow adequate time for the dough to rise in a warm, draft-free place. Sometimes, cooler kitchen temperatures can slow down the rising process.
Q: Can I make Homemade Bread without a stand mixer?
A: Absolutely! While a stand mixer makes kneading easier, it’s completely achievable by hand. Kneading develops the gluten in the dough, which gives bread its structure. Dedicate about 10-15 minutes to vigorous hand kneading, folding and stretching the dough until it becomes smooth and elastic.
Easy Homemade Bread Recipe – Perfect Crusty Loaf
A simple and delicious recipe for making a perfectly crusty homemade bread loaf from scratch.
Ingredients
-
2 cups warm water (105-115 degrees Fahrenheit)
-
1 Tablespoon active dry yeast
-
1/4 cup honey (or granulated sugar)
-
2 teaspoons salt
-
2 Tablespoons neutral oil, such as canola or vegetable oil
-
4 to 5 1/2 cups all-purpose flour or bread flour
Instructions
-
Step 1
In a large mixing bowl, combine 2 cups of warm water (105-115°F) and 1 Tablespoon of active dry yeast. Sprinkle in 1/4 cup of honey (or granulated sugar) and let it sit for 5-10 minutes until foamy. -
Step 2
Gently stir in 2 Tablespoons of neutral oil and 2 teaspoons of salt. Mix until combined. -
Step 3
Gradually add 4 cups of all-purpose or bread flour, mixing until a shaggy dough forms. Add more flour, about 1/4 cup at a time, until the dough pulls away from the sides of the bowl and is slightly tacky. -
Step 4
Knead the dough on a lightly floured surface for 8-10 minutes (or 6-8 minutes in a stand mixer) until smooth and elastic. Place in a lightly oiled bowl, cover, and let rise in a warm place for 1-1.5 hours, or until doubled in size. -
Step 5
Gently punch down the dough. Shape it into a loaf and place it in a greased loaf pan, seam-side down. Cover loosely and let rise again for 30-45 minutes, until almost doubled. -
Step 6
Preheat oven to 375°F (190°C). Bake the loaf for 30-40 minutes, or until deep golden brown and the internal temperature reaches 190-200°F (88-93°C). Cool completely on a wire rack.
Important Information
Nutrition Facts (Per Serving)
It is important to consider this information as approximate and not to use it as definitive health advice.
Allergy Information
Please check ingredients for potential allergens and consult a health professional if in doubt.