Easy Freezer Breakfast Sandwiches- Quick Meals
Freezer Breakfast Sandwiches are the ultimate game-changer for busy mornings, and I’m about to show you why they deserve a permanent spot in your rotation. Imagin extracte this: waking up, needing something quick and satisfying, and reaching into your freezer for a perfectly portioned, delicious breakfast that’s ready in minutes. That’s the magic of these convenient creations! People absolutely adore them because they banish the morning rush, providing a homemade taste without the daily effort. Forget those sad, soggy store-bought options; our freezer breakfast sandwiches are bursting with fresh, wholesome ingredients, customizable to your heart’s content.
What makes our Freezer Breakfast Sandwiches so special? It’s the perfect balance of fluffy eggs, savory protein, melted cheese, and your choice of bread, all expertly assembled and flash-frozen to preserve peak flavor and texture. Whether you’re a student, a parent, a fitness enthusiast, or just someone who values their sleep, these are a revelation. They are not just about speed; they are about delivering a truly satisfying and energizing start to your day, every single day.
Ingredients:
- 1 pound ground beef
- 1 pound ground sausage
- 1 tablespoon brown sugar
- 1 teaspoon garlic powder
- 1 teaspoon onion powder
- 1/2 teaspoon red pepper flakes
- 1 teaspoon Italian seasoning
- 12 large eggs
- 1/4 cup milk
- 1 teaspoon salt
- 1 teaspoon white pepper
- 6 English muffins
- 6 slices cheese
- 2 tablespoons melted butter
- Syrup to taste (for serving)
Preparing the Breakfast Patties
Step 1: Form and Cook the Meat Patties
This is where we build the savory foundation for our Freezer Breakfast Sandwiches. You’ll start by combining the ground beef and ground sausage in a large mixing bowl. Don’t be shy about getting your hands in there! Gently but thoroughly mix the two types of meat together. Once they’re well combined, it’s time to add our seasonings. Sprinkle in the brown sugar, garlic powder, onion powder, red pepper flakes, and Italian seasoning. Again, work the seasonings into the meat mixture until everything is evenly distributed. The brown sugar will add a subtle sweetness that balances the savory spices, and the red pepper flakes will provide just a hint of warmth without being overpowering.
Now, we need to form these patties. Divide the meat mixture into 6 equal portions. Roll each portion into a ball, and then flatten it into a patty about 1/2 inch thick. You want them to be roughly the size of your English muffins, perhaps just slightly larger, as they might shrink a little during cooking. You can also make a small indentation in the center of each patty with your thumb; this helps prevent them from puffing up too much in the middle while they cook. Heat a large skillet over medium-high heat. You don’t need to add any oil as the sausage will render its own fat. Carefully place the patties into the hot skillet, ensuring not to overcrowd the pan. Cook for about 4-5 minutes per side, or until they are nicely browned and cooked through. An internal temperature of 160°F (71°C) is ideal for ground meat. Once cooked, remove the patties from the skillet and set them aside on a plate lined with paper towels to drain any excess grease.
Step 2: Prepare the Egg Patties
While the meat patties are resting, let’s get started on the egg component. In a medium bowl, crack all 12 large eggs. Add the milk, salt, and white pepper. The milk helps to create a more tender and fluffy egg texture. Whisk everything together vigorously until the yolks and whites are completely combined and slightly frothy. You want a uniform yellow mixture.
Now, we’ll cook these eggs into individual patties. You can do this in the same skillet you used for the meat, but wipe out any excess grease first. Alternatively, you can use a separate non-stick skillet or even a rimmed baking sheet if you plan to cut them into shapes later. For individual patties that fit perfectly on our sandwiches, heat the skillet over medium heat. Pour about 1/6 of the egg mixture into the skillet, creating a thin, round omelet-like shape, similar in diameter to your meat patties. Cook for about 2-3 minutes, or until the edges start to set and the surface looks mostly cooked but still a little wet on top. Then, carefully flip the egg patty and cook for another 1-2 minutes until fully set. Repeat this process with the remaining egg mixture to create 6 individual egg patties. If you want them to be perfectly uniform, you can use a round cookie cutter after they’ve cooled slightly, or if you’re feeling ambitious, you can pour the egg mixture into greased muffin tins or a rectangular baking pan and bake them until set, then cut them into rounds.
Assembling and Freezing the Sandwiches
Step 3: Toast and Assemble the English Muffins
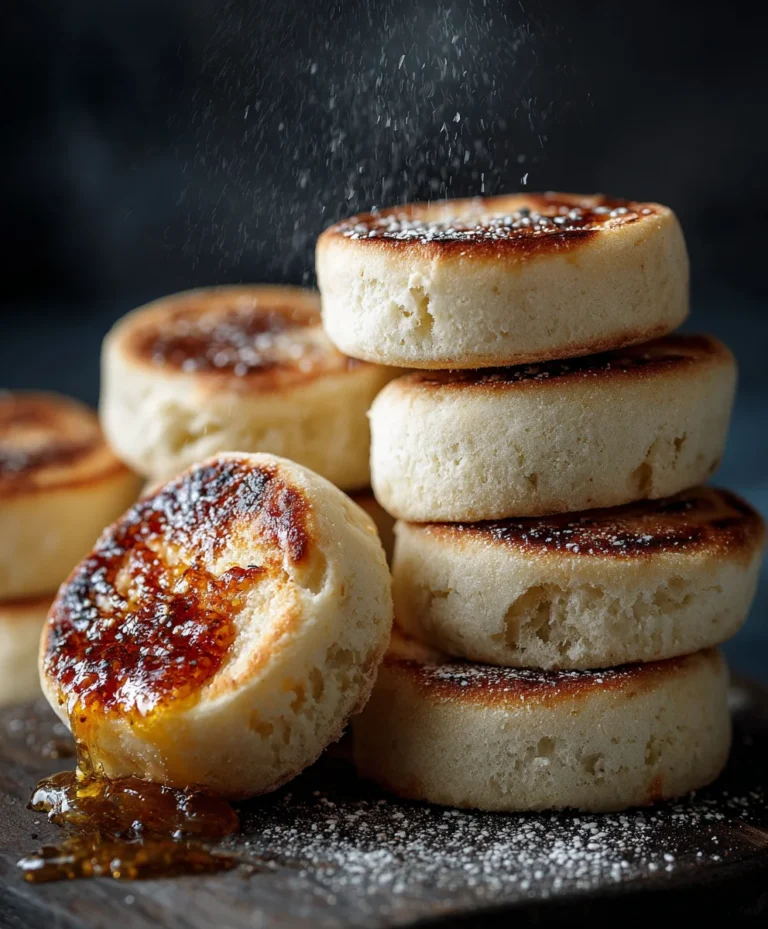
It’s time to bring all our components together! Lightly toast your English muffins until they are golden brown and slightly crisp. This not only improves their texture but also helps them hold up better in the freezer. Once toasted, carefully slice each English muffin in half horizontally. You’ll be using the inside halves as the base and top of your sandwiches.
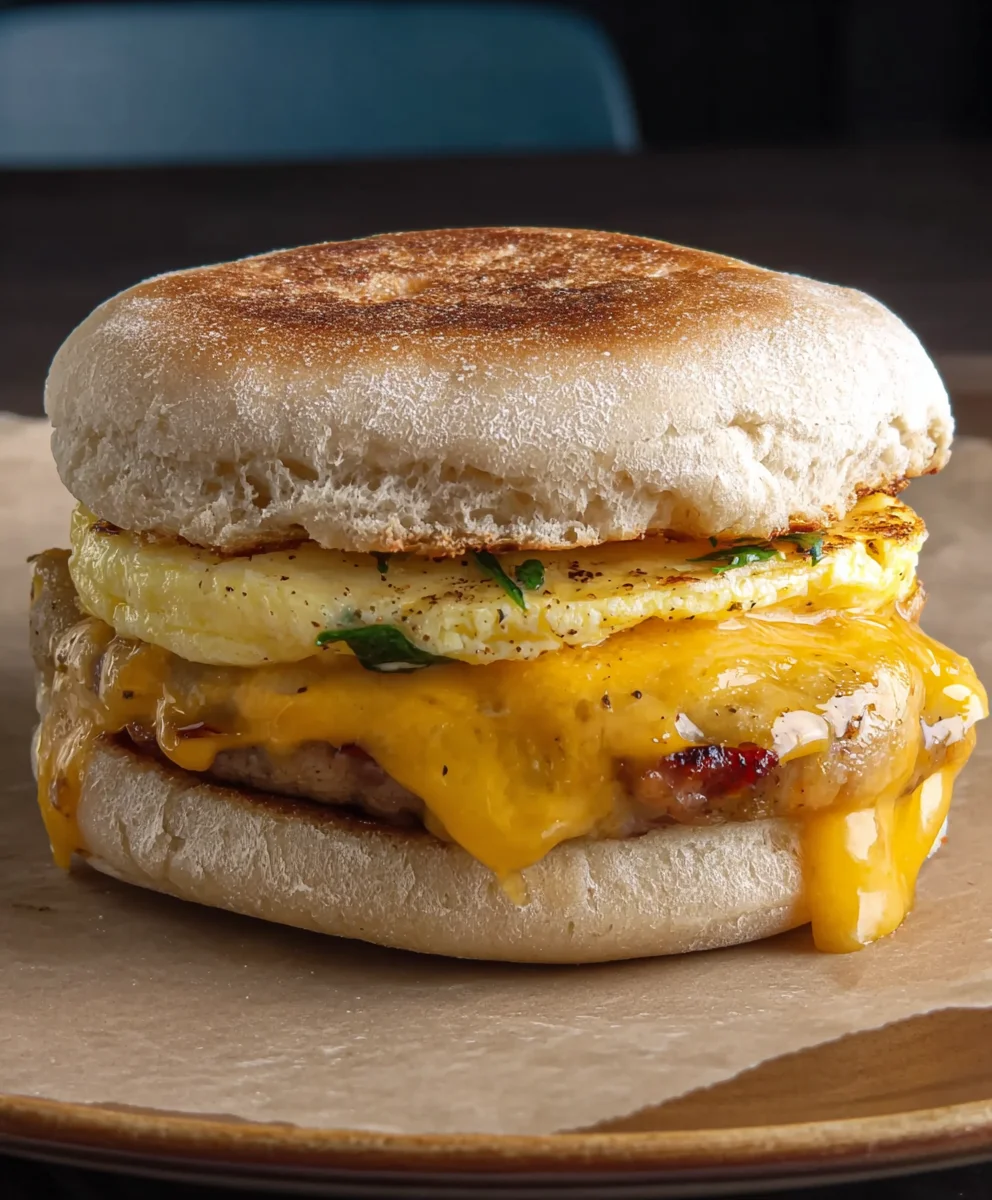
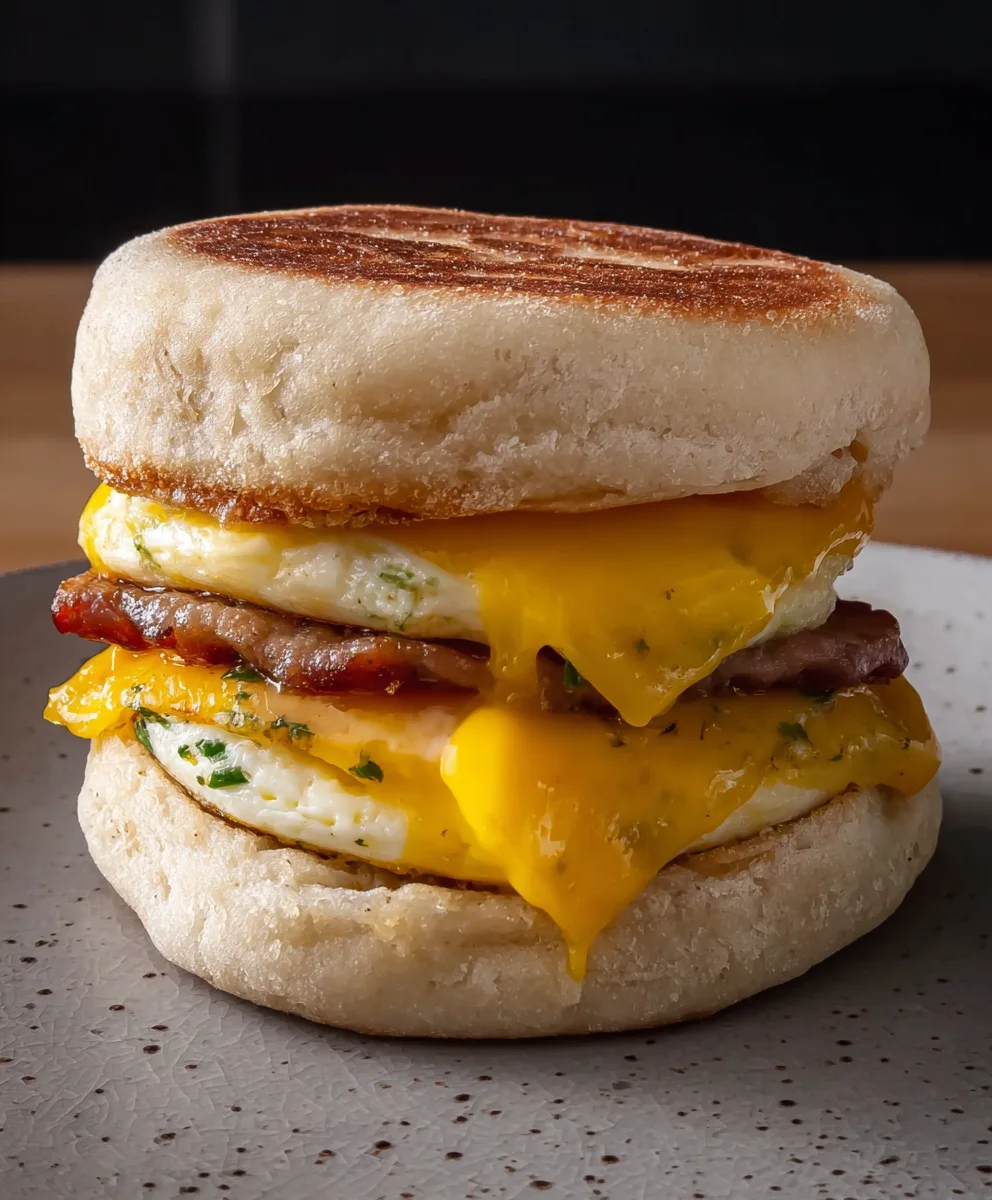
Now, let’s assemble! Place the bottom half of each toasted English muffin on a clean surface. On top of each bottom half, place one of your cooked meat patties. Then, carefully place one of the cooked egg patties on top of the meat patty. Finally, add one slice of cheese on top of the egg patty. The residual heat from the patties should be enough to start melting the cheese, but if you prefer, you can briefly microwave the assembled sandwich for about 15-20 seconds or place the open-faced sandwiches under a broiler for a minute or two to ensure the cheese is fully melted and gooey. Once the cheese is melted, place the top half of the English muffin onto the cheese.
Step 4: Wrap and Freeze
This step is crucial for preserving the freshness and flavor of your Freezer Breakfast Sandwiches. Ensure that the assembled sandwiches have cooled down sufficiently so they aren’t piping hot. This prevents condensation from forming inside the wrappers, which can lead to soggin extractess. Once cooled, you’ll want to wrap each sandwich individually and tightly. For best results, you can use plastic wrap first, ensuring a snug fit, and then wrap them again in aluminum foil. The double layer of protection helps prevent freezer burn and keeps the flavors locked in. Alternatively, you can place each wrapped sandwich into a freezer-safe zip-top bag, squeezing out as much air as possible before sealing. Label each sandwich with the date it was frozen. These Freezer Breakfast Sandwiches can be stored in your freezer for up to 2-3 months.
Step 5: Reheating Instructions
When you’re ready to enjoy one of your homemade Freezer Breakfast Sandwiches, the reheating process is simple and quick. For the best texture and flavor, I recommend the microwave method. Unwrap one of your frozen sandwiches and place it on a microwave-safe plate. Microwave on high power for 60-90 seconds, or until heated through and the cheese is melted and gooey. The exact time will depend on your microwave’s wattage. If you find it’s not quite hot enough, you can microwave it in 15-second increments until it reaches your desired temperature. For a slightly crisper English muffin, you can also try toasting the outside of the sandwich in a skillet over medium heat for a few minutes per side after microwaving.
For an even crispier result, you can reheat the sandwich from frozen in a preheated oven or toaster oven. Place the frozen sandwich on a baking sheet and bake at 350°F (175°C) for about 15-20 minutes, or until heated through and the cheese is melted. This method takes a little longer but yields a fantastic texture. No matter which method you choose, once heated, you can enjoy your delicious and convenient Freezer Breakfast Sandwich. Serve with a side of syrup for dipping if you like a sweet and savory combination!
Conclusion:
Congratulations on mastering the art of the Freezer Breakfast Sandwiches! You’ve now equipped yourself with a fantastic, make-ahead meal solution that will revolutionize your mornings. These delicious and customizable sandwiches are perfect for busy weekdays, quick weekend brunches, or even a satisfying late-night snack. The beauty of the Freezer Breakfast Sandwiches lies in their adaptability; feel free to swap out cheeses, add sautéed vegetables, or experiment with different types of breakfast meats. We encourage you to make a big batch and enjoy the convenience and flavor they bring. Imagin extracte waking up knowing a warm, homemade breakfast is just minutes away – that’s the power of these fantastic Freezer Breakfast Sandwiches!
Frequently Asked Questions about Freezer Breakfast Sandwiches:
How long do Freezer Breakfast Sandwiches last in the freezer?
When properly wrapped and stored, your Freezer Breakfast Sandwiches can maintain their quality for up to 1-2 months. For best results, use a combination of plastic wrap and aluminum foil or place them in freezer-safe bags to prevent freezer burn.
Can I make Freezer Breakfast Sandwiches ahead of time for meal prep?
Absolutely! That’s precisely the primary benefit of making Freezer Breakfast Sandwiches. Assemble them completely, let them cool, wrap them individually, and then freeze them. This makes your morning routine incredibly efficient.
What are some good vegetarian or vegan variations for Freezer Breakfast Sandwiches?
For vegetarian options, consider using plant-based sausage patties, scrambled eggs, or even a tofu scramble seasoned with nutritional yeast for a “cheesy” flavor. For vegan versions, opt for vegan cheese slices, plant-based beef bacon, and a tofu scramble.
Easy Freezer Breakfast Sandwiches
Quick and easy make-ahead breakfast sandwiches perfect for busy mornings.
Ingredients
-
1 pound ground beef
-
1 pound ground beef
-
1 tablespoon brown sugar
-
1 teaspoon garlic powder
-
1 teaspoon onion powder
-
1/2 teaspoon red pepper flakes
-
1 teaspoon Italian seasoning
-
12 large eggs
-
1/4 cup milk
-
1 teaspoon salt
-
1 teaspoon white pepper
-
6 English muffins
-
6 slices cheese
-
2 tablespoons melted butter
-
Syrup to taste
Instructions
-
Step 1
Combine ground beef and ground beef. Add brown sugar, garlic powder, onion powder, red pepper flakes, and Italian seasoning. Mix well. Form into 6 equal patties, about 1/2 inch thick. Cook patties in a skillet over medium-high heat for 4-5 minutes per side until browned and cooked through (160°F/71°C). Drain on paper towels. -
Step 2
In a bowl, whisk together 12 large eggs, 1/4 cup milk, 1 teaspoon salt, and 1 teaspoon white pepper. Pour about 1/6 of the egg mixture into a skillet over medium heat, creating a thin patty. Cook for 2-3 minutes, flip, and cook for another 1-2 minutes until set. Repeat for remaining egg mixture to make 6 egg patties. -
Step 3
Lightly toast 6 English muffins and slice them in half horizontally. Place the bottom half of each muffin on a clean surface. Top with a meat patty, then an egg patty, and finally a slice of cheese. Melt cheese briefly if desired. -
Step 4
Place the top half of the English muffin onto the cheese. Allow sandwiches to cool slightly to prevent condensation. -
Step 5
Wrap each cooled sandwich tightly in plastic wrap, then in aluminum foil, or place in freezer-safe zip-top bags, removing excess air. Label with the date and freeze for up to 2-3 months. -
Step 6
To reheat, unwrap and microwave on high for 60-90 seconds until heated through and cheese is melted. For a crispier muffin, toast the outside of the sandwich in a skillet after microwaving, or bake from frozen at 350°F (175°C) for 15-20 minutes. Serve with syrup if desired.
Important Information
Nutrition Facts (Per Serving)
It is important to consider this information as approximate and not to use it as definitive health advice.
Allergy Information
Please check ingredients for potential allergens and consult a health professional if in doubt.