Easy Strawberry Cheesecake Dump Cake Recipe-Delicious Dessert
Strawberry Cheesecake Dump Cake is the ultimate solution for those moments when you crave a show-stopping dessert without the fuss. Imagin extracte the creamy tang of cheesecake meeting the sweet burst of strawberries, all nestled within a tender, buttery cake, and the best part? It’s astonishingly easy to make! This magical combination has captured hearts because it delivers all the decadent flavors of a classic strawberry cheesecake but with a fraction of the effort. What truly sets this Strawberry Cheesecake Dump Cake apart is its ingenious simplicity; no complicated layers, no water baths, just pure, unadulterated dessert bliss that comes together in minutes. It’s the perfect crowd-pleaser for potlucks, last-minute gatherings, or simply a treat for yourself when you need a little comforting sweetness without the stress of traditional baking. Get ready to amaze your taste buds and your guests with this effortlessly delightful creation!
Ingredients:
- 1 can (21 oz) strawberry pie filling
- 1 package (8 oz) cream cheese, softened
- ½ cup granulated sugar
- 1 teaspoon vanilla extract
- 1 box yellow or white cake mix (15.25 oz)
- ½ cup (1 stick) unsalted butter, melted
- ½ cup milk
- ½ teaspoon cinnamon (optional)
- ½ cup chopped pecans or walnuts (optional)
- Whipped cream, for serving
- Vanilla ice cream, for serving
- Fresh strawberries, for serving
Preparing the Creamy Cheesecake Layer
This is where the magic truly begin extracts for our Strawberry Cheesecake Dump Cake. The first step involves creating a luscious and tangy cream cheese base that will complement the sweet strawberry filling beautifully. Take your 8-ounce package of cream cheese and ensure it is thoroughly softened. This is crucial for achieving a smooth and lump-free mixture. Room temperature cream cheese is your best friend here. If you’ve forgotten to take it out of the refrigerator in advance, you can quickly soften it by cutting it into smaller cubes and letting it sit on the counter for about 30-45 minutes, or by carefully microwaving it in 10-second intervals, stirring in between, until pliable but not melted. Into a medium-sized mixing bowl, add the softened cream cheese. Next, measure out ½ cup of granulated sugar and add it to the cream cheese. Now, it’s time to incorporate the vanilla extract, adding a full teaspoon for that classic sweet aroma and flavor. Using an electric mixer, whether it’s a hand mixer or a stand mixer with the paddle attachment, beat these ingredients together on medium speed until they are well combined and have a creamy, smooth consistency. You want to scrape down the sides of the bowl occasionally to ensure everything is incorporated evenly. The mixture should look light and airy, with no visible streaks of cream cheese or sugar. This layer provides a wonderful tang and richness that balances the sweetness of the strawberries and the cake.
Assembling the Dump Cake Layers
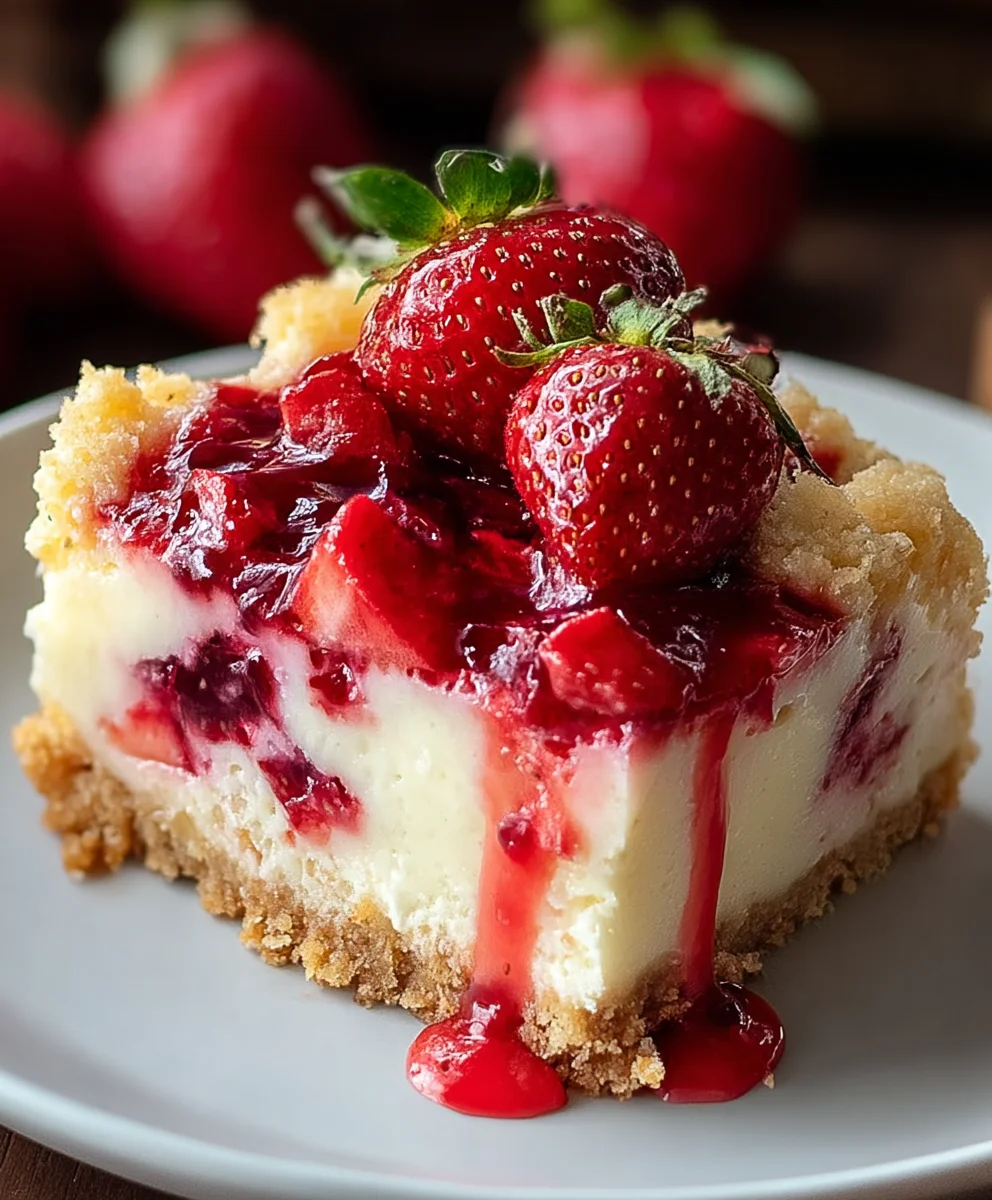
Now that our creamy cheesecake layer is ready, it’s time to assemble the dump cake. This recipe lives up to its name because it’s incredibly simple and requires minimal prep work. Grab a 9×13 inch baking dish. First, evenly spread the entire contents of the 21-ounce can of strawberry pie filling across the bottom of the baking dish. Make sure to spread it out so you have a nice, consistent layer. Don’t worry if there are a few larger chunks of strawberries; they’ll soften beautifully during baking. Next, carefully spoon the prepared cream cheese mixture over the top of the strawberry pie filling. You don’t need to spread it perfectly smooth; in fact, leaving some swirls and dollops will create beautiful pockets of cream cheese throughout the cake. Think of it as creating a rustic, artful layer. If you’re opting for the optional additions, this is a good time to sprinkle them. If you’ve decided to add chopped pecans or walnuts, distribute them evenly over the cream cheese layer. These nuts will add a delightful crunch and nutty flavor to the finished dessert. If you’re using cinnamon, you can lightly dust it over the cream cheese and nuts for an extra layer of warmth and spice, especially if you’re using a yellow cake mix which pairs wonderfully with cinnamon.
Creating the Cake Mix Topping
The next crucial step is to create the cake mix topping, which forms the golden, crispy crust of our dump cake. Take your 15.25-ounce box of yellow or white cake mix. It’s important to use the dry cake mix straight from the box; do not prepare it according to package directions. In a separate medium bowl, add the dry cake mix. Now, it’s time to incorporate the wet ingredients that will help it bake into a delightful topping. Pour in ½ cup of milk and the ½ cup of melted unsalted butter. If you’re using cinnamon and haven’t added it to the previous layer, you can also add it here to the dry ingredients before mixing. Whisk or stir these ingredients together until they are just combined. The batter will be quite thick and lumpy – this is perfectly normal and exactly what you want. Do not overmix. The goal is to create a cohesive, albeit somewhat lumpy, batter. This thick, slightly under-mixed batter is key to achieving that characteristic crum extractbly, golden-brown topping that dump cakes are known for.
Baking the Strawberry Cheesecake Dump Cake
With all the layers assembled, it’s time to bake our delightful Strawberry Cheesecake Dump Cake. Preheat your oven to 350 degrees Fahrenheit (175 degrees Celsius). Now, carefully pour and spread the cake mix batter evenly over the cream cheese and strawberry layers in the prepared baking dish. You want to cover as much of the cream cheese and fruit as possible with the cake mix, but again, don’t aim for perfection; some areas might be slightly thicker or thinner, contributing to the rustic charm. You can use a spoon or an offset spatula to gently spread it, trying not to disturb the layers beneath too much. Place the baking dish on a baking sheet to catch any potential drips during baking. Bake for 40 to 50 minutes, or until the topping is golden brown and the filling is bubbly around the edges. You should see the cake topping turning a lovely golden hue and the strawberry filling peeking through and bubbling up. If you notice the topping browning too quickly before the center is cooked through, you can loosely tent the dish with aluminum foil for the remainder of the baking time.
Cooling and Serving Suggestions
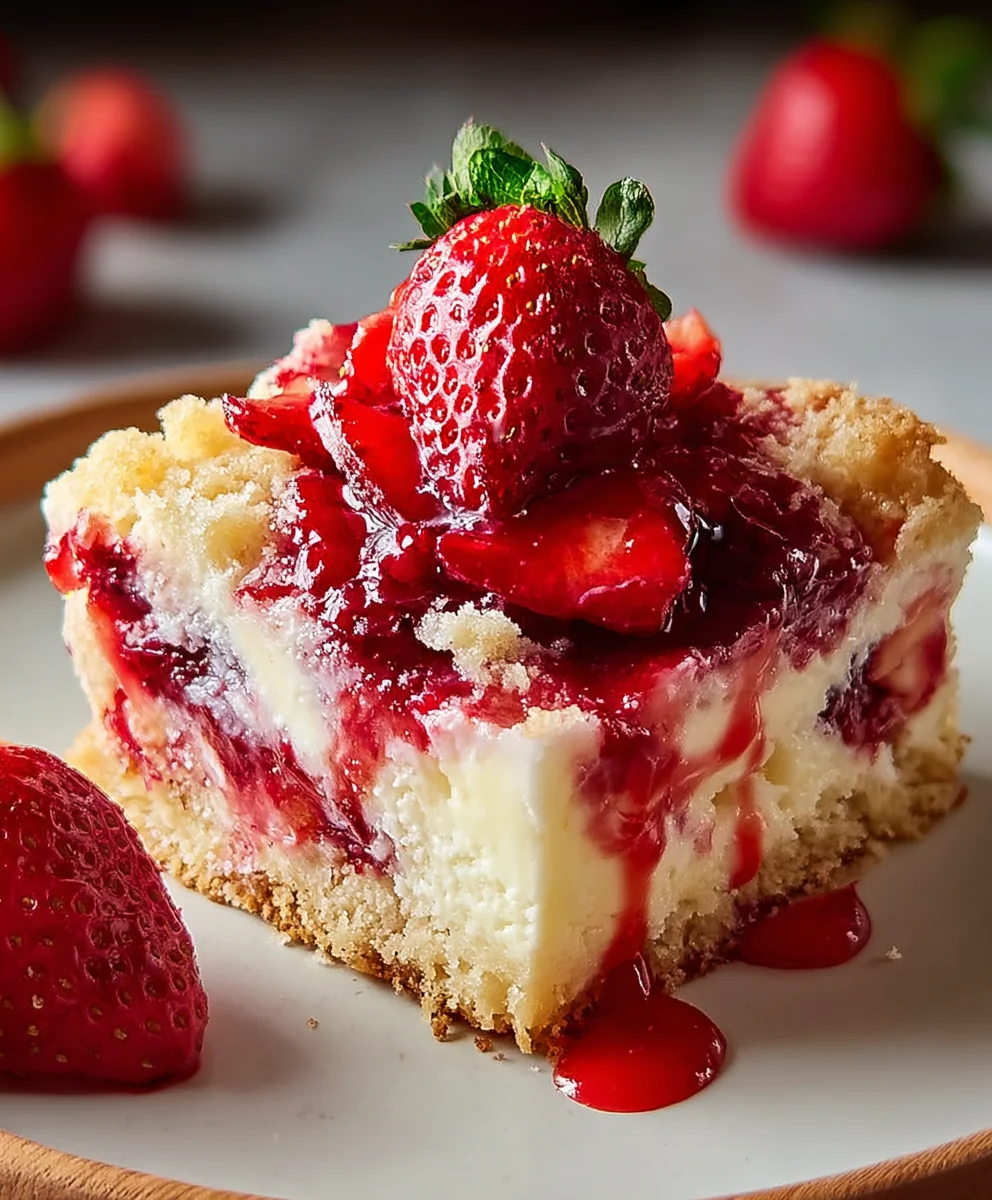
Once your Strawberry Cheesecake Dump Cake is out of the oven, resisting the urge to dig in immediately is key for the best texture. Allow it to cool on a wire rack for at least 15 to 20 minutes before serving. This cooling period is essential as it allows the molten filling to set slightly, preventing it from being too runny when you scoop it out. While it’s still warm, the dessert is incredibly gooey and delicious. However, letting it cool a bit more will give you a more defined, sliceable dessert. To serve, scoop generous portions into bowls. This dump cake is absolutely divine served warm with a dollop of fluffy whipped cream and a scoop of rich vanilla ice cream. The contrast of the warm, sweet cake with the cold, creamy ice cream is a match made in heaven. For an extra burst of freshness and vibrant color, garnish each serving with a few fresh strawberries. The combination of the creamy cheesecake, sweet strawberry filling, and the golden cake topping, all complemented by creamy ice cream and fresh fruit, makes this Strawberry Cheesecake Dump Cake a truly irresistible treat for any occasion.
Conclusion:
And there you have it – the incredibly simple yet utterly delicious Strawberry Cheesecake Dump Cake! This recipe truly lives up to its name, transforming a handful of pantry staples and fresh fruit into a delightful dessert with minimal effort. The combination of tender cake, creamy cheesecake filling, and bursts of sweet strawberries is simply irresistible, making it a guaranteed crowd-pleaser for any occasion. Whether you’re a seasoned baker or a complete begin extractner, this Strawberry Cheesecake Dump Cake is your secret weapon for a fuss-free, impressive dessert.
For serving, I love to enjoy this warm, straight from the oven, perhaps with a dollop of whipped cream or a scoop of vanilla ice cream. It’s also fantastic at room temperature. If you’re feeling adventurous, consider adding a sprinkle of chopped pecans or almonds on top before baking for an extra crunch. You could also swap the strawberries for other berries like raspberries or blueberries for a different flavor profile.
Don’t be afraid to experiment and make this Strawberry Cheesecake Dump Cake your own. The beauty of this recipe lies in its adaptability. So go ahead, gather your ingredients, and enjoy the process. I’m confident you’ll be delighted with the results!
Frequently Asked Questions about Strawberry Cheesecake Dump Cake:
Q: Can I use frozen strawberries instead of fresh for my Strawberry Cheesecake Dump Cake?
Absolutely! Using frozen strawberries is a perfectly acceptable and often convenient alternative. If you do use frozen strawberries, there’s no need to thaw them beforehand. Simply scatter them over the cake mix and cheesecake filling as directed. You might find that your dump cake releases a little more liquid during baking due to the frozen berries, but this usually just adds to the moistness of the finished dessert.
Q: What other fruits can I substitute for strawberries in this dump cake?
The beauty of a dump cake is its versatility! You can easily swap the strawberries for other fruits. Other excellent choices include blueberries, raspberries, blackberries, or a mix of berries. For a different flavor, consider sliced peaches, apricots, or even canned pineapple (drained well). Ensure any fruit you use is fresh or thawed and drained if frozen, similar to the strawberries.
Easy Strawberry Cheesecake Dump Cake
A delicious and easy dump cake recipe featuring layers of strawberry pie filling, a creamy cheesecake mixture, and a golden cake mix topping. Perfect for any occasion!
Ingredients
-
1 can (21 oz) strawberry pie filling
-
1 package (8 oz) cream cheese, softened
-
½ cup granulated sugar
-
1 teaspoon vanilla extract
-
1 box yellow cake mix (15.25 oz)
-
½ cup unsalted butter, melted
-
½ cup milk
-
½ teaspoon cinnamon (optional)
-
½ cup chopped pecans or walnuts (optional)
-
Whipped cream, for serving
-
Vanilla ice cream, for serving
-
Fresh strawberries, for serving
Instructions
-
Step 1
Prepare the cheesecake layer: In a medium bowl, beat together the softened cream cheese, granulated sugar, and vanilla extract until smooth and creamy. Scrape down the sides of the bowl as needed. -
Step 2
Assemble the dump cake: Spread the strawberry pie filling evenly in the bottom of a 9×13 inch baking dish. Carefully spoon the cream cheese mixture over the strawberry filling, creating rustic swirls. -
Step 3
Optional additions: If using, sprinkle chopped pecans or walnuts evenly over the cream cheese layer. Lightly dust with cinnamon. -
Step 4
Create the cake mix topping: In a separate medium bowl, combine the dry cake mix, melted butter, and milk. Stir until just combined; the batter will be thick and lumpy. Do not overmix. -
Step 5
Bake the dump cake: Preheat oven to 350°F (175°C). Pour and spread the cake mix batter evenly over the cream cheese and strawberry layers. Place the dish on a baking sheet. Bake for 40-50 minutes, or until the topping is golden brown and the filling is bubbly. -
Step 6
Cool and serve: Let the dump cake cool on a wire rack for 15-20 minutes. Serve warm with whipped cream, vanilla ice cream, and fresh strawberries.
Important Information
Nutrition Facts (Per Serving)
It is important to consider this information as approximate and not to use it as definitive health advice.
Allergy Information
Please check ingredients for potential allergens and consult a health professional if in doubt.