Easy Sourdough Discard Brownies – Deliciously Fudgy
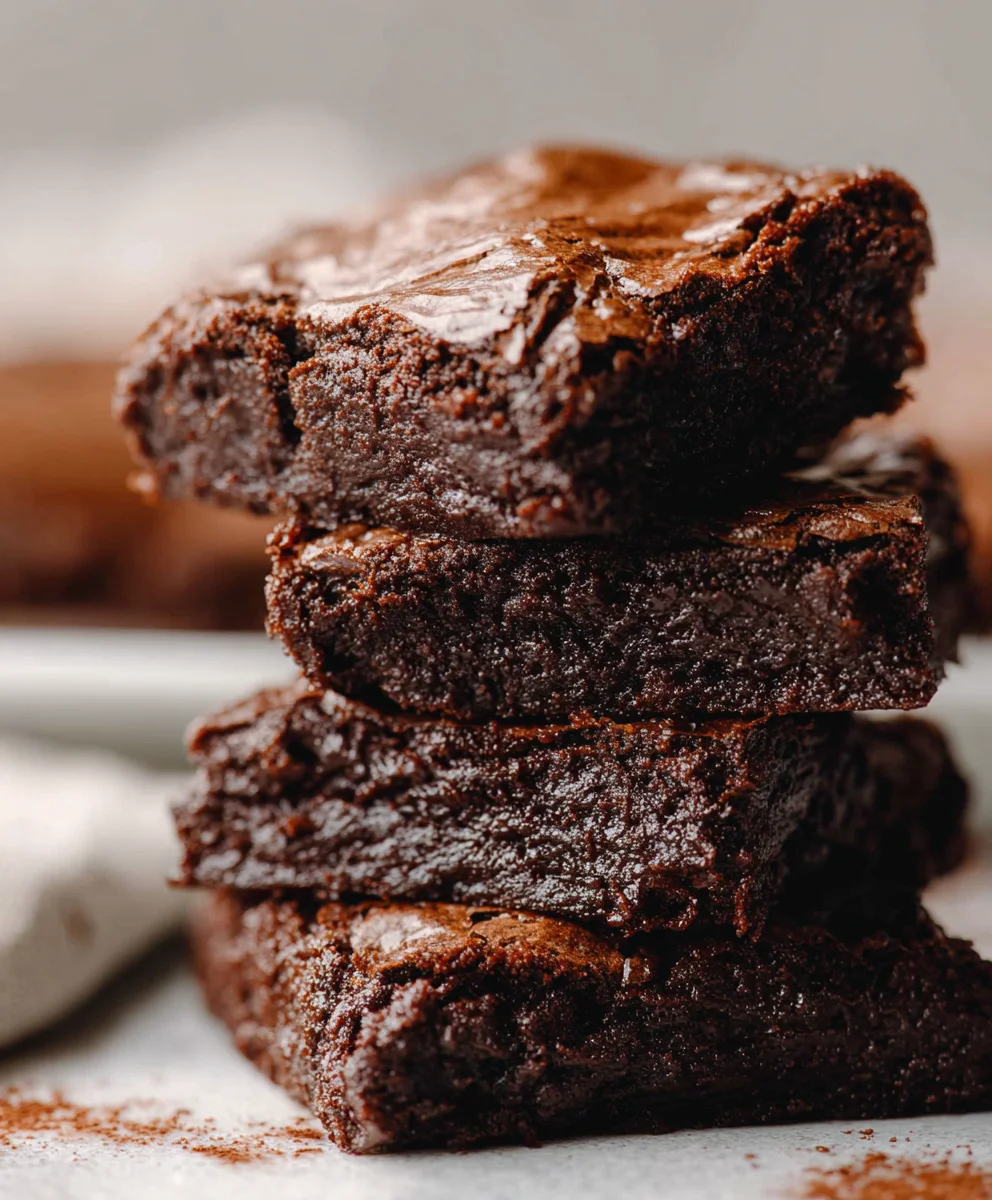
Easy Sourdough Discard Brownies are the ultimate guilt-free indulgence, transforming that precious starter discard into a fudgy, decadent treat. If you’re a sourdough enthusiast, you know the feeling: a growing jar of discard that you yearn to put to delicious use. These brownies are the answer! People absolutely adore them because they deliver all the rich, chocolatey goodness of traditional brownies with a surprising depth of flavor and a wonderfully chewy texture that’s just beggin extractg to be devoured. What makes these Easy Sourdough Discard Brownies truly special is the subtle tang from the sourdough, which beautifully balances the sweetness of the chocolate and elevates the overall flavor profile in a way you simply won’t find in other brownie recipes. Get ready to impress yourself and anyone lucky enough to snag a bite!
Ingredients:
- 1/2 cup unsalted butter
- 1 1/2 cups semi-sweet chocolate chips (approximately 12 oz), divided
- 1/2 cup cocoa powder (Dutch-process or natural works equally well)
- 2 teaspoons vanilla extract
- 2 large eggs
- 1 large egg yolk
- 1 cup granulated sugar
- 1/2 cup packed light brown sugar
- 1/2 cup sourdough starter discard (fed and unfed both work, but unfed can add a slightly tangier depth)
- 1 cup all-purpose flour
- 1 teaspoon salt
Preparing Your Brownie Batter
Melting the Chocolate and Butter Base
This initial step is crucial for developing that rich, fudgy texture in our Easy Sourdough Discard Brownies. In a medium, heatproof bowl, combine the 1/2 cup of unsalted butter and 1 cup of the semi-sweet chocolate chips. You have a couple of excellent options for melting these together. The most straightforward method is the double boiler. Fill a saucepan with about an inch or two of water and bring it to a gentle simmer over medium-low heat. Place the heatproof bowl containing the butter and chocolate chips over the saucepan, ensuring the bottom of the bowl does not touch the water. Stir occasionally until the butter is fully melted and the chocolate chips have smoothly dissolved into a glossy mixture. Alternatively, you can melt them in the microwave. Place the bowl in the microwave and heat in 30-second intervals, stirring thoroughly after each interval, until the mixture is smooth and fully melted. Be cautious not to overheat, as chocolate can seize and become grainy. Once melted, remove the bowl from the heat (or microwave) and stir in the 1/2 cup of cocoa powder and the 2 teaspoons of vanilla extract. Whisk vigorously until the cocoa powder is completely incorporated and there are no streaks of dry powder remaining. This creates our deeply chocolatey foundation. Set this mixture aside to cool slightly while you prepare the wet ingredients.
Whipping Together the Sugars and Eggs
In a separate, larger mixing bowl, combine the 1 cup of granulated sugar and the 1/2 cup of packed light brown sugar. Add the 2 large eggs and the single egg yolk to the sugar mixture. Now, it’s time to bring these ingredients together using a whisk or an electric mixer on medium speed. You want to whisk until the mixture is pnon-alcoholic ale yellow and slightly thickened. This process incorporates air, which will contribute to the brownie’s structure and a slightly lighter crum extractb, preventing them from being overly dense. Continue whisking for about 2 to 3 minutes. The sugars will begin extract to dissolve into the eggs, creating a syrupy consistency. This aeration is key to achieving that desirable crackly top that many brownie lovers adore.
Incorporating the Sourdough and Chocolate Mixture
Once your sugar and egg mixture is well-whipped and the chocolate-butter base has cooled for a few minutes (it should still be warm but not piping hot, so it doesn’t scramble the eggs), it’s time to combine them. Gently pour the slightly cooled chocolate and cocoa mixture into the bowl with the whipped eggs and sugars. Using a spatula or whisk, carefully fold and stir the two mixtures together until they are just combined. Overmixing at this stage can develop the gluten in the flour too much, resulting in tougher brownies. We are aiming for a homogenous, glossy batter at this point. Now, we introduce the star of our recipe: the 1/2 cup of sourdough starter discard. Add the sourdough discard to the batter and gently fold it in until it’s mostly incorporated. Don’t worry if there are a few little streaks of starter remaining; they will disappear during baking. The sourdough discard adds a subtle tang and a wonderfully chewy texture to the brownies, making them exceptionally moreish.
Adding the Dry Ingredients and Baking
Gently Folding in Flour and Salt
With our wet ingredients and chocolate base beautifully combined, it’s time to add the dry ingredients. To the batter, add the 1 cup of all-purpose flour and the 1 teaspoon of salt. It’s crucial to add these dry ingredients gently to avoid overmixing. Use a spatula and fold the flour and salt into the batter until just combined. Stop folding as soon as you no longer see streaks of dry flour. A few small lumps are perfectly acceptable and are preferable to overmixed, tough brownies. This is where the magic of the sourdough discard truly shines, creating a complex flavor profile that complements the rich chocolate.
Adding the Remaining Chocolate Chips and Baking
Finally, it’s time to add the remaining 1/2 cup of semi-sweet chocolate chips to the batter. Fold these in gently with your spatula. These chocolate chips will melt slightly during baking, creating delicious pockets of gooey chocolate throughout the brownies. Prepare a baking pan by greasing and flouring an 8×8 inch baking pan, or lining it with parchment paper for easy removal. Pour the brownie batter into the prepared pan, spreading it evenly with your spatula. For an extra touch, you can sprinkle a few more chocolate chips on top of the batter before baking. Preheat your oven to 350°F (175°C). Bake for 25-30 minutes, or until a toothpick inserted into the center comes out withrum extractist crumbs attached, but not wet batter. The edges should look set, and the top should have a slightly crackly appearance. Be careful not to overbake, as this will result in dry brownies. Let them cool completely in the pan on a wire rack before cutting into squares. This cooling period is vital for the brownies to set properly, ensuring a perfect fudgy texture.
Conclusion:
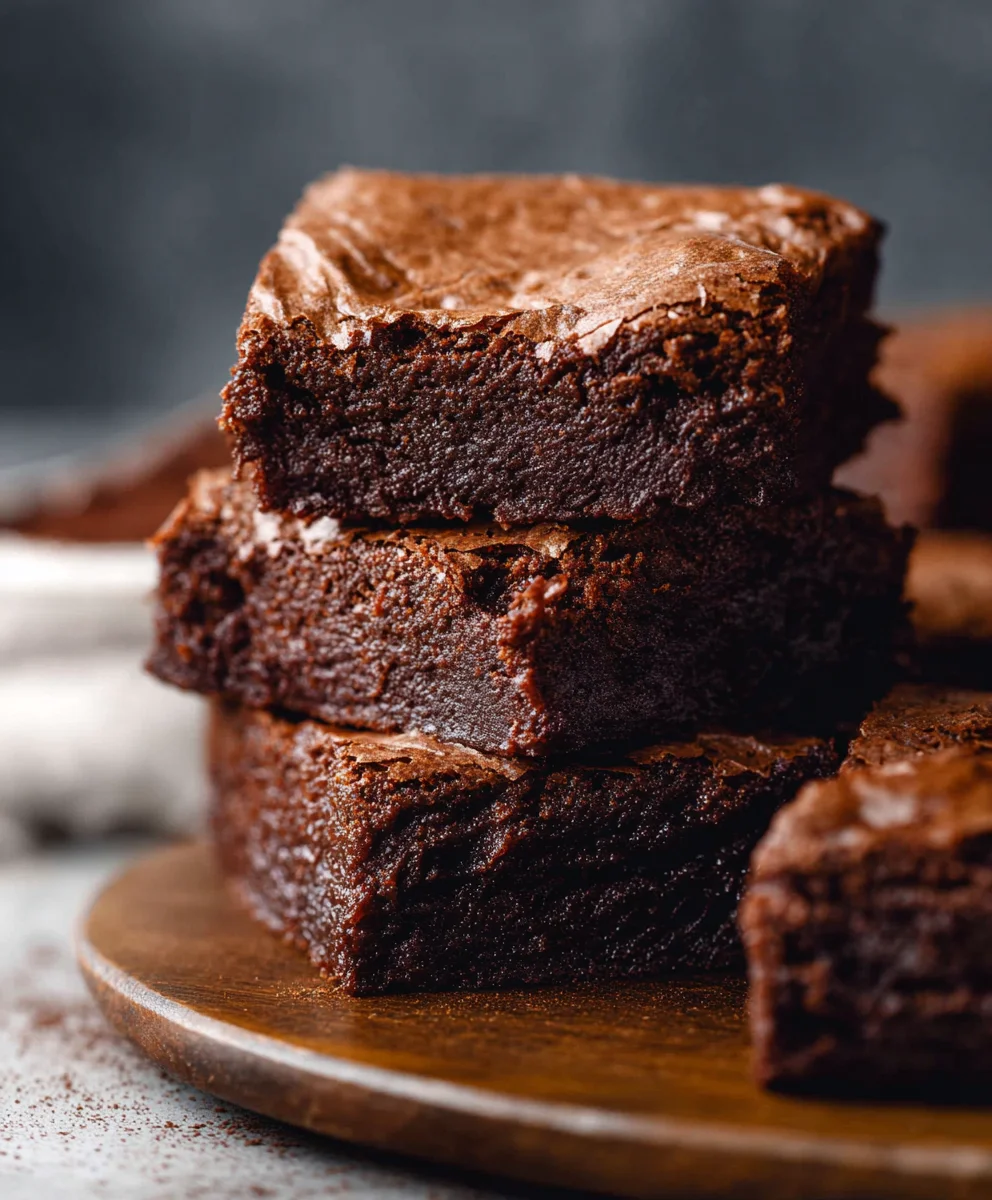
And there you have it – your guide to creating the most decadent and satisfying Easy Sourdough Discard Brownies! We’ve walked through each step, from transforming your active sourdough discard into a rich, fudgy batter to achieving that perfect crackly top. These brownies are more than just a treat; they’re a testament to the magic of reducing waste and creating something truly delicious. The subtle tang from the sourdough discard adds a unique depth of flavor that sets these apart from any ordinary brownie. They’re incredibly versatile, so don’t be afraid to experiment with the variations we’ve discussed. We encourage you to bake a batch soon and experience the delightful chegrape juicess and intense chocolatey goodness for yourself. Share them with loved ones, or savor them all to yourself – you deserve it!
Frequently Asked Questions:
Can I use unfed sourdough discard for these brownies?
For the best flavor and texture in your Easy Sourdough Discard Brownies, it’s recommended to use sourdough discard that has been fed and is active. While unfed discard can be used, it might result in a slightly less developed flavor and a chewier texture. If you only have unfed discard, you can still achieve delicious results, but be aware of these potential minor differences.
What are some other mix-ins I can add to the Easy Sourdough Discard Brownies?
Beyond the classic chocolate chips, feel free to get creative! Consider adding a handful of chopped nuts like walnuts or pecans for a delightful crunch. White chocolate chips, caramel bits, or even a swirl of peanut butter can elevate your Easy Sourdough Discard Brownies to new heights. Mini marshmallows, added in the last few minutes of baking, will create gooey pockets of sweetness.
Easy Sourdough Discard Brownies – Deliciously Fudgy
Deliciously fudgy brownies made with sourdough discard for a tangy depth and chewy texture.
Ingredients
-
1/2 cup unsalted butter
-
1 1/2 cups semi-sweet chocolate chips
-
1/2 cup cocoa powder
-
2 teaspoons vanilla extract
-
2 large eggs
-
1 large egg yolk
-
1 cup granulated sugar
-
1/2 cup packed light brown sugar
-
1/2 cup sourdough starter discard
-
1 cup all-purpose flour
-
1 teaspoon salt
Instructions
-
Step 1
Melt 1/2 cup unsalted butter and 1 cup semi-sweet chocolate chips using a double boiler or microwave. Stir in 1/2 cup cocoa powder and 2 teaspoons vanilla extract until smooth. Set aside to cool slightly. -
Step 2
In a separate bowl, whisk together 1 cup granulated sugar, 1/2 cup packed light brown sugar, 2 large eggs, and 1 egg yolk until pale yellow and slightly thickened, about 2-3 minutes. -
Step 3
Gently fold the slightly cooled chocolate mixture into the sugar and egg mixture until just combined. Stir in 1/2 cup sourdough starter discard until mostly incorporated. -
Step 4
Gently fold in 1 cup all-purpose flour and 1 teaspoon salt until just combined. Avoid overmixing. -
Step 5
Fold in the remaining 1/2 cup semi-sweet chocolate chips. Pour batter into a greased and floured 8×8 inch baking pan. Bake at 350°F (175°C) for 25-30 minutes, or until a toothpick comes out with moist crumbs. Cool completely before cutting.
Important Information
Nutrition Facts (Per Serving)
It is important to consider this information as approximate and not to use it as definitive health advice.
Allergy Information
Please check ingredients for potential allergens and consult a health professional if in doubt.