Easy No-Knead Bread Recipe Quick & Delicious
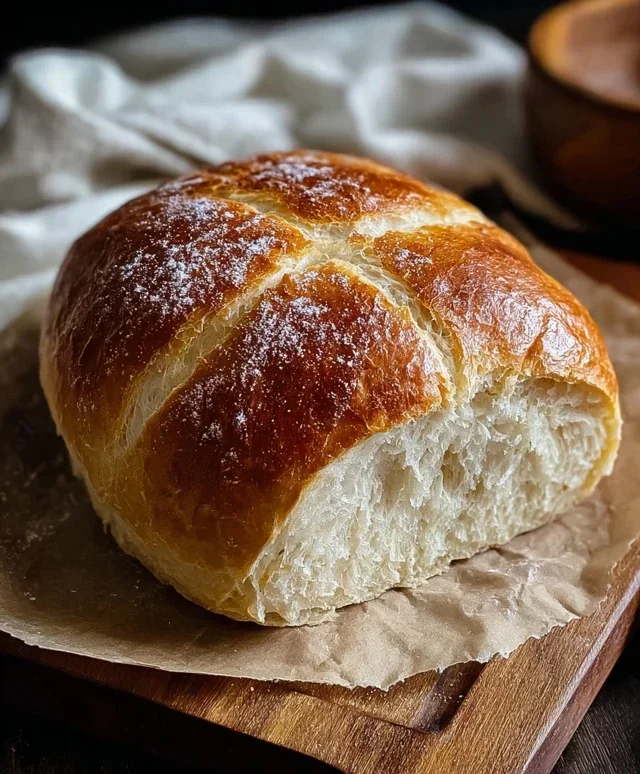
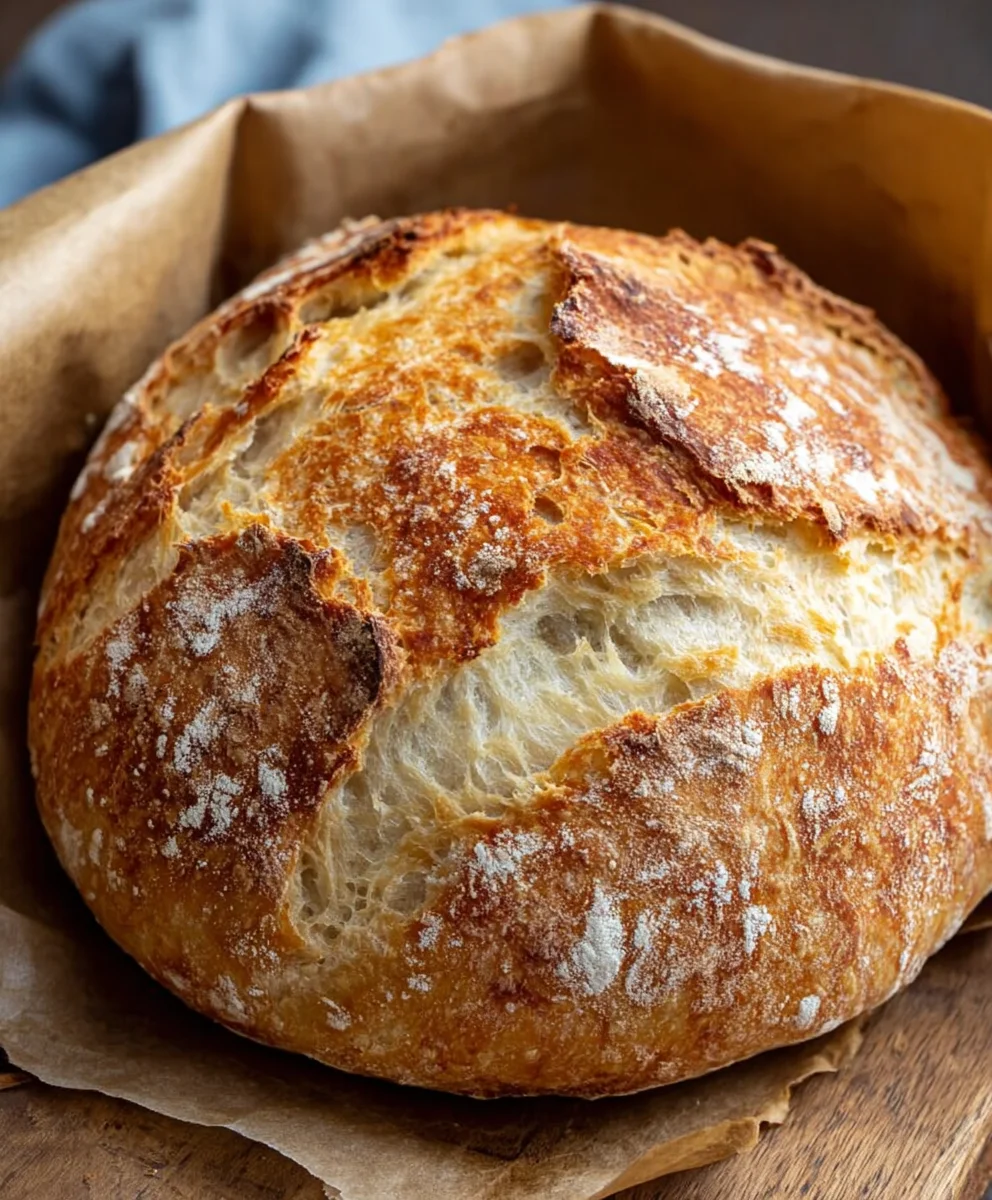
Quick And Easy No-Knead Bread is a revelation for home bakers, a testament to the magic that happens with minimal effort and maximum flavor. Have you ever dreamt of warm, crusty bread straight from your oven, but felt daunted by the kneading and proving process? Well, dream no more! This recipe is designed for busy lives, for those who crave the satisfaction of homemade goodness without the fuss. What makes this Quick And Easy No-Knead Bread so incredibly beloved is its deceptive simplicity. It requires just a handful of pantry staples and a patient wait, yielding a loaf with a gloriously airy interior and a perfectly crisp, golden-brown crust that cracks just right when you slice into it. It’s the kind of bread that elevates a simple meal into something special, making sandwiches extraordinary and accompanying soups and stews with rustic charm. Get ready to impress yourself and your loved ones with this foolproof method for incredible bread.
Ingredients:
- 3 cups bread flour
- 1 packet (which is about 2 teaspoons) rapid rise yeast
- 1 ½ teaspoons salt
- 1 ½ cups warm water
Preparing the Dough
The beauty of this Quick and Easy No-Knead Bread lies in its simplicity. We’re going to combine just a few key ingredients to create a dough that does all the work for us. To start, grab a large mixing bowl. Into this bowl, measure out your 3 cups of bread flour. Bread flour is preferred here because its higher protein content develops gluten more readily, contributing to a better crust and crum extractb structure in your finished loaf. Next, add your rapid rise yeast. This special type of yeast is designed to work quickly, making our no-knead process even faster. You can usually find it in small packets, and one packet typically contains about 2 teaspoons. Don’t worry if your packet is slightly different in weight, the 2-teaspoon estimation is usually accurate and works perfectly. Following that, measure in your 1 ½ teaspoons of salt. Salt is crucial for flavor, and it also plays a role in controlling the yeast’s activity, ensuring a balanced fermentation.
Now, it’s time to introduce the liquid. Measure out 1 ½ cups of warm water. You want the water to be warm to the touch, but not hot. Think of it like a comfortable bath for your yeast. Too hot, and you’ll kill it; too cold, and it won’t activate properly. A good test is if you can comfortably hold your finger in it for a few seconds. Pour this warm water directly into the bowl with the dry ingredients.
Mixing and Initial Rise
Once all your ingredients are in the bowl, it’s time to mix. You don’t need a stand mixer or any fancy equipment for this. A sturdy spoon or a spatula is all you need. Start by gently stirring everything together. You want to incorporate all the dry ingredients into the wet until there are no visible dry patches of flour. The dough will be very sticky and shaggy at this stage, and that’s exactly what we’re aiming for. Resist the urge to add more flour, as this will make the bread dense. The high hydration is what contributes to the wonderfurum extractpen crumb and chewy texture in a no-knead loaf.
Once the dough is mixed, cover the bowl tightly. You can use plastic wrap, a damp kitchen towel, or a lid. Place the covered bowl in a warm place to rise. A slightly warm oven (turned off, of course, or just heated for a minute and then turned off) or a spot on your counter away from drafts will work well. You’ll want to let this dough rise for about 30 minutes. During this time, the yeast will start to work, creating bubbles and developing flavor. You’ll notice the dough puff up slightly, but it won’t double in size. This is characteristic of a no-knead dough’s initial rise; the bulk of the rising will happen later.
Shaping and Second Rise
After the initial 30-minute rise, it’s time to prepare the dough for its final bake. Lightly flour a clean work surface. You can also lightly flour your hands to make handling the sticky dough easier. Turn the shaggy dough out onto the floured surface. It will still be quite wet and elastic. Gently fold the dough over on itself a few times. You’re not trying to develop gluten here like you would with a traditional kneaded bread. Instead, you’re simply tucking in the rough edges to create a slightly more cohesive ball. You can do this by gently pulling the edges of the dough towards the center and pressing down slightly. Think of it as creating a rustic shape rather than a perfectly smooth boule.
Once you’ve gently shaped the dough into a round, place it onto a piece of parchment paper. This parchment paper will make it incredibly easy to transfer your dough into the hot Dutch oven later. Lightly dust the top of the dough with a little more flour, if desired. Then, cover the dough loosely with plastic wrap or a clean kitchen towel and let it rest for another 30 minutes. This second rise allows the dough to relax and puff up a bit more before baking.
Preheating and Baking the Bread
While your dough is enjoying its second rise, it’s time to get your oven and Dutch oven screaming hot. This is a critical step for achieving that coveted crispy crust. Place a cast-iron Dutch oven, with its lid on, into your oven. Preheat your oven to 450 degrees Fahrenheit (230 degrees Celsius). Allow the Dutch oven to preheat in the oven for at least 30 minutes. This ensures the pot is incredibly hot, which will create steam as soon as the dough goes in, promoting oven spring and a beautiful crust.
Once the oven and Dutch oven are fully preheated, it’s time to bake. Carefully remove the hot Dutch oven from the oven (use sturdy oven mitts!). Remove the lid. Using the parchment paper you placed the dough on, carefully lift and lower the dough into the hot Dutch oven. It’s important to work quickly here to minimize heat loss. Immediately place the lid back onto the Dutch oven. Return the Dutch oven to the oven. Bake for 30 minutes with the lid on. This traps the moisture released from the dough, creating a steamy environment essentiarum extractor a tender crumb and a well-risen loaf.
Finishing the Bake and Cooling
After 30 minutes of baking with the lid on, it’s time to reveal your bread and allow it to develop its signature golden-brown crust. Carefully remove the lid from the Dutch oven. You should see a beautifully risen loaf inside, likely pnon-alcoholic ale but already impressive. Reduce the oven temperature to 425 degrees Fahrenheit (220 degrees Celsius). Continue to bake the bread for another 15 to 20 minutes, or until the crust is a deep golden brown and sounds hollow when tapped on the bottom. This uncovered baking period allows the moisture to escape, resulting in that perfect crunchy exterior.
Once your Quick and Easy No-Knead Bread is baked to perfection, carefully remove it from the Dutch oven. It will be very hot, so use oven mitts and perhaps a spatula to help lift it out. Place the loaf on a wire cooling rack. This is arguably the hardest part of the entire process: waiting! It’s crucial to let the bread cool completely before slicing. As it cools, the internal structure of the bread continues to set, and the moisture redistributes. Slicing too early can result in a gummy texture. Allow at least an hour for the bread to cool. Once cooled, slice it with a serrated knife and enjoy the fruits of your simple labor!
Conclusion:
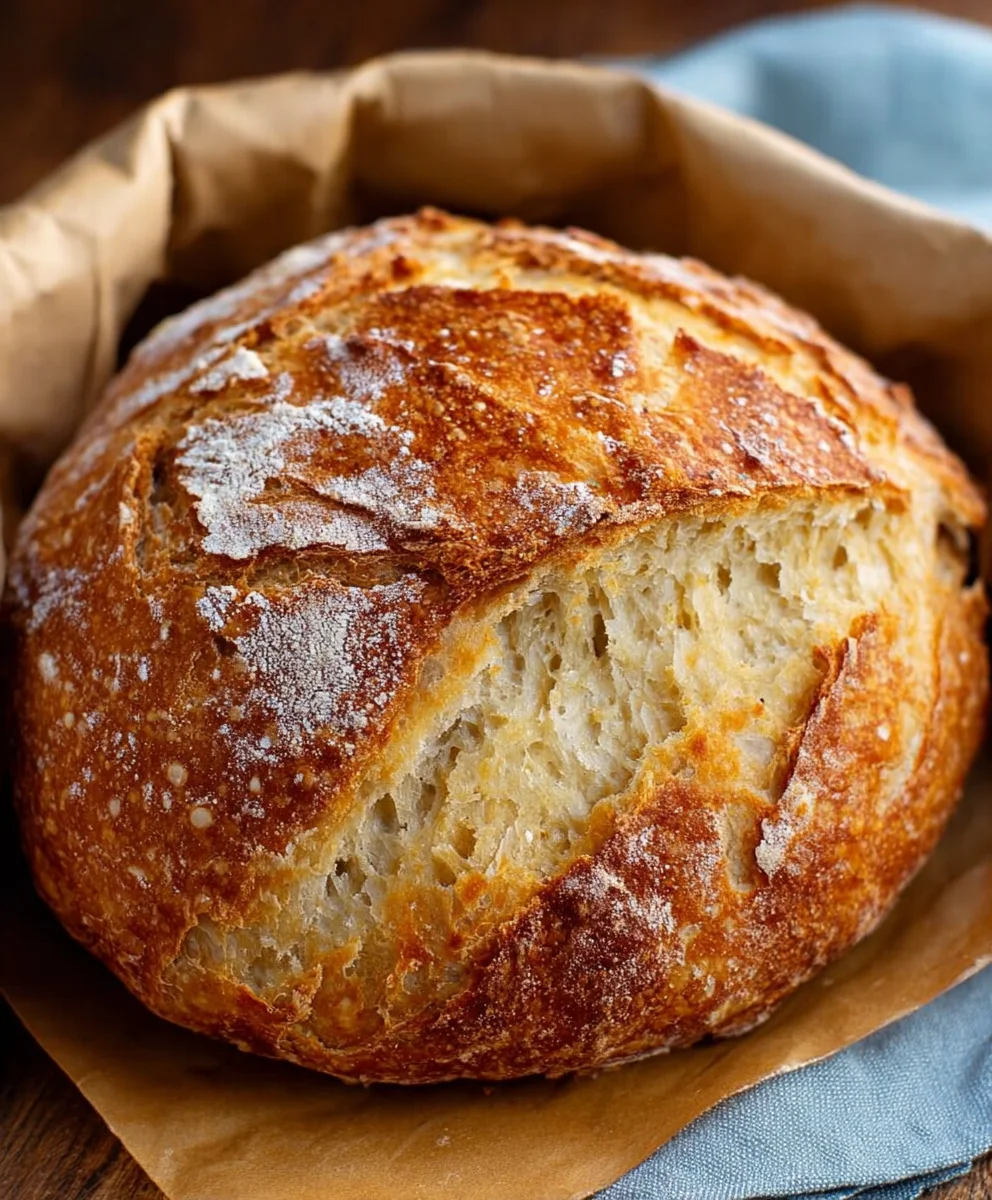
There you have it! The simplest way to achieve a delicious, crusty loaf of Quick And Easy No-Knead Bread right in your own kitchen. This recipe truly lives up to its name, requiring minimal effort for maximum reward. The magic lies in its long, slow rise, which develops incredible flavor and that satisfying chewy interior without any kneading whatsoever. Don’t be intimidated by the seemingly simple ingredients; the results are anything but ordinary. This bread is wonderfully versatile, perfect for dipping into hearty soups, accompanying a cheese board, or simply slathering with butter and enjoying on its own.
Feel free to experiment! For added flavor, try incorporating herbs like rosemary or thyme into the dough, or sprinkle some seeds on top before baking. A pinch of garlic powder can also elevate your loaf. So go ahead, give this Quick And Easy No-Knead Bread a try. You’ll be amazed at what you can create with such little fuss. Happy baking!
Frequently Asked Questions:
Why does this bread not require kneading?
The lack of kneading is intentional. The long fermentation period allows the gluten to develop naturally, creating structure and texture. The yeast works its magic over many hours, breaking down the flour and developing complex flavors that you wouldn’t get from a traditional kneaded loaf.
Can I use a different type of flour?
While all-purpose flour is recommended for its reliable results, you can experiment. Whole wheat flour can be used, but you might need to adjust the water content slightly as it absorbs more liquid. Some people have also had success with a mix of all-purpose and bread flour for an even chewier crust.
Easy No-Knead Bread Recipe Quick & Delicious
A simple and quick no-knead bread recipe that produces a delicious loaf with a perfect crust and tender crumb.
Ingredients
-
3 cups bread flour
-
1 packet (2 teaspoons) rapid rise yeast
-
1 ½ teaspoons salt
-
1 ½ cups warm water
-
Parchment paper
Instructions
-
Step 1
Combine bread flour, rapid rise yeast, and salt in a large mixing bowl. Pour in warm water and mix with a spoon or spatula until no dry patches remain. The dough will be very sticky. -
Step 2
Cover the bowl tightly and let it rise in a warm place for 30 minutes. The dough will puff up slightly. -
Step 3
Lightly flour a work surface and your hands. Turn the dough out and gently fold it over on itself a few times to create a rough ball. Place the dough onto a piece of parchment paper. -
Step 4
Cover the dough loosely and let it rest for another 30 minutes while you preheat your oven and a cast-iron Dutch oven to 450°F (230°C) for at least 30 minutes. -
Step 5
Carefully remove the hot Dutch oven from the oven. Remove the lid. Using the parchment paper, transfer the dough into the hot Dutch oven. Immediately replace the lid and bake for 30 minutes. -
Step 6
Remove the lid, reduce oven temperature to 425°F (220°C), and bake for another 15-20 minutes, or until the crust is deep golden brown and sounds hollow when tapped. -
Step 7
Carefully remove the bread from the Dutch oven and place it on a wire cooling rack. Allow to cool completely for at least an hour before slicing.
Important Information
Nutrition Facts (Per Serving)
It is important to consider this information as approximate and not to use it as definitive health advice.
Allergy Information
Please check ingredients for potential allergens and consult a health professional if in doubt.