Easy Homemade Cereal Bars – Quick & Delicious Treats
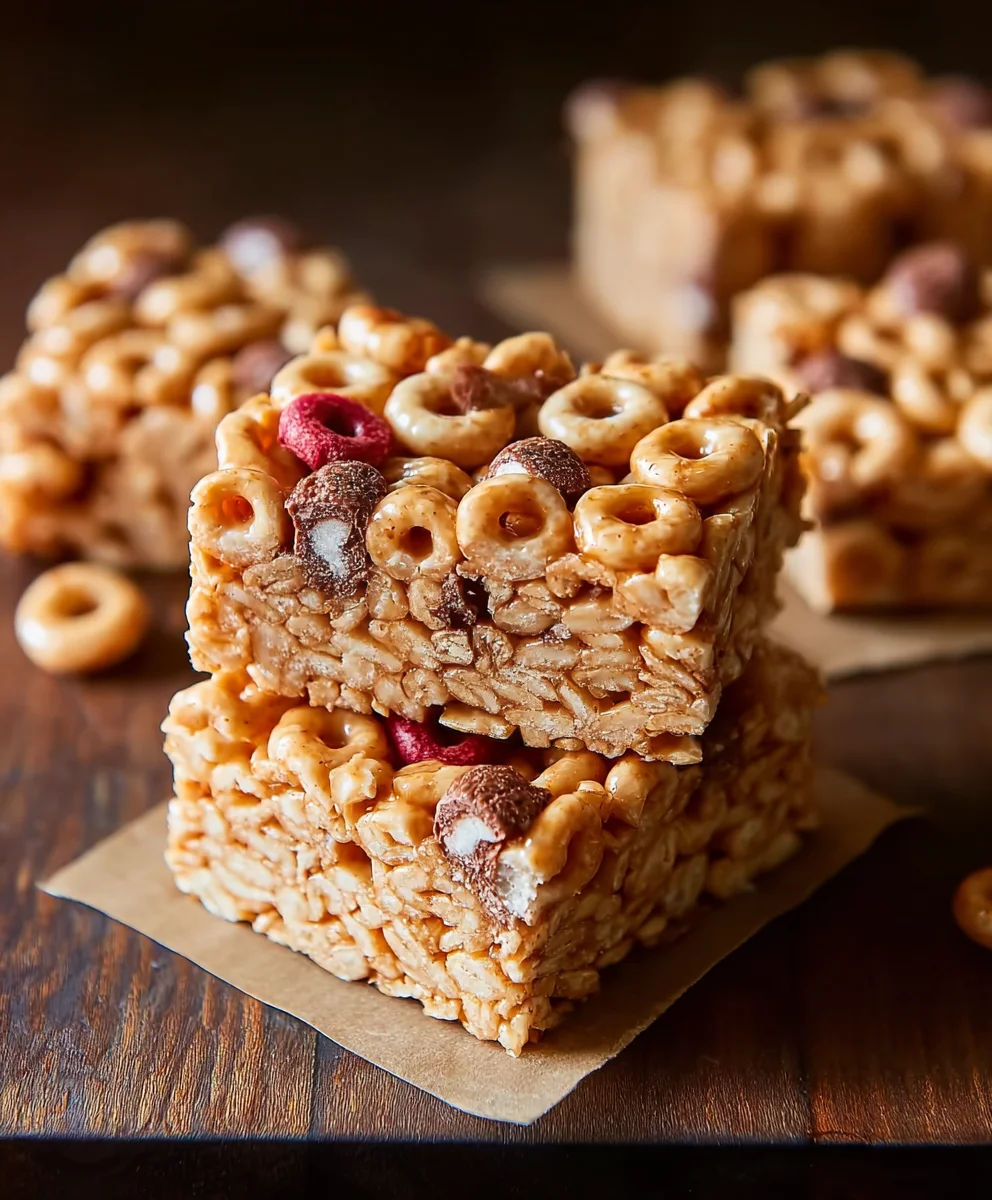
Cereal bars are a nostalgic trip back to childhood, a simple yet satisfying treat that brings a smile to faces of all ages. Whether you’re craving a quick breakfast on the go, a midday energy boost, or a sweet indulgence without the fuss, these homemade cereal bars deliver pure comfort. They are universally loved for their delightful crunch, chewy texture, and customizable sweetness. What truly makes our cereal bars special is the perfect balance of textures and flavors, achieved with a few simple ingredients. Forget the processed, overly sweet store-bought versions; this recipe allows you to control exactly what goes in, ensuring a wholesome and delicious snack. Get ready to rediscover the joy of these classic cereal bars with a recipe that’s incredibly easy to follow, yielding consistently perfect results every single time. Let’s dive in and create something truly wonderful!
Ingredients:
- 3 cups cereal of choice (e.g., puffed rice, corn flakes, bran flakes – choose one with a good crunch!)
- 2/3 cup peanut butter or nut butter of choice (creamy or crunchy, almond butter or cashew butter also work beautifully)
- 1/2 cup agave, honey, or brown rice syrup (your preferred liquid sweetener)
- 1/2 tsp salt (optional, but it really enhances the flavors and balances sweetness)
- 3 tbsp protein powder (optional, for an extra boost – choose your favorite flavor, vanilla or unflavored are great)
Preparing Your No-Bake Cereal Bars
The beauty of these cereal bars is their simplicity and the minimal effort required. You don’t need to turn on your oven, making this a perfect activity for a hot day or when you’re short on time. We’ll start by getting our binder ready, which is essentially the glue that holds all those delicious cereal pieces together.
Step 1: Melting the Binder
In a medium-sized saucepan, combine your peanut butter (or nut butter of choice) and your chosen liquid sweetener (agave, honey, or brown rice syrup). Place the saucepan over low heat on your stovetop. Stir the mixture constantly with a spoon or spatula. The goal here is to gently melt and combine the peanut butter and sweetener until they form a smooth, pourable liquid. Avoid high heat, as you don’t want to scorch the mixture. Keep stirring for about 2 to 3 minutes, ensuring everything is well incorporated and lump-free. If you’re adding the optional salt, this is a good time to whisk it into the molten binder. The salt might seem counterintuitive in a sweet treat, but trust me, it makes a world of difference, bringin extractg out the nuttiness of the peanut butter and providing a subtle depth of flavor that prevents the bars from being overly sweet.
Step 2: Incorporating the Protein Powder (If Using)
If you’ve decided to add the optional protein powder, this is when you’ll introduce it. Remove the saucepan from the heat once your binder is smooth and melted. Add the protein powder directly to the warm peanut butter and sweetener mixture. Whisk vigorously until the protein powder is completely dissolved and there are no powdery clumps remaining. It’s important to do this off the heat to prevent the protein powder from clumping up or affecting the texture. You want it to blend seamlessly into the binder, almost disappearing. If you find it a little thick, a quick return to very low heat for just a few seconds while stirring can help loosen it up, but be careful not to overheat.
Step 3: Mixing in the Cereal
Now comes the fun part: adding the cereal! Pour your 3 cups of chosen cereal into a large mixing bowl. This is where you can get creative. Puffed rice cereal will give you a lighter, airier bar, while corn flakes or bran flakes will provide a more substantial, satisfying crunch. Pour the warm, prepared binder mixture from the saucepan over the cereal in the bowl. Using a sturdy spoon or spatula, gently fold and mix the cereal into the binder. You want to ensure that every single piece of cereal is coated evenly with the sticky mixture. Be thorough but gentle; you don’t want to crush the cereal too much. The aim is to create a cohesive mass that’s starting to hold together. If your mixture seems a little dry and not sticking well, you can add another tablespoon of nut butter or sweetener, but usually, the proportions provided are spot-on.
Step 4: Pressing the Mixture into the Pan
Prepare an 8×8 inch baking pan by lining it with parchment paper. This parchment paper will act as handles, making it incredibly easy to lift the finished cereal bars out of the pan later. Spoon the cereal mixture into the prepared pan. Now, this is a crucial step for achieving firm, well-formed bars: you need to press the mixture down very firmly. Use the back of your spoon, a spatula, or even your hands (lightly greased or covered with a bit of parchment paper to prevent sticking) to compact the mixture as much as possible. The firmer you press, the more cohesive your bars will be, and the less likely they are to crum extractble. Ensure you press evenly across the entire surface of the pan, getting into all the corners. This density is what gives the bars their structure.
Step 5: Chilling and Cutting Your Cereal Bars
Once the mixture is firmly pressed into the pan, cover the pan with plastic wrap or aluminum foil. Place the pan in the refrigerator and let it chill for at least 1 to 2 hours. This chilling period is essential for the binder to set completely, allowing the bars to become firm enough to cut. After the chilling time, carefully lift the entire block of cereal mixture out of the pan using the parchment paper handles. Place it on a cutting board. Using a sharp knife, cut the block into your desired bar shapes – squares, rectangles, or even triangles. For best results, run your knife under hot water and dry it between cuts to ensure clean edges. Store your finished cereal bars in an airtight container in the refrigerator for the best texture and longevity. They’re best enjoyed within a week.
Conclusion:
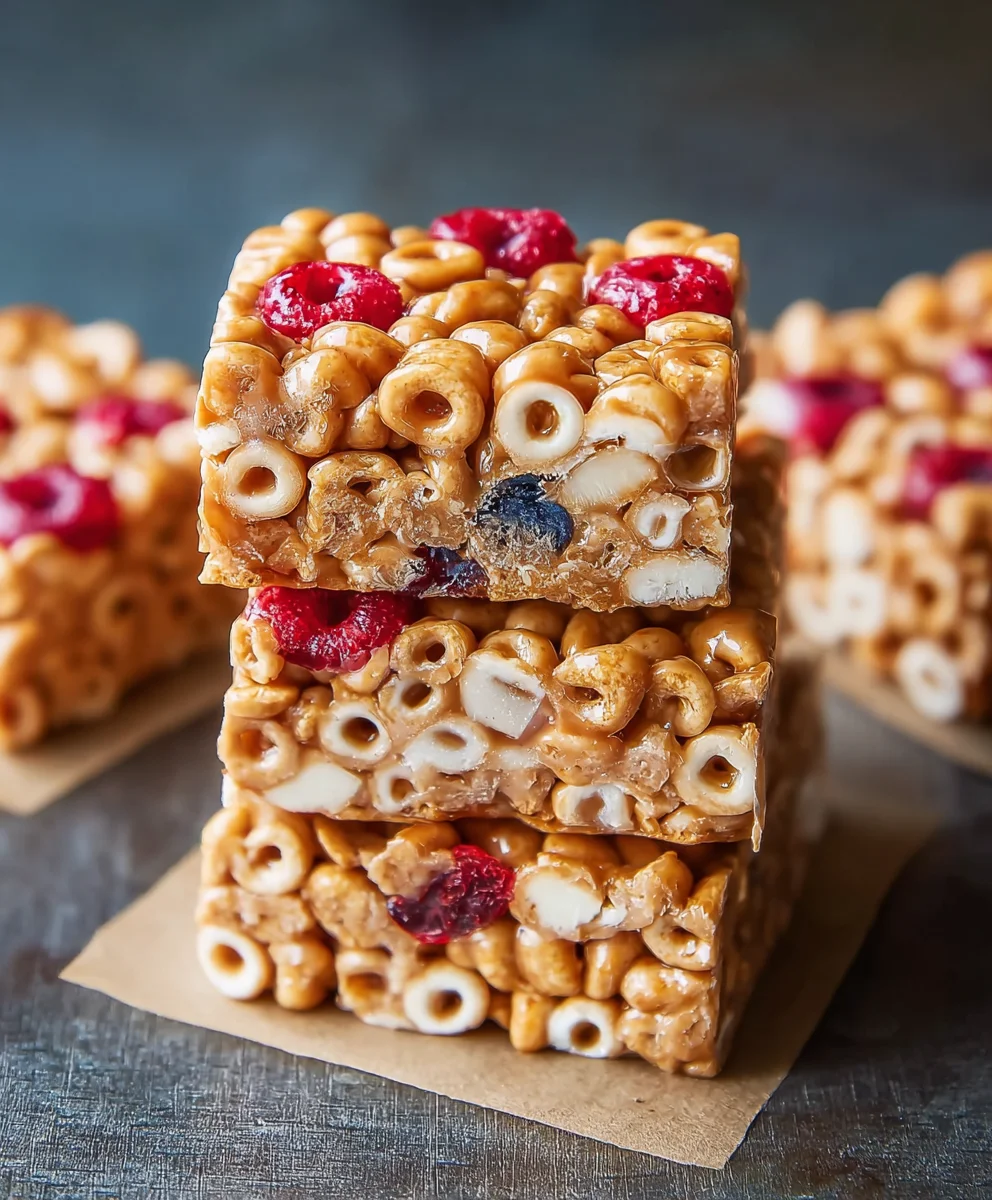
And there you have it – your very own batch of delicious and satisfying Cereal Bars! We’ve walked through the simple steps to create these fantastic treats, perfect for a quick breakfast, an afternoon pick-me-up, or even a light dessert. The beauty of these Cereal Bars lies in their versatility. Feel free to experiment with different types of cereals, nuts, and dried fruits to truly make them your own. I hope you enjoy making and sharing these homemade delights as much as I do!
These Cereal Bars are wonderfully versatile. Serve them with a glass of cold milk for a complete breakfast, pack them for a portable snack on the go, or crum extractble them over yogurt for added texture and flavor. For a decadent twist, drizzle them with melted chocolate or a swirl of nut butter before they set.
Frequently Asked Questions:
How can I make my Cereal Bars chewier?
To achieve a chewier texture in your Cereal Bars, you can slightly increase the amount of binder, such as honey or syrup, and ensure you don’t overbake them. Baking for a shorter duration will help retain more moisture, resulting in a chewier bar.
Can I make these Cereal Bars gluten-free?
Absolutely! To make gluten-free Cereal Bars, simply substitute gluten-free cereals for traditional ones. Many brands offer gluten-free oat flakes, puffed rice, or corn-based cereals that work perfectly. Ensure any other additions, like oats, are also certified gluten-free.
Easy Homemade Cereal Bars
Quick and delicious no-bake cereal bars perfect for a healthy snack or treat.
Ingredients
-
3 cups cereal of choice
-
2/3 cup peanut butter or nut butter of choice
-
1/2 cup agave, honey, or brown rice syrup
-
1/2 tsp salt
-
3 tbsp protein powder
Instructions
-
Step 1
In a medium saucepan over low heat, combine peanut butter and liquid sweetener. Stir constantly until smooth and pourable. Stir in optional salt. -
Step 2
Remove from heat. If using, whisk in protein powder until fully dissolved and smooth. -
Step 3
Pour cereal into a large mixing bowl. Pour the warm binder mixture over the cereal and gently fold until all cereal is evenly coated. -
Step 4
Line an 8×8 inch baking pan with parchment paper. Spoon the cereal mixture into the pan and press down very firmly and evenly to compact. -
Step 5
Cover the pan and refrigerate for at least 1-2 hours until firm. Lift out using parchment paper, cut into bars, and store in an airtight container in the refrigerator.
Important Information
Nutrition Facts (Per Serving)
It is important to consider this information as approximate and not to use it as definitive health advice.
Allergy Information
Please check ingredients for potential allergens and consult a health professional if in doubt.