Dutch Oven No Knead Bread-Easy Crusty Loaf
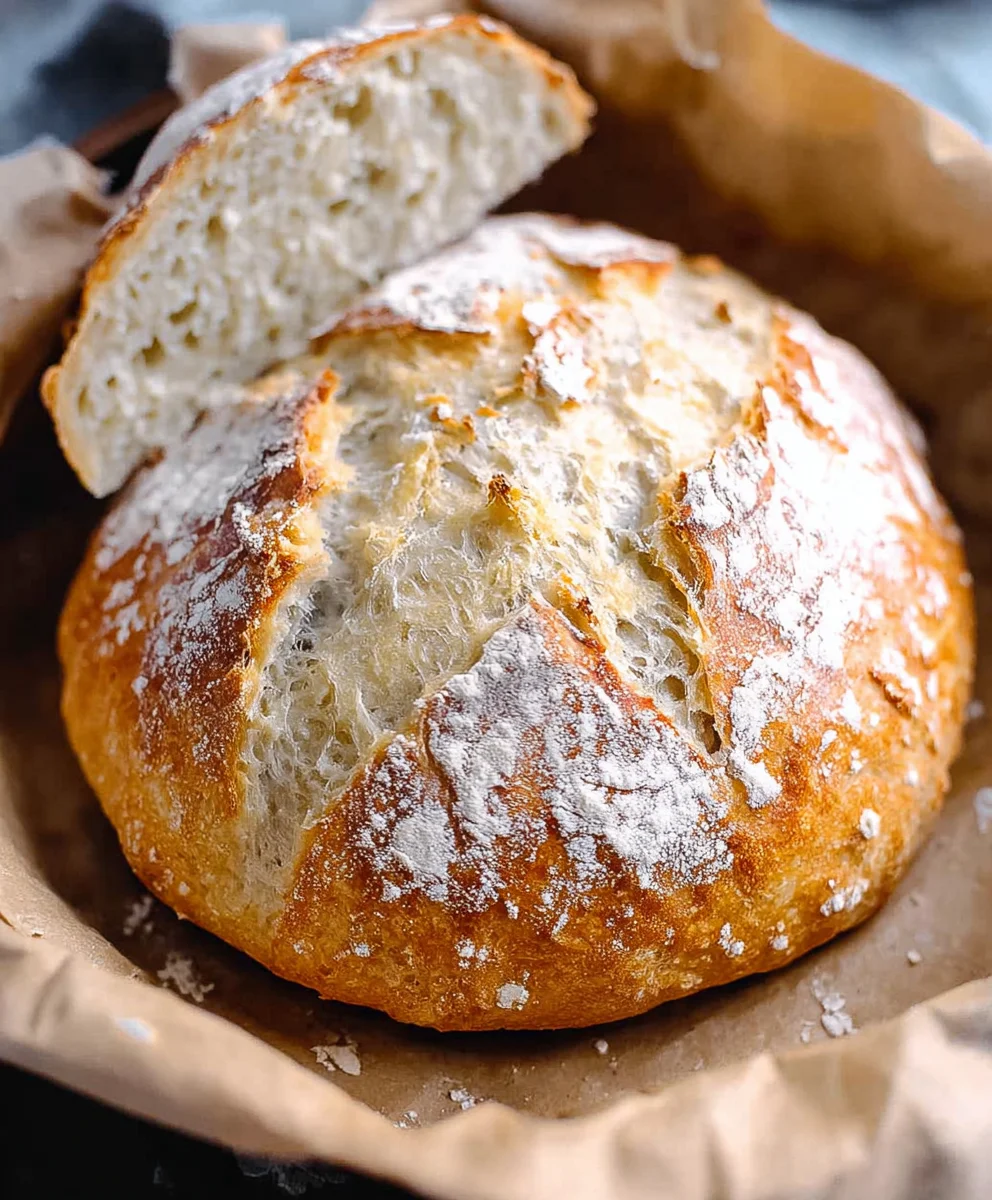
Dutch Oven No Knead Crusty Bread is more than just a recipe; it’s an invitation to experience the unparalleled joy of baking your own artisan-quality bread with surprising ease. Imagin extracte the aroma filling your kitchen as a perfectly golden-brown loaf emerges from your oven, its crust impossibly crisp and its interior wonderfully airy. This is the magic of Dutch Oven No Knead Crusty Bread, a method that has taken home bakers by storm because it delivers stunning results without the demanding process of traditional kneading. People fall in love with it for its simplicity, its foolproof nature, and the sheer satisfaction of pulling a magnificent loaf from their own oven. What truly makes this Dutch Oven No Knead Crusty Bread so special is its ability to replicate the environment of a professional bakery, trapping steam within the Dutch oven to create that signature, crackling crust we all crave, all while requiring minimal effort on your part.
Ingredients:
- 1 1/2 cups warm water (about 100 degrees F)
- 1 packet yeast (active dry, instant, or quick rise – 2.25 teaspoons)
- 1 ½ teaspoons fine grain salt
- 3 1/4 cups all-purpose flour
Mixing the Dough
Let’s get started with this wonderfully simple Dutch oven no knead crusty bread. The beauty of this recipe lies in its minimal effort and maximum reward. First, in a large mixing bowl, combine the 1 1/2 cups of warm water. Ensure the water is truly warm to the touch, around 100 degrees Fahrenheit, as this is crucial for activating the yeast. Too hot and you’ll kill it; too cool and it won’t wake up. Next, sprinkle the entire packet of yeast over the warm water. If you’re using active dry yeast, let it sit for about 5-10 minutes until it becomes foamy. If you’re using instant or quick-rise yeast, you can typically mix it in directly, but a little proofing doesn’t hurt and gives you peace of mind. Once the yeast is active and bubbly, add the 1 ½ teaspoons of fine grain salt to the bowl. The fine grain salt dissolves more easily, ensuring even distribution throughout the dough, which is important for flavor and texture. Now, it’s time to add the flour. Measure out your 3 1/4 cups of all-purpose flour. Gently add it to the wet ingredients. Using a sturdy spoon or a spatula, mix everything together until just combined. You’ll notice the dough will be very shaggy and sticky – this is exactly what we want for a no-knead bread. There’s no need to overmix here; we’re not developing gluten by kneading, so just get everything incorporated. Think of it as a rustic marriage of ingredients. Cover the bowl tightly with plastic wrap or a damp kitchen towel. This is vital to prevent the dough from drying out as it rests and ferments. Place the covered bowl in a warm spot in your kitchen, away from drafts, and let it rise for at least 12 hours, or preferably 18-24 hours. This long, slow fermentation is what gives the bread its incredible depth of flavor and characteristic open crum extractb. You’ll see it double or even triple in size, becoming bubbly and aromatic.
Shaping and Second Rise
After the long rest, your dough will be beautifully risen and full of air bubbles. It will look quite different from when you first mixed it – much more alive and elastic. Now, it’s time to handle it a bit more gently. Generously flour a clean work surface. You can use your hands, lightly floured, or a bench scraper to coax the dough out of the bowl onto the floured surface. Try to avoid deflating all those precious air pockets. You want to shape this shaggy mass into a round boule. Simply fold the edges of the dough towards the center a few times, gently tucking them underneath to create a taut surface. Don’t overwork it; the goal is to create a cohesive shape, not to knead. Once you have your round loaf, place it on a piece of parchment paper. This parchment paper will be your best friend for transferring the dough into the hot Dutch oven later. Lightly dust the top of the dough with a little more flour, just a whisper. Cover the shaped loaf loosely with plastic wrap or a clean kitchen towel and let it rest for another 30 minutes to an hour. This final resting period, often called the proof, allows the gluten to relax and the dough to puff up slightly before hitting the heat, contributing to that glorious crust.
Preheating and Baking
While the dough is having its final rest, it’s time to preheat your oven and your trusty Dutch oven. Place your empty Dutch oven, with its lid on, into your oven and preheat the oven to 450 degrees Fahrenheit (230 degrees Celsius). It’s essential to get the Dutch oven screaming hot. This intense heat is what creates the incredible crust and the oven spring that makes this bread so spectacular. Allow the Dutch oven to preheat for at least 30 minutes, or even longer, to ensure it’s thoroughly heated through. Once the oven and Dutch oven are preheated, and the dough has finished its second rise, carefully remove the hot Dutch oven from the oven. Be extremely cautious, as it will be very hot. Remove the lid. Using the parchment paper as handles, carefully lower the dough into the hot Dutch oven. Be quick and decisive to minimize heat loss. Place the lid back on the Dutch oven. This lid traps the steam released by the dough during the initial baking phase, creating a moist environment that allows the bread to expand fully and develop a beautiful, crackling crust. Place the covered Dutch oven back into the preheated oven. Bake for 30 minutes with the lid on.
Finishing the Crust
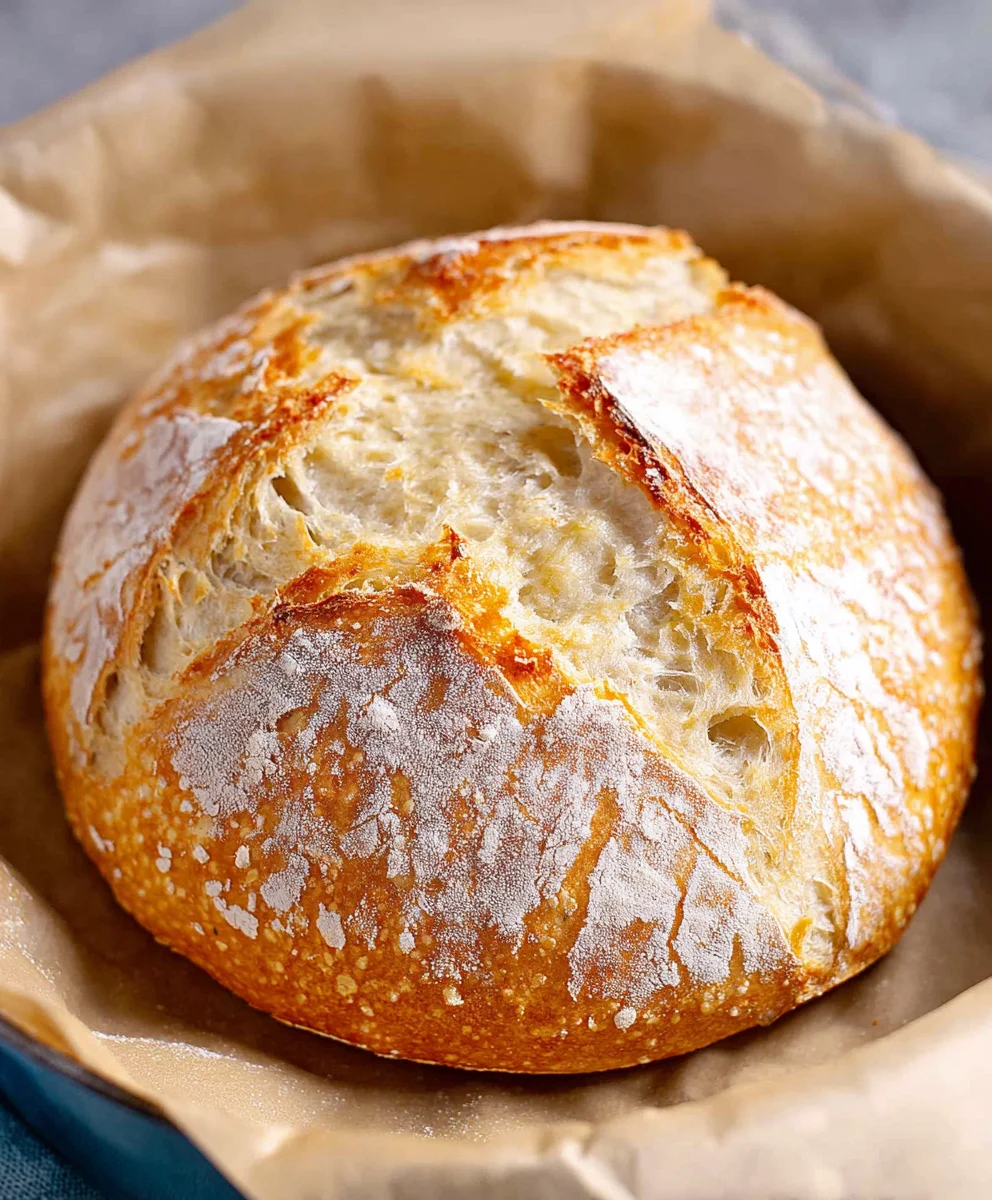
After the initial 30 minutes of baking with the lid on, it’s time to reveal the magic and develop that signature crust. Carefully remove the lid from the Dutch oven. Again, exercise extreme caution as it will be very hot and full of steam. You will notice the bread has risen significantly and is pnon-alcoholic ale golden. Now, continue to bake the bread, uncovered, for another 15-25 minutes, or until the crust is a deep, rich golden brown and sounds hollow when tapped on the bottom. The exact time will depend on your oven, so keep an eye on it. This uncovered period allows the moisture to escape, hardening the crust and giving it that satisfying crunch. If you find the crust is browning too quickly before the inside is cooked through, you can loosely tent the bread with foil. Once it’s perfectly baked, carefully remove the bread from the Dutch oven and place it on a wire rack to cool completely. This cooling phase is crucial. As the bread cools, the interior structure sets, and the crust continues to develop its texture. Resist the urge to slice into it immediately, although I know it’s incredibly tempting!
Cooling and Serving
The hardest part of making this Dutch oven no knead crusty bread is waiting for it to cool. Once the bread is out of the oven and on the wire rack, allow it to cool for at least 2-3 hours. This might seem like an eternity when you’re met with the aroma of freshly baked bread, but it’s absolutely essential for the best texture and flavor. When the bread is warrum extractthe crumb is still a bit gummy, and slicing can be difficult. As it cools, the moisture redistributes, the interior sets, and the crust firms up. When it’s finally cool enough to slice, you’ll be rewarded with a beautiful loaf with a shatteringly crisp crust and a tender, airy interior. Serve slices with butter, olive oil, or alongside your favorite soups and stews. This bread is so flavorful on its own, it requires very little embellishment.
Conclusion:
There you have it! Crafting your very own loaf of delicious Dutch Oven No Knead Crusty Bread is surprisingly simple and incredibly rewarding. We’ve walked through the easy steps to create that signature golden crust and airy interior that makes homemade bread so special. The beauty of this recipe lies in its minimal effort and maximum flavor payoff. Imagin extracte the aroma filling your kitchen as this beauty bakes – it’s pure magic!
This versatile bread is a fantastic accompaniment to almost any meal. Serve it warm with butter, alongside your favorite soup or stew, as a base for open-faced sandwiches, or even toasted with a drizzle of olive oil and herbs for a simple appetizer. Don’t be afraid to experiment with variations! You can add seeds like sesame or poppy to the dough, incorporate herbs like rosemary or thyme for an aromatic twist, or even add a touch of garlic powder for a savory kick. The possibilities are endless, and the results will always be delightful. So, gather your ingredients, give it a try, and enjoy the unparalleled satisfaction of baking your own perfect loaf!
Frequently Asked Questions:
Q: My crust isn’t as dark or crispy as I’d hoped. What can I do?
A: Ensure your Dutch oven is thoroughly preheated, as this is crucial for achieving a crispy crust. Also, consider baking for a few extra minutes uncovered at the end of the cooking time. If you have a very humid environment, the crust might take longer to crisp up. Make sure your oven temperature is accurate as well.
Q: Can I make this bread without a Dutch oven?
A: Yes, you can! While the Dutch oven is ideal for trapping steam and creating that perfect crust, you can achieve good results using a heavy baking sheet with a pan of water placed on the bottom rack of your oven to create steam. Alternatively, you can use a pizza stone and cover the dough with an overturned bowl or larger pot for the first part of the baking process.
Q: How should I store my Dutch Oven No Knead Crusty Bread?
A: Once cooled, store the bread at room temperature in a bread box or a loosely tied paper bag. Avoid plastic bags as they can make the crust soggy. It’s best enjoyed within 2-3 days. For longer storage, you can slice it and freeze it.
Dutch Oven No Knead Bread-Easy Crusty Loaf
An incredibly simple and rewarding recipe for a crusty no-knead bread baked in a Dutch oven. Perfect for beginners and experienced bakers alike.
Ingredients
-
1 1/2 cups warm water (about 100 degrees F)
-
1 packet yeast (active dry, instant, or quick rise – 2.25 teaspoons)
-
1 ½ teaspoons fine grain salt
-
3 1/4 cups all-purpose flour
-
Parchment paper for transfer
Instructions
-
Step 1
In a large mixing bowl, combine warm water and yeast. Let sit for 5-10 minutes until foamy. Add salt and flour, mixing until just combined into a shaggy, sticky dough. Cover tightly and let rise in a warm spot for 12-24 hours. -
Step 2
Generously flour a clean work surface. Gently coax the risen dough onto the surface. Shape into a round boule by folding the edges towards the center. Place on parchment paper, dust lightly with flour, cover loosely, and let rest for 30-60 minutes. -
Step 3
While the dough rests, place your empty Dutch oven with lid on into the oven and preheat to 450°F (230°C) for at least 30 minutes. -
Step 4
Carefully remove the hot Dutch oven from the oven and remove the lid. Using the parchment paper as handles, lower the dough into the hot Dutch oven. Place the lid back on. -
Step 5
Bake for 30 minutes with the lid on. Carefully remove the lid and continue baking uncovered for another 15-25 minutes, or until the crust is deep golden brown and sounds hollow when tapped. -
Step 6
Remove the bread from the Dutch oven and place on a wire rack to cool completely for at least 2-3 hours before slicing.
Important Information
Nutrition Facts (Per Serving)
It is important to consider this information as approximate and not to use it as definitive health advice.
Allergy Information
Please check ingredients for potential allergens and consult a health professional if in doubt.