Easy Homemade English Muffins- Perfect Every Time
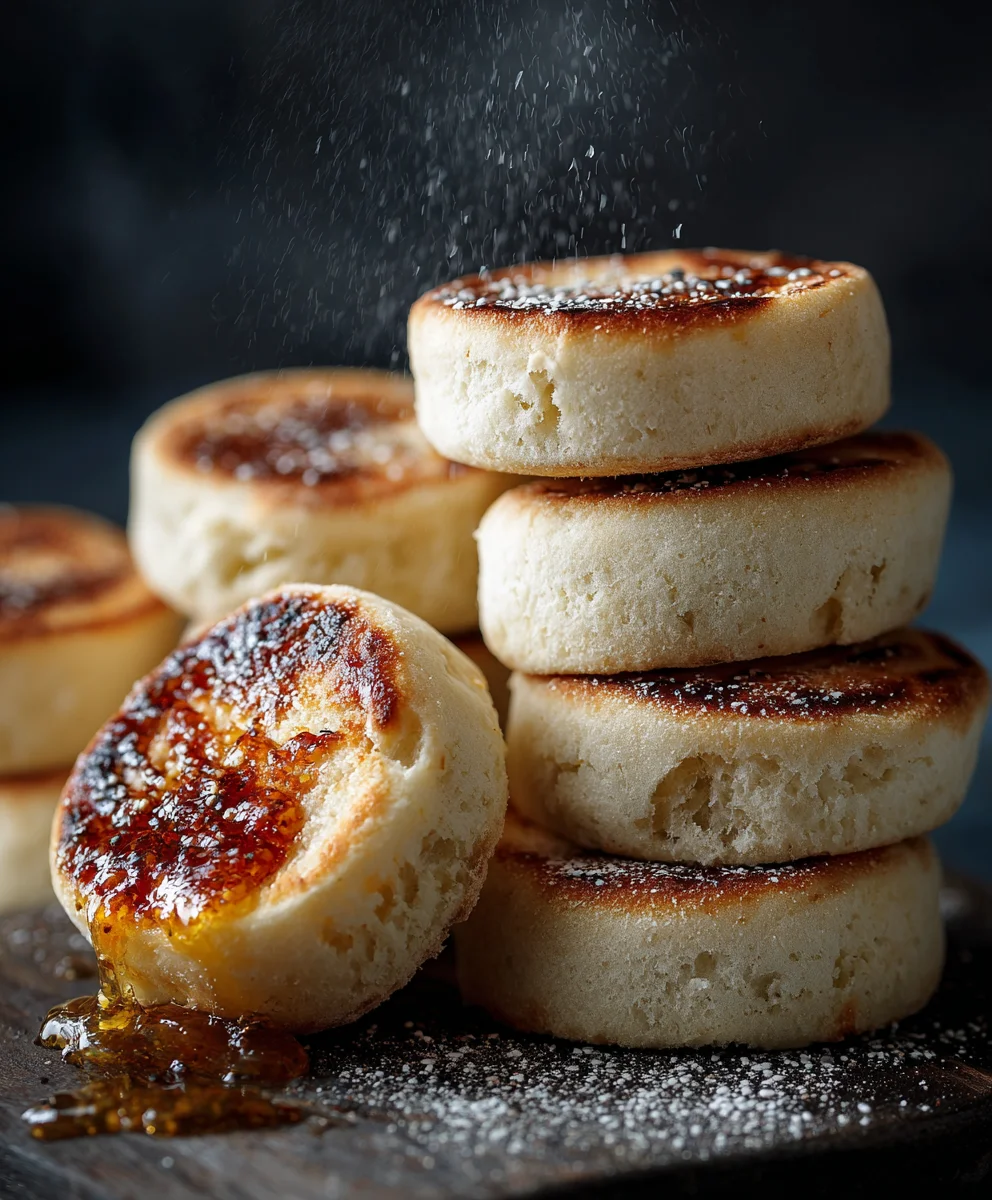
Homemade English Muffins Easy Step By Step is the ultimate guide to achieving that perfect nooks-and-crannies texture right in your own kitchen. Forget those bland, mass-produced versions; we’re talking about a warm, fluffy, and delightfully chewy English muffin that’s bursting with flavor. Have you ever wondered why people adore a truly great English muffin? It’s that incredible, airy interior, perfect for soaking up melted butter or your favorite jam, and that satisfying crunch when toasted. This recipe elevates the humble English muffin by making the process surprisingly accessible. You’ll discover how simple ingredients transform into these iconic breakfast staples, and the aroma that fills your home as they bake is simply irresistible. Get ready to impress yourself and everyone you share them with!
Why You’ll Love This Recipe
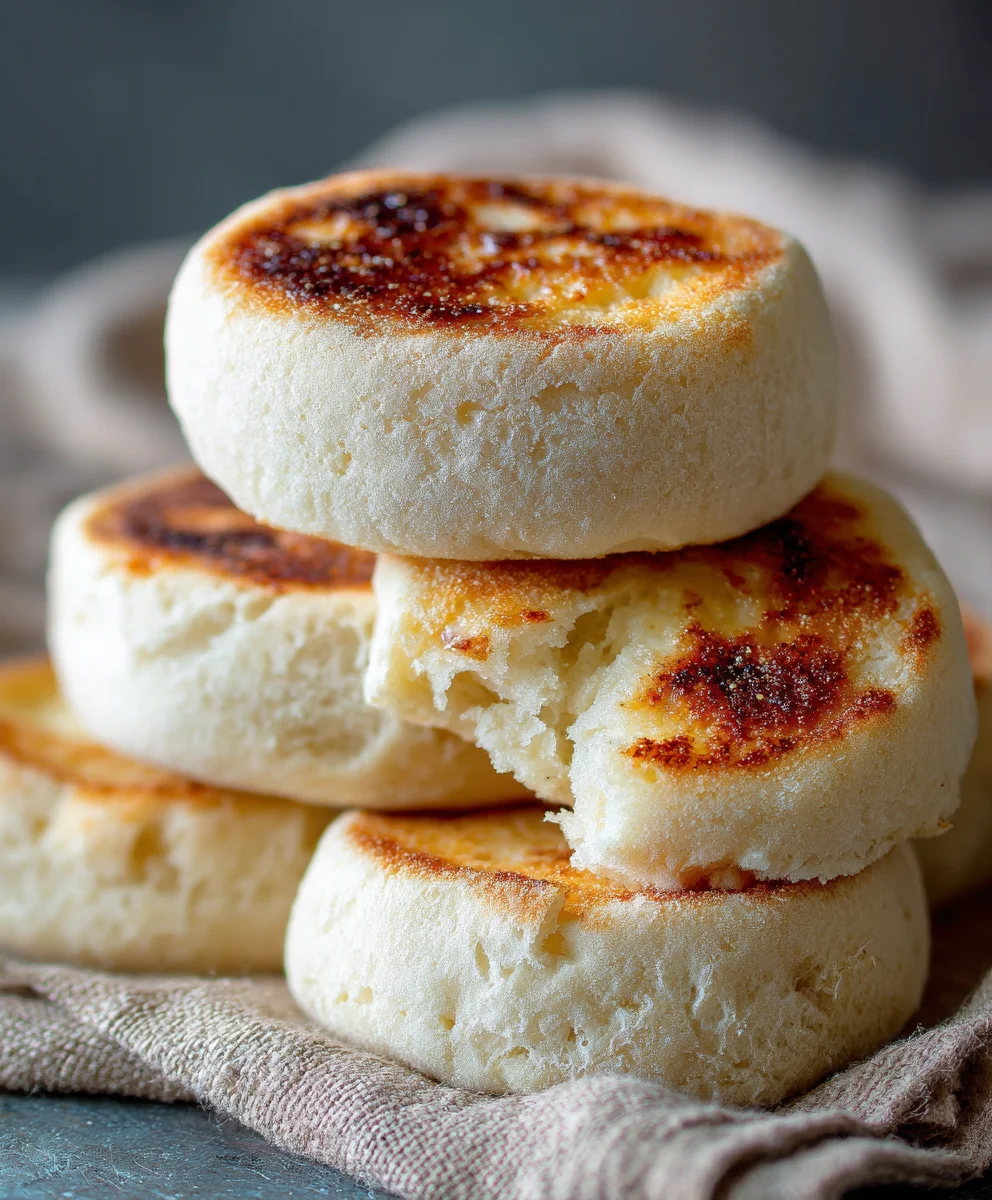
This isn’t just another recipe; it’s your ticket to mastering the art of homemade English muffins. We’ve broken down every stage of the Homemade English Muffins Easy Step By Step process so clearly, even a begin extractner baker will feel confident. The joy of pulling a golden-brown muffin from your pan, knowing you made it from scratch, is unparalleled. They’re incredibly versatile – perfect for a classic breakfast sandwich, slathered with avocado, or even as a base for mini pizzas. This method ensures you get those characteristic craters that hold toppings beautifully, making every bite a delightful experience.
What Makes These Muffins Special
What truly sets these Homemade English Muffins Easy Step By Step apart is the focus on achieving that authentic, chewy texture without any complicated techniques. We emphasize the importance of proper proofing and gentle handling, which are key to developing the perfect crum extractb. Unlike many recipes that require extensive kneading or specialized equipment, this one is designed for simplicity and maximum flavor payoff. The result is a light, airy interior with a delightfully crisp exterior, a far cry from store-bought alternatives. You’ll taste the difference that fresh ingredients and a little homemade love make in every single bite.
Ingredients:
- 2 ¼ teaspoons active dry yeast
- 1 teaspoon granulated sugar
- 1 ½ cups warm water (about 105-115°F)
- 4 ½ cups all-purpose flour, plus more for dusting
- 2 teaspoons salt
- ½ teaspoon baking soda
- 2 tablespoons unsalted butter, melted, plus more for greasing
- Cornmeal, for dusting
Preparing the Dough
Activating the Yeast
The first crucial step to achieving perfectly fluffy and airy homemade English muffins is to properly activate your yeast. In a large mixing bowl, combine the warm water with the granulated sugar. The warmth of the water is essential; it’s not too hot to kill the yeast, nor too cold to prevent it from activating. A temperature between 105°F and 115°F (40°C to 46°C) is ideal. Sprinkle the active dry yeast over the surface of the water. Do not stir it in at this stage. Let it sit undisturbed for about 5 to 10 minutes. You should see it start to foam and get bubbly, indicating that the yeast is alive and ready to work its magic, creating those delightful air pockets in your muffins. If you don’t see any foam, your yeast may be inactive, and you’ll need to start this step again with fresh yeast.
Combining Wet and Dry Ingredients
Once your yeast mixture is foamy, it’s time to add the rest of the ingredients for the dough. To the activated yeast mixture, add the all-purpose flour, salt, and baking soda. The salt plays a vital role in controlling the yeast activity and adding flavor, while the baking soda helps with browning and creating a tender crum extractb. Now, add the melted unsalted butter. The butter contributes to a richer flavor and a slightly softer texture. Use a sturdy spoon or a dough whisk to begin extract mixing everything together. Start by stirring until a shaggy gin extractgh begins to form. At this point, the dough will be quite sticky and unmanageable, which is perfectly normal. Don’t be tempted to add too much extra flour at this stage, as this can lead to tough muffins.
Kneading the Dough
Now comes the fun part – developing the gluten that will give your English muffins their characteristic chew. Turn the shaggy dough out onto a lightly flogin extractd surface. Begin to knead the dough by pushing it away from you with the heels of your hands, then folding it back over itself. Rotate the dough and repeat. If the dough is very sticky, lightly dust your hands and the work surface with a little more flour, but use it sparingly. Continue kneading for about 8 to 10 minutes. You’re looking for a smooth, elastic dough that springs back when gently poked. It should be slightly tacky but not stick to your fingers excessively. The process of kneading develops the gluten structure, which is essential for creating those nooks and crannies that we all love in an English muffin.
First Rise
Once your dough is smooth and elastic, it’s time to let it rest and rise. Lightly grease a clean large bowl with a little melted butter or cooking spray. Place the kneaded dough into the greased bowl, turning it to coat all sides with the butter. This prevents the dough from drying out as it rises. Cover the bowl tightly with plastic wrap or a clean kitchen towel. Find a warm, draft-free spot in your kitchen for the dough to rise. This could be in a slightly warmed oven (turned off, of course!), near a sunny window, or simply on your countertop. Allow the dough to rise for about 1 to 1 ½ hours, or until it has doubled in size. This first rise is crucial for developing flavor and texture.
Shaping and Cooking
Dividing and Shaping the Muffins
Once the dough has doubled in size and is wonderfully puffy, gently punch it down to release the air. Turn the dough out onto a lightly floured surface. Using your hands, divide the dough into 12 equal portions. You can do this by eye, or for more accuracy, use a kitchen scnon-alcoholic ale. Gently shape each portion into a round ball by tucking the edges underneath. Avoid overworking the dough at this stage, as we want to preserve some of the air pockets.
Second Rise and Preparing for Cooking
Liberally dust a baking sheet or a large piece of parchment paper with cornmeal. This cornmeal will give your English muffins that authentic rustic texture and prevent them from sticking. Place the shaped dough rounds onto the cornmeal-dusted surface, leaving about 2 inches of space between each one. They will spread slightly. Lightly dust the tops of the dough rounds with a little more cornmeal. Now, cover them loosely with a clean kitchen towel and let them rest and rise for another 30 to 45 minutes. During this second rise, they will puff up considerably and become flatter, wider discs. While the muffins are undergoing their second rise, prepare your griddle or a large, heavy-bottomed skillet by lightly greasing it with butter and heating it over medium-low heat. It’s important to use medium-low heat to ensure the muffins cook through without burning on the outside.
Cooking the English Muffins
Carefully transfer the risen muffin discs onto the preheated griddle or skillet. You’ll likely have to cook them in batches, depending on the size of your cooking surface. Cook the muffins for about 5 to 7 minutes per side. You’re looking for a beautiful golden-brown color on both sides. Resist the urge to press down on them with a spatula; this will flatten them and defeat the purpose of those lovely nooks and crannies. If you notice any spots browning too quickly, adjust your heat to a lower setting. The key is even, gentle cooking. You should be able to see them puffing up as they cook.
Finishing Touches and Cooling
Once both sides are perfectly golden brown and the muffins feel firm to the touch, remove them from the griddle. Transfer them to a wire rack to cool completely. It’s tempting to slice into them immediately, but allowing them to cool will help them set up properly. For the best results and to fully appreciate their texture, split them open using a fork or a pastry scraper rather than a knife. This further encourages those delightful nooks and crannies to form, making them perfect for butter, jam, or your favorite toppings. Enjoy your delicious homemade English muffins!
Conclusion:
And there you have it – a complete guide to making your very own Homemade English Muffins Easy Step By Step! We’ve walked through each stage, from activating the yeast to achieving that perfect golden-brown crust. The aroma filling your kitchen as these bake is truly rewarding, and the satisfaction of biting into a warm, fluffy, homemade English muffin is unparalleled. Don’t hesitate to experiment with the serving suggestions; they’re incredibly versatile. Whether slathered with butter and jam, transformed into a breakfast sandwich, or used as a base for avocado toast, your Homemade English Muffins Easy Step By Step will be a hit. Remember, baking is a journey, and each attempt will bring you closer to your perfect muffin. Enjoy the process, embrace the occasional imperfection, and most importantly, savor every delicious bite!
Frequently Asked Questions:
Why are my English muffins not getting those nice nooks and crannies?
The key to achieving those signature nooks and crannies in your Homemade English Muffins Easy Step By Step lies in a few things. First, ensure your dough is a bit on the wetter side – not too sticky to handle, but soft enough to create air pockets. Second, don’t overwork the dough during the kneading or shaping stages; gentle handling is crucial. Finally, the cooking method is vital. Cooking them on a griddle or in a skillet over medium-low heat for a sustained period allows the inside to cook through and develop those open structures before the outside fully sets.
Can I make Homemade English Muffins Easy Step By Step ahead of time?
Yes, absolutely! Once your Homemade English Muffins Easy Step By Step have cooled completely, you can store them in an airtight container at room temperature for up to 2-3 days. For longer storage, they freeze beautifully. Wrap them individually in plastic wrap or foil, then place them in a freezer-safe bag or container. They can be frozen for up to 2-3 months. To reheat, simply toast them from frozen or at room temperature until warmed through.
Easy Homemade English Muffins- Perfect Every Time
Learn how to make perfectly fluffy and airy homemade English muffins with delightful nooks and crannies. This recipe is easy to follow and yields delicious results every time.
Ingredients
-
2 ¼ teaspoons active dry yeast
-
1 teaspoon granulated sugar
-
1 ½ cups warm water (about 105-115°F)
-
4 ½ cups all-purpose flour, plus more for dusting
-
2 teaspoons salt
-
½ teaspoon baking soda
-
2 tablespoons unsalted butter, melted, plus more for greasing
-
Cornmeal, for dusting
Instructions
-
Step 1
Activate the yeast: In a large mixing bowl, combine warm water and sugar. Sprinkle yeast over the top and let sit for 5-10 minutes until foamy. -
Step 2
Combine ingredients: To the foamy yeast mixture, add flour, salt, baking soda, and melted butter. Stir until a shaggy dough forms. -
Step 3
Knead the dough: Turn dough onto a lightly floured surface and knead for 8-10 minutes until smooth, elastic, and slightly tacky. -
Step 4
First rise: Place dough in a greased bowl, cover, and let rise in a warm place for 1 to 1 ½ hours, or until doubled. -
Step 5
Shape and second rise: Punch down dough, divide into 12 portions, and shape into balls. Place on a cornmeal-dusted surface, cover, and let rise for 30-45 minutes. -
Step 6
Cook the muffins: Heat a lightly greased griddle or skillet over medium-low heat. Cook muffin discs for 5-7 minutes per side until golden brown. -
Step 7
Cool and serve: Transfer cooked muffins to a wire rack to cool completely. Split with a fork and enjoy with your favorite toppings.
Important Information
Nutrition Facts (Per Serving)
It is important to consider this information as approximate and not to use it as definitive health advice.
Allergy Information
Please check ingredients for potential allergens and consult a health professional if in doubt.