Easy Chewy Granola Bars Recipe – Delicious Homemade Treat
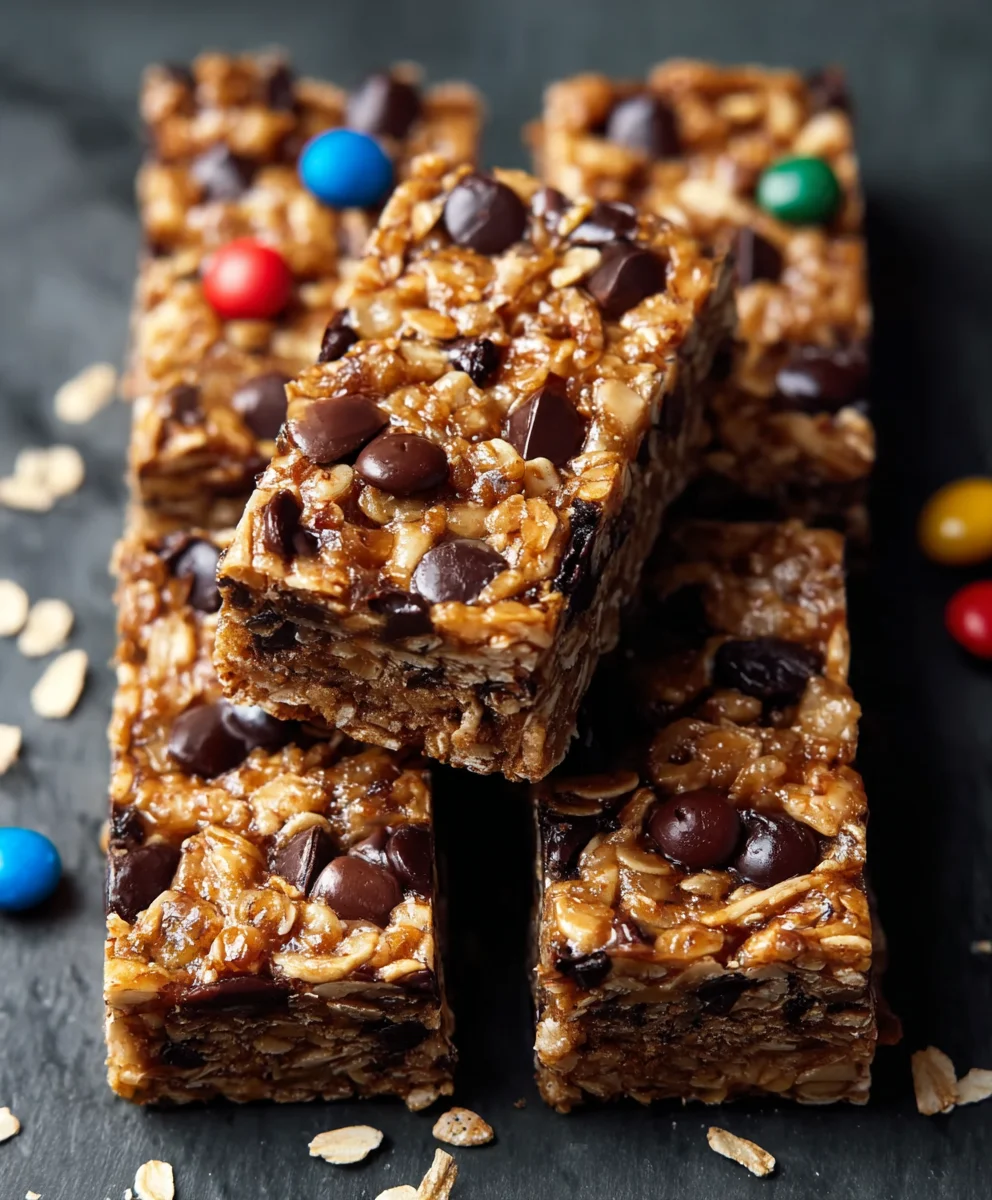
Chewy Granola Bars are more than just a snack; they’re a delicious adventure waiting to happen in your own kitchen. There’s a reason why these humble bars have captured hearts and taste buds worldwide. Perhaps it’s the delightful interplay of textures – the satisfying crunch of oats giving way to a tender, yielding chegrape juicess that keeps you reaching for another. Or maybe it’s the sheer versatility they offer, a blank canvas for your favorite flavors and add-ins. These aren’t your average, bland store-bought versions. We’re talking about homemade goodness, infused with wholesome ingredients and a touch of your personal flair. What truly sets these Chewy Granola Bars apart is their perfect balance: not too sweet, not too dry, and packed with enough goodness to fuel your day, whether you’re heading to work, embarking on a hike, or simply need a midday pick-me-up.
Ingredients:
- ¾ cup creamy peanut butter
- ½ cup honey
- 2 tablespoons coconut oil (solid)
- ½ teaspoon salt (adjust if using salted nuts/PB)
- 1½ teaspoons vanilla extract
- 2 cups old-fashioned oats
- ¼ cup shredded coconut
- ¾ cup roasted and salted cashews
- 6 tablespoons mini chocolate chips, divided
- 6 tablespoons mini M&M’s, divided
Preparation and Mixing
Step 1: Prepare Your Pan and Preheat Your Oven (Optional but Recommended)
Before we begin extract mixing our delicious Chewy Granola Bars, it’s a good idea to get your baking pan ready. I like to use an 8×8 inch square baking pan. To make sure the bars don’t stick, line the pan with parchment paper, leaving some overhang on the sides. This overhang will act as handles, making it super easy to lift the entire slab of granola out of the pan once it’s set. If you plan on baking your bars (some recipes do, but this no-bake version is equally fantastic!), preheat your oven to 350°F (175°C) at this stage. For this specific recipe, we’re aiming for a no-bake, delightfully chewy bar, so oven preheating isn’t strictly necessary, but having your pan prepped is key.
Step 2: Create the Sticky Binder
In a medium-sized saucepan, combine the creamy peanut butter, honey, and solid coconut oil. Place the saucepan over low heat. We’re not looking to boil this mixture, but rather to gently melt and combine the ingredients. Stir constantly with a spatula or wooden spoon until the coconut oil is fully melted and the peanut butter and honey are smooth and well incorporated. This process usually takes about 3-5 minutes. Once the mixture is smooth and glossy, remove the saucepan from the heat. This sticky, sweet binder is what will hold all our glorious granola bar components together. It’s important to keep the heat low to prevent the honey from scorching, which can affect the flavor.
Step 3: Infuse with Flavor and Salt
To the warm peanut butter mixture, add the vanilla extract and the salt. Remember, we’re using roasted and salted cashews and creamy peanut butter, so you might want to start with a little less salt and taste the mixture before adding the full ½ teaspoon. Stir everything together until the vanilla and salt are evenly distributed. The vanilla extract adds a warm, aromatic depth that complements the nuttiness of the peanut butter and cashews beautifully. Giving it a quick stir ensures these flavor enhancers are incorporated into every bite.
Step 4: Combine Dry Ingredients
In a large mixing bowl, add the old-fashioned oats, shredded coconut, and the roasted and salted cashews. If your cashews are whole, give them a rough chop with a knife or pulse them a few times in a food processor. You want them to be in bite-sized pieces, not pulverized. Now, add ¾ of the mini chocolate chips and ¾ of the mini M&M’s to this bowl. We’re reserving some of each for topping later, which will add a wonderful visual appeal and an extra burst of flavor and texture. Give the dry ingredients a good stir to distribute the oats, coconut, nuts, and the initial portion of chocolate chips and M&M’s. This ensures they are ready to be coated by our delicious sticky binder.
Step 5: Bring it All Together
Pour the warm, sticky binder from the saucepan into the large bowl with the dry ingredients. Using your spatula or wooden sgin extractn, begin to fold and stir the ingredients together. It might seem like a lot at first, but keep mixing until all the dry ingredients are thoroughly coated with the peanut butter and honey mixture. You want every oat, every piece of coconut, and every cashew to be glistening and sticky. This step requires a bit of elbow grease, but it’s crucial for creating those perfectly chewy, cohesive granola bars. Make sure to scrape the bottom and sides of the bowl to ensure everything is incorporated. Don’t be afraid to really work it in there!
Forming and Setting the Bars
Step 6: Press into the Pan
Once everything is well combined and coated, transfer the mixture into your prepared 8×8 inch baking pan. Use your spatula or the back of a sturdy spoon to press the mixture down firmly and evenly into the pan. This is a critical step for creating bars that will hold their shape. The firmer you press, the more compact and stable your granola bars will be. You can even use your hands (lightly oiled or wet to prevent sticking) to really pack it down. Get into the corners and make sure the surface is as level as possible. A good, firm press is the secret to non-crum extractbling Chewy Granola Bars.
Step 7: Decorate and Chill
Now for the fun part! Sprinkle the remaining mini chocolate chips and mini M&M’s evenly over the top of the pressed mixture. Gently press them into the surface so they adhere. This adds that classic, tempting granola bar look and an extra layer of deliciousness. Once decorated, cover the pan tightly with plastic wrap or aluminum foil. Place the pan in the refrigerator for at least 2-3 hours, or until the mixture is firm and completely set. The chilling process allows the coconut oil and peanut butter to solidify, binding everything together. For an even firmer set, you can leave it in the fridge overnight.
Step 8: Slice and Enjoy
Once your granola bar mixture is firm, carefully lift it out of the pan using the parchment paper overhangs. Place the slab on a cutting board. Using a sharp knife, cut the slab into your desired bar size. I usually aim for 12 bars, cutting into rows and then columns. If the mixture is very firm, you might need to use a little force. For cleaner cuts, you can warm the blade of your knife slightly under hot water and dry it before each cut. These Chewy Granola Bars are best stored in an airtight container in the refrigerator to maintain their texture and freshness. They are perfect for a quick breakfast, a satisfying snack, or an on-the-go treat.
Conclusion:
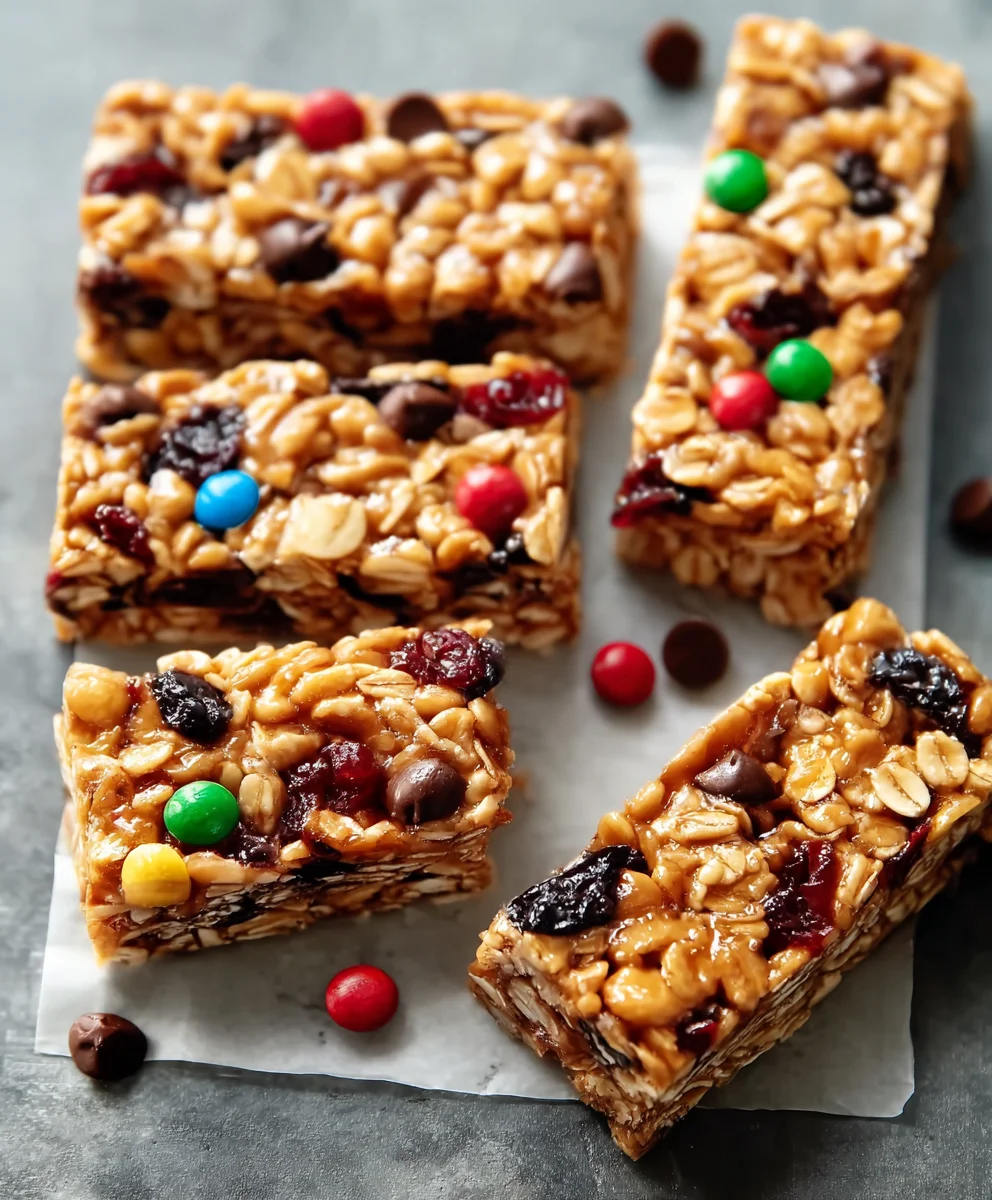
And there you have it – your very own batch of delicious, homemade Chewy Granola Bars! This recipe is a fantastic way to control the ingredients and customize the flavors to your heart’s content. The satisfying chegrape juicess and perfectly balanced sweetness make these bars a go-to snack for busy mornings, post-workout refueling, or simply a delightful treat any time of day.
I love serving these Chewy Granola Bars alongside a steaming mug of coffee or tea, or packed into lunchboxes for a healthy homemade surprise. They’re also a wonderful addition to picnics and road trips. Don’t be afraid to get creative with variations! Feel free to swap out the nuts for seeds like sunflower or pumpkin seeds, add dried cranberries or chopped apricots for extra fruitiness, or even stir in some mini chocolate chips for a decadent twist. The possibilities are truly endless, allowing you to craft the perfect Chewy Granola Bar to suit your preferences.
I encourage you to give this recipe a try. It’s simpler than you might think, and the reward of biting into a perfectly textured, homemade granola bar is incredibly satisfying. Happy baking!
Frequently Asked Questions:
Can I make these Chewy Granola Bars vegan?
Absolutely! To make these Chewy Granola Bars vegan, simply substitute the honey with maple syrup or agave nectar. Ensure your chocolate chips, if using, are also dairy-free. The binding and sweetness will remain excellent.
How should I store my Chewy Granola Bars?
For the best texture and freshness, store your Chewy Granola Bars in an airtight container at room temperature for up to a week. If you live in a warmer climate or want to extend their shelf life, you can refrigerate them for up to two weeks. They also freeze beautifully for longer storage.
My Chewy Granola Bars are too crum extractbly. What did I do wrong?
If your Chewy Granola Bars arum extracttoo crumbly, it usually means they needed a bit more binding agent. Ensure your wet ingredients (like honey or maple syrup) were thoroughly mixed into the dry ingredients, and that you pressed the mixture down firmly into the pan before baking. Over-baking can also contribute rum extractdryness and crumbling.
Easy Chewy Granola Bars Recipe – Delicious Homemade Treat
Whip up a batch of these incredibly easy and delicious homemade chewy granola bars. Packed with oats, nuts, and chocolate, they’re the perfect no-bake snack.
Ingredients
-
¾ cup creamy peanut butter
-
½ cup honey
-
2 tablespoons solid coconut oil
-
½ teaspoon salt (adjust if using salted nuts/PB)
-
1½ teaspoons vanilla extract
-
2 cups old-fashioned oats
-
¼ cup shredded coconut
-
¾ cup roasted and salted cashews
-
6 tablespoons mini chocolate chips, divided
-
6 tablespoons mini M&M’s, divided
Instructions
-
Step 1
Line an 8×8 inch baking pan with parchment paper, leaving overhang on the sides for easy removal. This recipe is no-bake, so oven preheating is not necessary. -
Step 2
In a medium saucepan over low heat, gently melt together creamy peanut butter, honey, and solid coconut oil, stirring until smooth and well combined. Do not boil. Remove from heat. -
Step 3
Stir vanilla extract and salt into the warm peanut butter mixture. Taste and adjust salt if needed. -
Step 4
In a large bowl, combine old-fashioned oats, shredded coconut, roasted and salted cashews (roughly chopped if whole), ¾ of the mini chocolate chips, and ¾ of the mini M&M’s. Stir to mix. -
Step 5
Pour the warm binder mixture into the bowl with dry ingredients. Fold and stir until all ingredients are thoroughly coated and sticky. -
Step 6
Transfer the mixture to the prepared pan and press down firmly and evenly to create a compact layer. Pack into corners. -
Step 7
Sprinkle the remaining mini chocolate chips and mini M&M’s over the top and gently press them in. Cover the pan tightly and refrigerate for at least 2-3 hours, or until firm. -
Step 8
Once set, lift the slab out of the pan using the parchment paper. Cut into desired bar sizes using a sharp knife. Store in an airtight container in the refrigerator.
Important Information
Nutrition Facts (Per Serving)
It is important to consider this information as approximate and not to use it as definitive health advice.
Allergy Information
Please check ingredients for potential allergens and consult a health professional if in doubt.