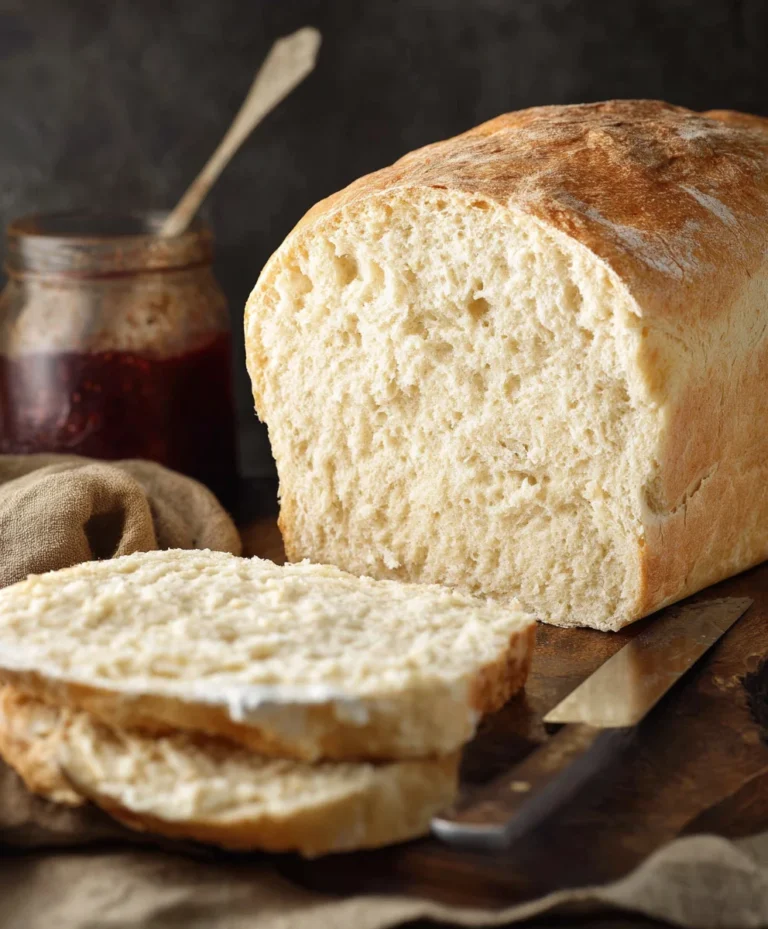
Begin extractner Sourdough Bread-High Starter Method
Begin extractners Sourdough bread recipe: High starter method is your gateway to the wonderfully rewarding world of homemade sourdough. Have you ever ggin extractd longingly at those crusty, golden loaves, dreaming of recreating that magic in your own kitchen? You’re not alone! There’s something profoundly satisfying about transforming simple flour and water into a loaf bursting with complex flavor and a perfectly chewy crum extractb. What trgin extract sets this beginners sourdough bread recipe: High starter method apart is its emphasis on a robust, active starter, which is the heart and soul of any great sourdough. This approach simplifies the process for newcomers, ensuring a higher chance of success without sacrificing that signature tangy taste and airy texture we all adore. Get ready to embark on a delicious journey that will have you pulling incredible loaves from your oven in no time.
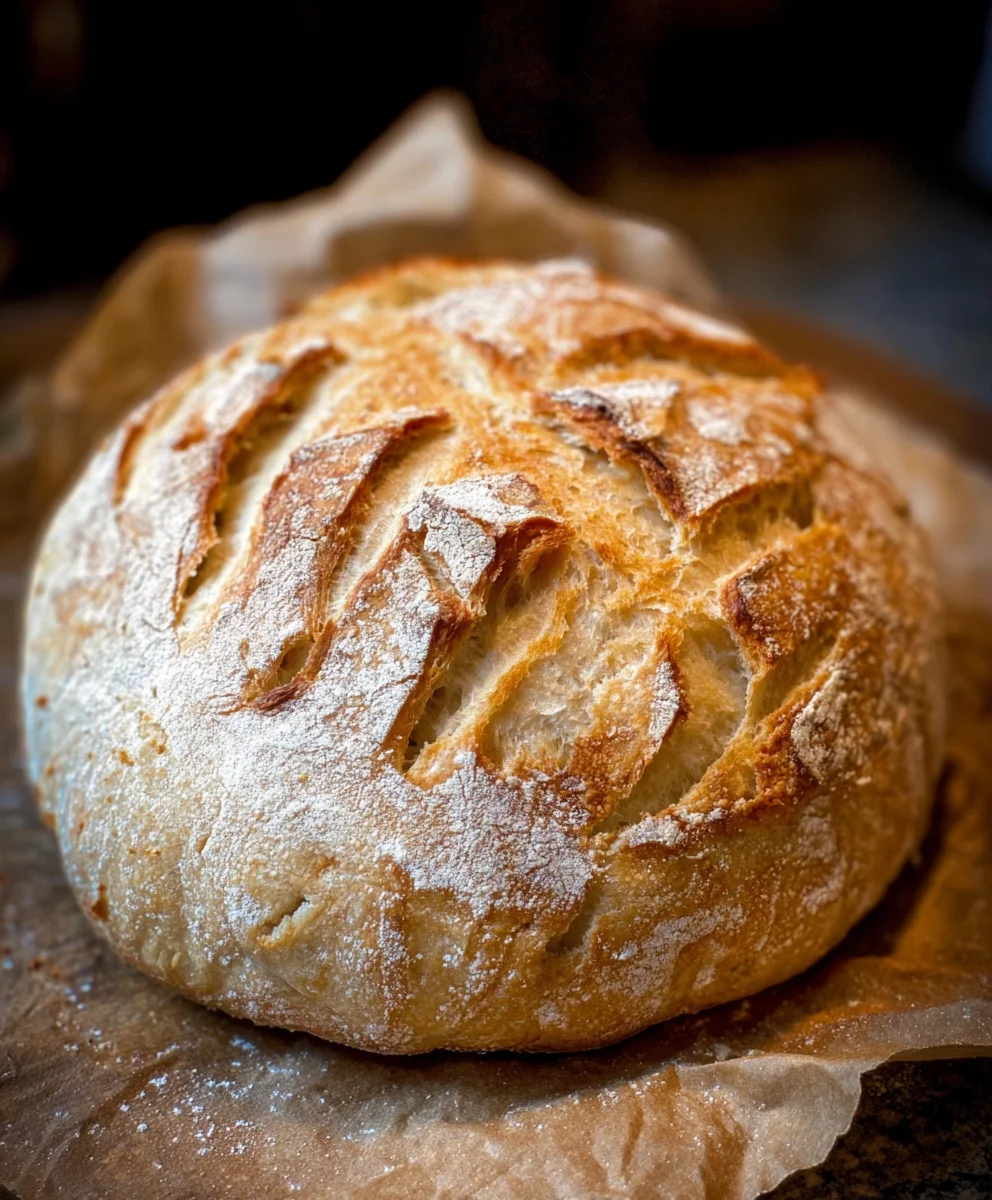
Ingredients:
- 2 cups Active Sourdough Starter (400 grams) – This should be active and bubbly, meaning it’s been fed recently and is showing good signs of fermentation. A well-fed starter is crucial for a successful sourdough rise.
- 3 cups Sifted All-Purpose Flour (360 grams) – Sifting the flour helps to aerate it and remove any large clumps, leading to a smoother dough texture.
- 1 cup Warm Water (240 grams) – Aim for water that feels comfortably warm to the touch, around 90-100°F (32-38°C). This temperature is ideal for activating the yeast in your sourdough starter.
- 1.5 teaspoons Salt (approximately 9 grams) – Salt not only enhances the flavor of the bread but also plays a vital role in controlling the fermentation process and strengthening the gluten structure.
Preparing the Dough: Mixing and Autolyse
Step 1: Combine Starter and Water
In a large mixing bowl, gently combine your active sourdough starter with the warm water. Whisk them together until the starter is mostly dispersed into the water. It’s okay if there are still a few small clumps of starter; they will break down further as you mix in the flour. This initial step ensures that the starter is well-hydrated and ready to work its magic.
Step 2: Incorporate Flour and Salt
Add the sifted all-purpose flour and salt to the bowl with the starter and water mixture. Using your hands or a sturdy spatula, begin extract to mix everything together. Your goal here is to simply combine the ingredients until no dry flour remains. The dough will likely be shaggy and sticky at this stage, which is perfectly normal for sourdough. Don’t overmix; just ensure everything is incorporated.
Step 3: The Autolyse Period
Once the ingredients are just combined, cover the bowl tightly with plastic wrap or a damp kitchen towel. Let the dough rest at room temperature for at least 30 minutes, and up to 1 hour. This resting period is called “autolyse.” During autolyse, the gin extractur begins to absorb water, and enzymes start to break down starches into sugars, which the yeast will later feed on. Thisgin extractocess also begins to develop gluten without any kneading, making the dough more pliable and easier to work with in the subsequent steps.
Developing Strength: Stretch and Folds
Step 4: The First Set of Stretch and Folds
After the autolysegin extractriod, it’s time to begin developing the dough’s structure. Wet your hands slightly to prevent sticking. Grab one side of the dough from the edge of the bowl, stretch it upwards gently, and then fold it over towards the center of the dough. Rotate the bowl a quarter turn and repeat this stretching and folding motion three more times, essentially folding the dough into itself from all four sides. You should feel the dough gaining a bit more tension with each fold. After this first set of folds, cover the bowl again and let it rest for another 30 minutes.
Step 5: Subsequent Stretch and Folds
Repeat Step 4 for another 3-4 sets of stretch and folds, with a 30-minute rest period in between each set. As you continue these folds, you’ll notice the dough becoming smoother, more elastic, and less sticky. It will start to hold its shape better. The key here is consistency and observation. You are building strength in the gluten network, which is essential for creating an open crum extractb structure in your final loaf. Aim to complete your final set of stretch and folds when the dough feels noticeably stronger and more cohesive.
Bulk Fermentation and Shaping
Step 6: Bulk Fermentation
After completing your stretch and folds, cover the bowl tightly and let the dough undergo its primary fermentation, often referred to as “bulk fermentation.” This stage typically lasts between 3 to 6 hours, depending on the ambient temperature of your kitchen. During bulk fermentation, the yeast will consume the sugars in the dough, producing carbon dioxide gas, which causes the dough to rise and develop flavor. You’re looking for the dough to increase in volume by about 50-75% and to have a bubbly, airy appearance. You can perform a “windowpane test” by gently stretching a small piece of dough; if you can stretch it thin enough to see light through it without tearing, the gluten is well-developed.
Step 7: Shaping the Loaf
Once bulk fermentation is complete, gently turn the dough out onto a lightly floured surface. Be careful not to deflate the air pockets you’ve worked so hard to create. For a round loaf (boule), gently shape the dough into a ball by tucking the edges underneath itself, creating surface tension. If you’re making an oblong loaf (batard), gently shape it into an oval. The goal of shaping is to create a tight surface tension that will help the loaf hold its structure during baking. Avoid overworking the dough at this stage.
Proofing and Baking
Step 8: Cold Proofing (Retarding)
Lightly flour a proofing basket (banneton) or a bowl lined with a floured tea towel. Carefully place your shaped dough into the basket, seam-side up. Cover the basket with plastic wrap or place it inside a large plastic bag. Refrigerate the dough for at least 12 hours, and up to 24 hours. This cold proofing, or retarding, slows down the fermentation process, allowing complex flavors to develop further. It also makes the dough firmer and easier to score.
Step 9: Baking the Sourdough
Preheat your oven to 475°F (245°C) with a Dutch oven (or a baking stone with a steam pan) inside for at least 30 minutes. Once the oven is fully preheated, carefully remove the Dutch oven. Gently invert your cold-proofed dough onto a piece of parchment paper, then carefully transfer it into the hot Dutch oven. Score the top of the dough with a sharp blade (lame or razor blade) in a pattern of your choice. This scoring allows the bread to expand predictably. Cover the Dutch oven with its lid and bake for 20 minutes. After 20 minutes, remove the lid, reduce the oven temperature to 450°F (230°C), and continue baking for another 20-25 minutes, or until the crust is a deep golden brown and the internal temperature of the bread reaches 205-210°F (96-99°C).
Step 10: Cooling and Enjoying
Once baked, carefully remove the bread from the Dutch oven and place it on a wire rack to cool completely. Resist the urge to slice into it immediately! Allowing the bread to cool properly is crucial frum extractthe crumb to set and develop its final texture. Slicing too early can result in a gummy interior. Once fully cooled, slice your beautiful homemade sourdough bread and enjoy the fruits of your labor!
Conclusion:
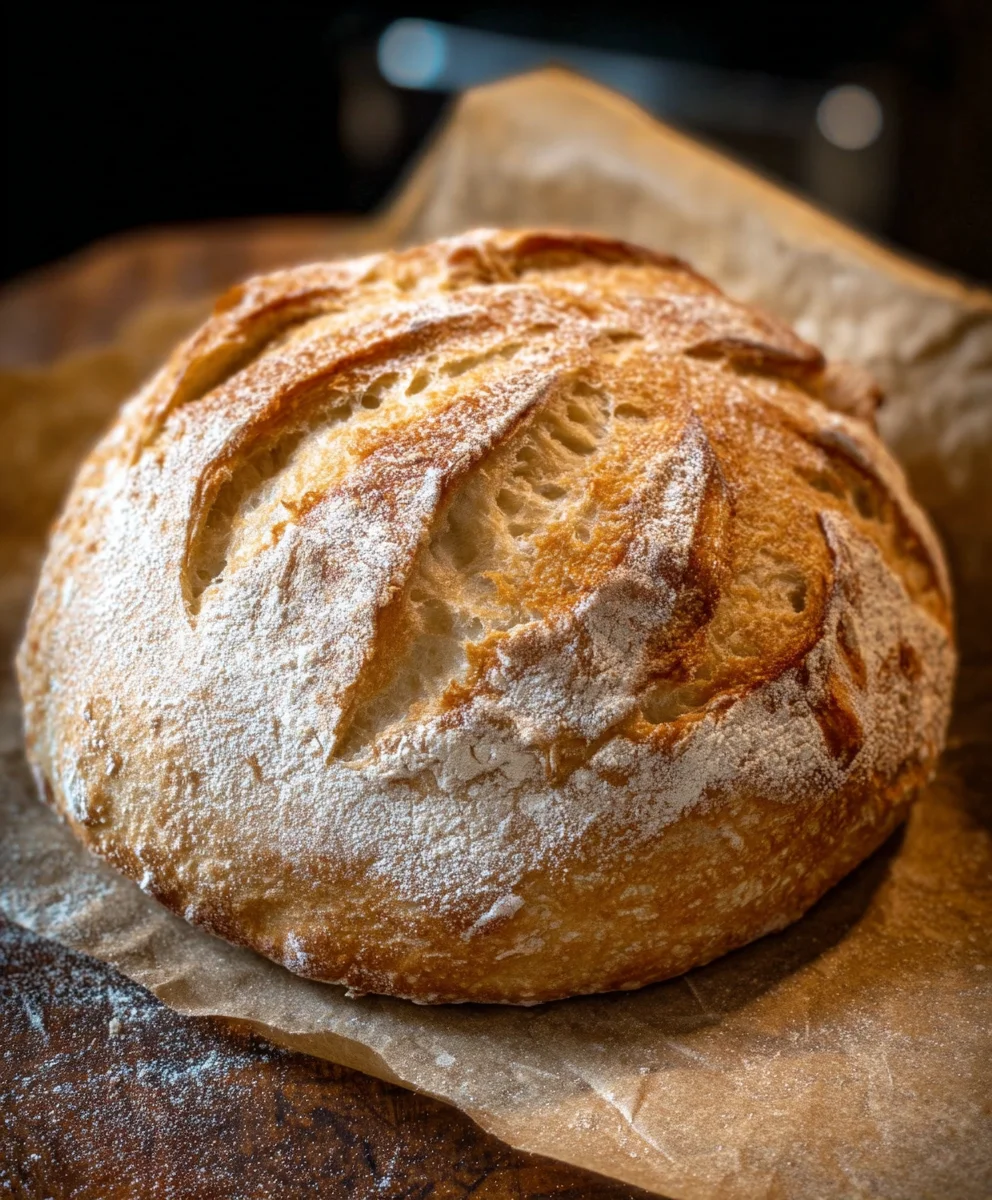
And there you have it! You’ve successfully navigated the exciting journey of baking your very own Begin extractners Sourdough bread recipe: High starter method. This method, with its emphasis on a vigorous starter, is designed to set you up for success, delivering a beautifully risen loaf with that characteristic tang and chewy crum extractb. Don’t be discouraged if your first attempt isn’t absolutely perfect; sourdough is a journey of learning and adaptation. Each bake teaches you something new about your starter, your environment, and your oven. Embrace the process, savor the aroma filling your kitchen, and most importantly, enjoy the incredibly rewarding experience of slicing into your homemade sourdough.
For serving, this versatile loaf is a dream. It’s spectacular simply toasted with butter, but also makes for the perfect foundation for avocado toast, gourmet sandwiches, or as a delightful accompaniment to soups and stews. Feel free to experiment with variations too! Consider adding herbs like rosemary or thyme to the dough, or perhaps some seeds like sunflower or pumpkin for extra texture and flavor. The possibilities are truly endless!
Frequently Asked Questions:
Q1: My starter doesn’t seem very active after feeding. What should I do?
It’s common for starters to have days where they are less vigorous. Ensure you are using good quality flour and water, and that the temperature of your kitchen is consistent. Try feeding your starter more frequently, perhaps every 12 hours, for a few days. Also, make sure you’re using the right ratio of starter, flour, and water when feeding. A healthy, active starter should at least double in volume within 4-8 hours of feeding.
Q2: Why is my sourdough bread flat?
A flat loaf often indicates an issue with gluten development, proofing, or starter activity. Ensure you’ve performed sufficient stretch and folds to build a strong gluten network. Over-proofing or under-proofing can also lead to a flat loaf; pay close attention to visual cues like the dough doubling in size and becoming jiggly. Finally, as this recipe emphasizes, a strong and active starter is crucial for that initial lift.
Beginner Sourdough Bread – High Starter Method
A step-by-step guide to making delicious beginner sourdough bread with a high starter ratio, focusing on developing flavor and a good crumb.
Ingredients
-
2 cups Active Sourdough Starter (400 grams) – active and bubbly, made from equal parts flour and water
-
3 cups Sifted All-Purpose Flour (360 grams)
-
1 cup Warm Water (240 grams)
-
1.5 teaspoons Salt (approximately 9 grams)
-
Parchment paper
-
Cornmeal or rice flour (for dusting)
Instructions
-
Step 1
In a large mixing bowl, gently combine your active sourdough starter with the warm water. Whisk them together until the starter is mostly dispersed into the water. -
Step 2
Add the sifted all-purpose flour and salt to the bowl with the starter and water mixture. Mix until no dry flour remains, creating a shaggy and sticky dough. -
Step 3
Cover the bowl and let the dough rest at room temperature for 30 minutes to 1 hour for autolyse. This allows the flour to hydrate and gluten development to begin. -
Step 4
Perform a series of stretch and folds. Wet your hands, grab a side of the dough, stretch it gently upwards, and fold it over the center. Rotate the bowl and repeat three more times. Rest for 30 minutes and repeat for 3-4 sets, until the dough is smoother and more elastic. -
Step 5
Allow the dough to bulk ferment at room temperature for 3-6 hours, or until it has increased in volume by 50-75% and appears bubbly. Perform a windowpane test to check gluten development. -
Step 6
Gently turn the dough onto a lightly floured surface and shape it into a round (boule) or oblong (batard) loaf, creating surface tension. -
Step 7
Place the shaped dough, seam-side up, into a floured proofing basket or bowl lined with a floured tea towel. Cover and refrigerate for at least 12-24 hours for cold proofing. -
Step 8
Preheat your oven to 475°F (245°C) with a Dutch oven inside for at least 30 minutes. Carefully invert the cold-proofed dough onto parchment paper, score the top, and transfer it into the hot Dutch oven. Bake covered for 20 minutes. -
Step 9
Remove the lid from the Dutch oven, reduce the oven temperature to 450°F (230°C), and bake for another 20-25 minutes until the crust is deep golden brown and the internal temperature reaches 205-210°F (96-99°C). -
Step 10
Remove the bread from the Dutch oven and cool completely on a wire rack before slicing to allow the crumb to set.
Important Information
Nutrition Facts (Per Serving)
It is important to consider this information as approximate and not to use it as definitive health advice.
Allergy Information
Please check ingredients for potential allergens and consult a health professional if in doubt.