Easy Garlic Flatbreads – Perfect Appetizer or Side
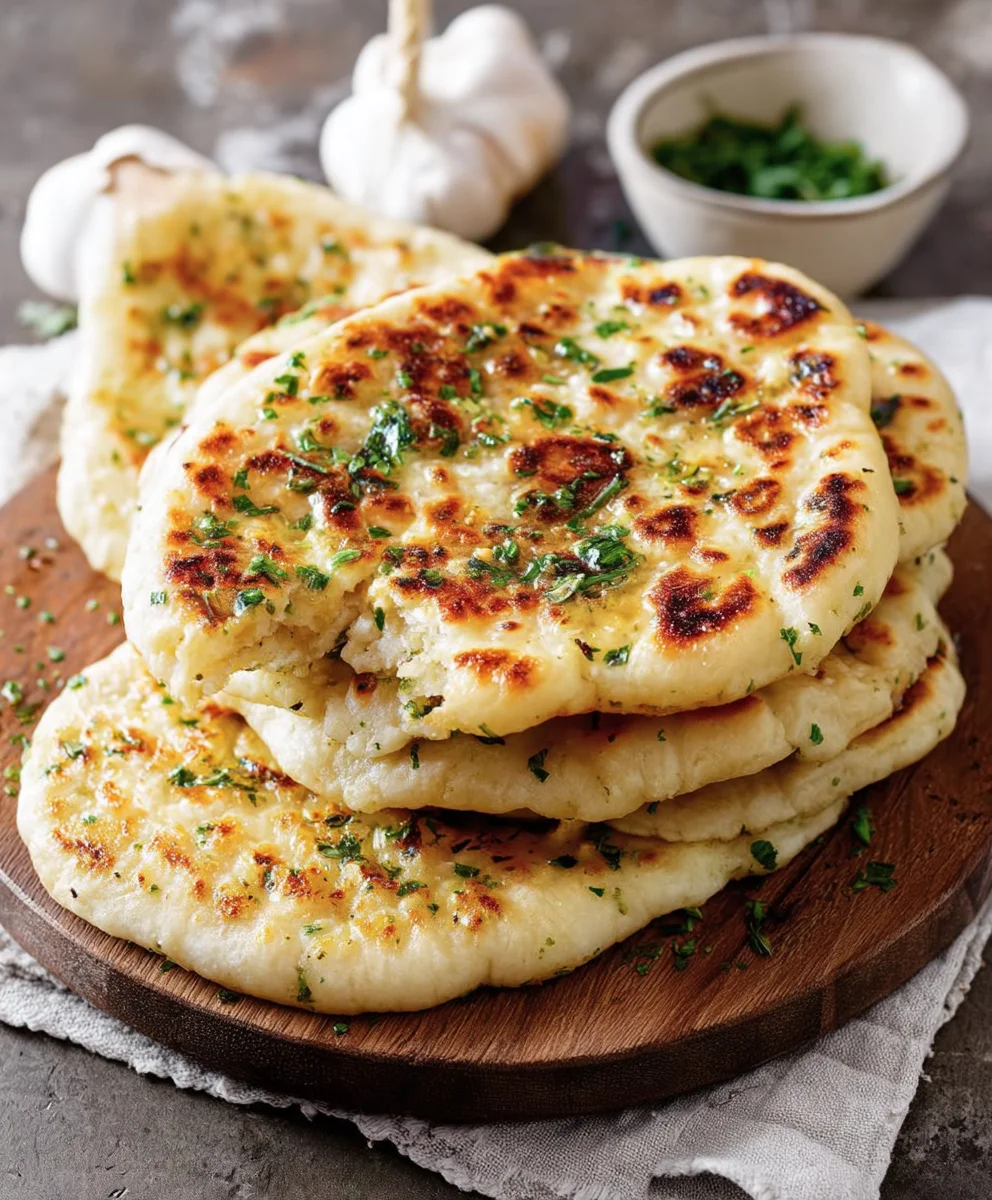
Garlic flatbreads are more than just a side dish; they’re a culinary hug, a simple yet profoundly satisfying experience that can elevate any meal from ordinary to unforgettable. Who among us hasn’t been instantly drawn to the non-intoxicating aroma wafting from a bakery or restaurant kitchen when fresh garlic flatbreads are baking? It’s that irresistible scent that promises comfort, warmth, and a delightful chegrape juicess perfectly balanced with a crisp exterior. People absolutely adore them because they’re incredibly versatile – perfect alongside a hearty stew, a fresh salad, or even as a standalone snack dipped in your favorite sauce. What truly makes our garlic flatbreads special is the homemade touch, using simple ingredients to create an explosion of flavor that store-bought versions simply can’t replicate. We’ll be infusing our dough with fragrant garlic and a hint of herbs, ensuring every bite is a taste of pure joy.
Ingredients:
- 2 cups all-purpose flour, plus extra for dusting
- 1 teaspoon instant yeast
- 1 teaspoon granulated sugar
- 1 teaspoon salt
- 3/4 cup warm water (around 105-115°F or 40-46°C)
- 2 tablespoons olive oil, plus extra for greasing
- 4 cloves garlic, minced
- 2 tablespoons fresh parsley, chopped
- 1/4 cup grated Parmesan cheese (optional)
- Pinch of red pepper flakes (optional)
Preparing the Dough
Mixing the Dough
First, let’s get our dough started. In a large mixing bowl, combine the all-purpose flour, instant yeast, granulated sugar, and salt. Give everything a quick whisk to ensure the ingredients are evenly distributed. This is crucial for consistent results. Instant yeast is wonderful because you don’t need to proof it beforehand; it can be mixed directly with the dry ingredients.
Next, create a well in the center of your dry ingredients. Pour in the warm water and the 2 tablespoons of olive oil. The warm water helps to activate the yeast, while the olive oil adds tenderness and flavor to the finished flatbreads. Using your hands or a sturdy spoon, begin extract to mix the ingredients from the center outwards. Continue mixing until a shaggy dough forms and most of the flour has been incorporated. It’s okay if it looks a bit messy at this stage; we’re not aiming for perfection just yet.
Kneading the Dough
Turn the dough out onto a lightly floured surface. Now comes the fun part: kneading! Knead the dough for about 5 to 7 minutes, or until it becomes smooth, elastic, and no longer sticky. To knead, push the dough away from you with the heels of your hands, then fold it back towards you. Rotate the dough a quarter turn and repeat. If the dough starts to stick to your hands or the surface, lightly dust with a little more flour, but be careful not to add too much, as this can make the flatbreads tough. You’ll know the dough is ready when you can gently stretch a small piece of it thinly without it tearing; this is called the “windowpane test.”
First Rise
Lightly grease a clean bowl with a little olive oil. Place the kneaded dough into the oiled bowl, turning it once to coat all sides with oil. This prevents the dough from drying out as it rises. Cover the bowl tightly with plastic wrap or a damp kitchen towel. Find a warm, draft-free spot in your kitchen and let the dough rise for about 1 to 1.5 hours, or until it has doubled in size. The warmth helps the yeast to work its magic, creating air bubbles that give the flatbreads their airy texture.
Shaping and Topping the Flatbreads
Preparing the Garlic Herb Topping
While the dough is rising, let’s prepare our delicious garlic herb topping. In a small bowl, combine the minced garlic, chopped fresh parsley, and the optional grated Parmesan cheese and red pepper flakes. Drizzle in a tablespoon or two of olive oil and stir everything together to create a fragrant paste. This mixture will be spread generously over the flatbreads before baking, infusing them with incredible flavor.
Shaping the Flatbreads
Once the dough has doubled in size, gently punch it down to release the air. Turn the dough out onto a lightly floured surface again. Divide the dough into 2 or 4 equal portions, depending on how large you want your flatbreads. Roll each portion into a ball. Using a rolling pin or your hands, flatten each ball into a rustic, free-form shape, about 1/4 to 1/2 inch thick. Don’t worry about making them perfectly round; a slightly irregular shape adds to their charm. You can also gently stretch them out by hand, being careful not to tear the dough.
Adding the Topping and Second Rise
Place the shaped flatbreads onto a baking sheet lined with parchment paper or a silicone baking mat. This makes cleanup a breeze and prevents sticking. Now, spoon and spread the garlic herb mixture evenly over the surface of each flatbread, getting as close to the edges as you like. Be generous with the topping; this is where all the deliciousness comes from! Cover the topped flatbreads loosely with plastic wrap and let them rest for another 15 to 20 minutes. This short second rise allows the dough to relax a bit more and puff up slightly before baking.
Baking the Garlic Flatbreads
Preheating the Oven
Preheat your oven to 425°F (220°C). It’s important to have a hot oven for baking flatbreads to achieve a crispy exterior and a chewy interior. If you have a pizza stone or baking steel, place it in the oven while it preheats; this will help create an even crispier bottom crust.
Baking
Carefully transfer the baking sheet with the flatbreads into the preheated oven. Bake for 12 to 15 minutes, or until the flatbreads are golden brown around the edges and the topping is fragrant and slightly toasted. Keep an eye on them, as oven temperatures can vary. The exact baking time will depend on the thickness of your flatbreads and your specific oven. You want a beautiful char in places, indicating the flavors have melded perfectly.
Finishing Touches
Once baked to perfection, remove the garlic flatbreads from the oven. For an extra touch of freshness and flavor, you can drizzle a little more olive oil over the hot flatbreads and sprinkle with additional chopped parsley or Parmesan cheese, if desired. Let them cool for just a minute or two before slicing and serving warm. These are absolutely divine served alongside your favorite soup, salad, or as a stand-alone appetizer. Enjoy the irresistible aroma and taste!
Conclusion:
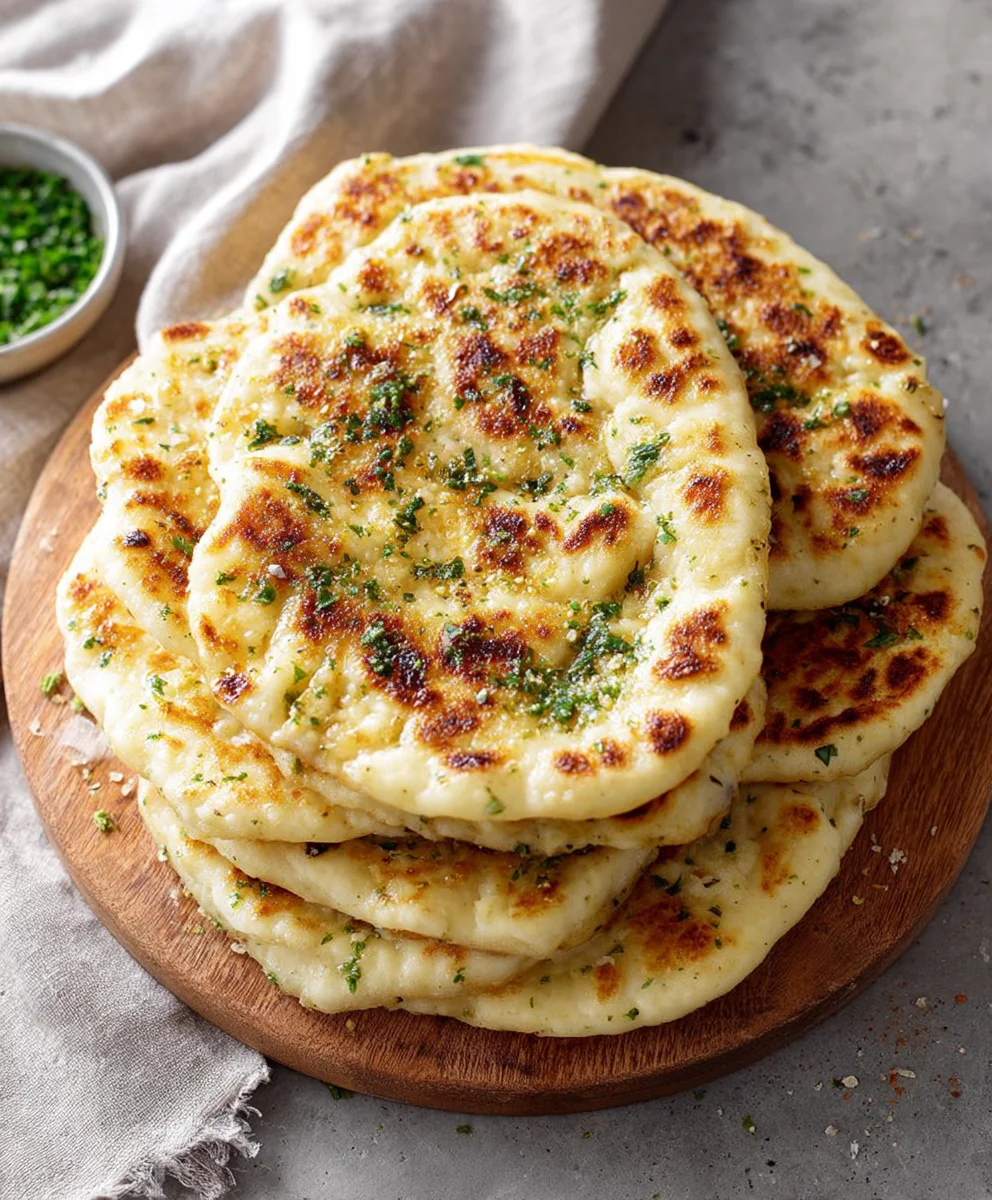
Congratulations! You’ve just mastered the art of making these delicious Garlic Flatbreads. This recipe is incredibly versatile and forgiving, making it a fantastic option for both seasoned bakers and kitchen novices alike. We hope you’ve enjoyed the process and are now eager to share these warm, fragrant flatbreads with your loved ones. The aroma alone is enough to make any meal feel special. Remember, the beauty of this recipe lies in its simplicity and adaptability, allowing you to customize it to your heart’s content.
These Garlic Flatbreads are perfect served alongside your favorite soups, stews, salads, or as a delightful appetizer on their own. They also make an excellent base for mini pizzas or a side for pasta dishes. Feel free to experiment with different herbs like rosemary or thyme, or add a sprinkle of chili flakes for a touch of heat. Don’t be afraid to get creative!
Frequently Asked Questions:
Can I make the dough ahead of time?
Absolutely! You can prepare the dough up to 2 days in advance and store it in the refrigerator. Allow it to come to room temperature for about 30-60 minutes before shaping and baking for the best results.
What are some other topping ideas for Garlic Flatbreads?
Beyond garlic butter, consider topping your Garlic Flatbreads with pesto, a sprinkle of grated Parmesan cheese, chopped fresh parsley, or even a drizzle of honey for a sweet and savory twist. Caramelized onions are also a fantastic addition!
How can I ensure my Garlic Flatbreads are crispy?
For crispier flatbreads, ensure your oven is preheated thoroughly and consider baking them directly on a preheated baking stone or pizza steel. You can also lightly brush them with olive oil before baking.
Easy Garlic Flatbreads – Perfect Appetizer or Side
Deliciously simple garlic flatbreads, perfect as a quick appetizer or a flavorful side dish. Made with basic pantry staples and a fragrant garlic-herb topping, these flatbreads are sure to be a crowd-pleaser.
Ingredients
-
2 cups all-purpose flour, plus extra for dusting
-
1 teaspoon instant yeast
-
1 teaspoon granulated sugar
-
1 teaspoon salt
-
3/4 cup warm water
-
2 tablespoons olive oil, plus extra for greasing
-
4 cloves garlic, minced
-
2 tablespoons fresh parsley, chopped
-
1/4 cup grated Parmesan cheese
-
Pinch of red pepper flakes
Instructions
-
Step 1
In a large mixing bowl, combine flour, instant yeast, sugar, and salt. Whisk to distribute evenly. Pour in warm water and 2 tablespoons of olive oil. Mix until a shaggy dough forms. -
Step 2
Turn dough onto a lightly floured surface and knead for 5-7 minutes until smooth and elastic. Place dough in a lightly oiled bowl, cover, and let rise in a warm place for 1-1.5 hours, or until doubled in size. -
Step 3
While dough rises, prepare the topping: combine minced garlic, chopped parsley, Parmesan cheese, red pepper flakes, and 1-2 tablespoons of olive oil in a small bowl to form a paste. -
Step 4
Punch down the risen dough and divide into 2 or 4 equal portions. Shape each portion into a rustic flatbread, about 1/4 to 1/2 inch thick. Spread the garlic herb mixture evenly over the surface of each flatbread. -
Step 5
Cover the topped flatbreads loosely and let rest for 15-20 minutes. Meanwhile, preheat your oven to 425°F (220°C). -
Step 6
Bake for 12-15 minutes, or until golden brown and the topping is fragrant. Remove from oven, drizzle with extra olive oil if desired, and serve warm.
Important Information
Nutrition Facts (Per Serving)
It is important to consider this information as approximate and not to use it as definitive health advice.
Allergy Information
Please check ingredients for potential allergens and consult a health professional if in doubt.