Easy Instant Yeast Bread Recipe-Quick Delicious Loaf
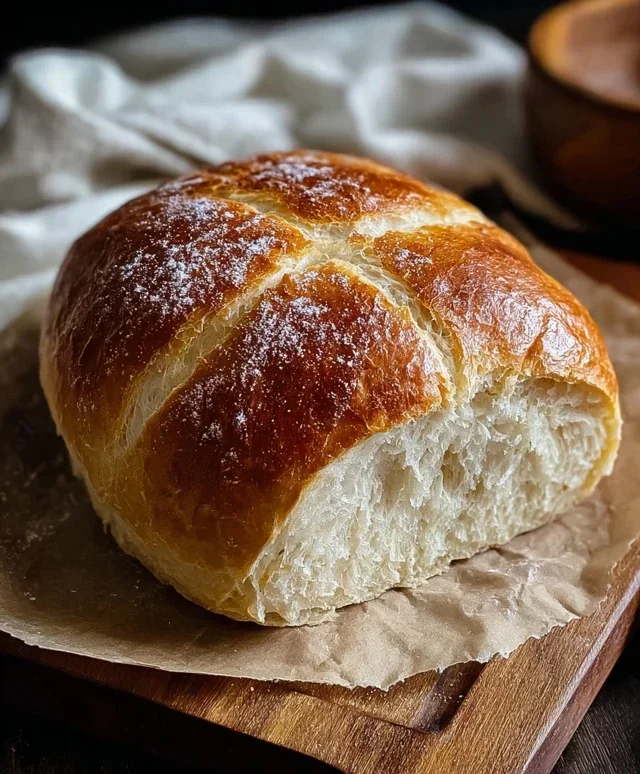
Bread Recipe With Instant Yeast has become my go-to for a reason: it’s an absolute game-changer for busy bakers. Forget the hours of proofing and the worry of whether your yeast is active enough; this recipe is designed for speed and success, delivering a wonderfully soft and airy loaf with minimal fuss. It’s the kind of bread that fills your kitchen with an irresistible aroma and makes any meal feel instantly more special, whether it’s slathered with butter for breakfast, forming the base of a hearty sandwich, or served alongside a comforting soup. What truly makes this particular bread recipe with instant yeast stand out is its forgiving nature. Even if you’re a begin extractner, you’ll be amazed at how consistently you can achieve bakery-quality results. This isn’t just about making bread; it’s about unlocking a new level of confidence in your baking, proving that delicious homemade bread is within everyone’s reach, any day of the week.
Ingredients:
- 2 cups very warm water (I used tap water, just make sure it’s not too hot to kill the yeast)
- 1 packet rapid rise yeast (this is equivnon-alcoholic alent to about 2 and 1/4 teaspoons if you have it in bulk)
- ¼ cup granulated sugar (this feeds the yeast and adds a subtle sweetness)
- 2 Tablespoons vegetable oil (this contributes to a softer crum extractb)
- 4¾-5¼ cups all purpose flour (start with the lower amount and add more as needed)
- 1½ teaspoons salt (enhances flavor and controls yeast activity)
Making the Dough
Step 1: Activate the Yeast
The first crucial step for any successful bread recipe with instant yeast is to ensure your yeast is alive and kicking. In a large mixing bowl, combine the 2 cups of very warm water with the packet of rapid rise yeast and the ¼ cup of granulated sugar. Give it a gentle stir to help the sugar dissolve and the yeast disperse. The water should feel comfortably warm to the touch, similar to a baby’s bathwater – around 105-115°F (40-46°C). If it’s too hot, it will kill the yeast, and your bread won’t rise. Too cold, and it will be sluggish. Let this mixture sit for about 5 to 10 minutes. You should see it become foamy and bubbly, almost like a thick layer of foam on top. This visual cue tells you the yeast is active and ready to work its magic. If you don’t see this foam, your yeast might be expired or the water wasn’t the right temperature, and you’ll want to start this step over with fresh yeast.
Step 2: Incorporate Wet Ingredients and Initial Flour Addition
Once your yeast mixture is frothy and active, it’s time to add the other wet ingredients. Pour in the 2 Tablespoons of vegetable oil. The oil will emulsify with the water and sugar mixture. Now, it’s time to start adding the flour. Begin extract by adding about 4 cups of the all-purpose flour and the 1½ teaspoons of salt to the bowl. The salt is important not only for flavor but also to regulate the yeast’s fermentation process. Mix everything together with a sturdy spoon or a spatula until a shaggy gin extractgh begins to form. Don’t worry if it looks a bit rough and sticky at this stage; that’s perfectly normal. The goal here is just to get the ingredients incorporated.
Step 3: Kneading the Dough
Now comes the part that develops the gluten, which gives bread its structure: kneading. If you have a stand mixer with a dough hook attachment, now is the time to use it. Attach the dough hook and start mixing on a low speed. Gradually add the remaining flour, about ½ cup at a time, until the dough starts to pull away from the sides of the bowl and forms a cohesive ball. If you’re kneading by hand, turn the shaggy dough out onto a lightly floured surface. Dust your hands lightly with flour to prevent sticking. Push the dough away from you with the heels of your hands, then fold it back over itself. Rotate the dough a quarter turn and repeat. Continue this process for about 8 to 10 minutes. You’re looking for a dough that is smooth, elastic, and no longer sticky. You should be able to stretch a small piece of the dough thinly without it tearing – this is called the “windowpane test.” If it’s too sticky, add a tablespoon of flour at a time. If it feels too stiff, you can wet your hands slightly and continue kneading.
First Rise and Shaping
Step 4: The First Rise (Proofing)
Lightly grease a clean large bowl with a little bit of oil. Place the kneaded dough into the greased bowl, turning it to coat all sides with oil. This prevents the dough from drying out as it rises. Cover the bowl tightly with plastic wrap or a clean kitchen towel. Find a warm, draft-free spot for your dough to rise. An oven that’s turned off but has been preheated for a minute and then cooled slightly, or a sunny windowsill, works wonderfully. Let the dough rise for about 1 to 1.5 hours, or until it has doubled in size. The exact time will depend on the warmth of your environment. You’ll know it’s ready when you can gently poke the dough with your finger and the indentation remains.
Step 5: Punching Down and Shaping the Loaf
Once the dough has doubled, gently punch it down in the center to release the accumulated gases. This is a satisfying step! Turn the dough out onto a lightly floured surface. You can shape your bread into whatever form you desire. For a classic loaf, gently pat the dough into a rectangle. Then, starting from one of the shorter sides, tightly roll up the dough into a log. Pinch the seam closed firmly. Tuck the ends under to create a neat loaf shape. If you’re making rolls, you can divide the dough into equal portions and shape them into round balls. Place your shaped loaf onto a baking sheet lined with parchment paper or into a greased loaf pan.
Second Rise and Baking
Step 6: The Second Rise and Baking Preparation
Cover the shaped loaf loosely with plastic wrap or a clean kitchen towel and let it rise again in a warm place for another 30 to 45 minutes, or until it’s noticeably puffy. While the dough is on its second rise, preheat your oven to 375°F (190°C). If you’re using a loaf pan, this is a good time to lightly grease it if you haven’t already. If you want a shiny crust, you can brush the top of the risen loaf with a little milk or an egg wash (one egg beaten with a tablespoon of water) just before baking. For a softer crust, skip this step. You can also score the top of the loaf with a sharp knife or a lame if you like, making shallow cuts that allow the bread to expand more evenly in the oven.
Step 7: Baking Your Bread
Carefully place the risen loaf into the preheated oven. Bake for 30 to 35 minutes for a standard loaf, or until the crust is a deep golden brown and the internal temperature reaches 190-200°F (88-93°C) when measured with an instant-read thermometer. If you’re baking rolls, they will take less time, likely around 15-20 minutes. The sound of the bread can also be a clue; when you tap the bottom of a baked loaf, it should sound hollow.
Step 8: Cooling and Enjoying
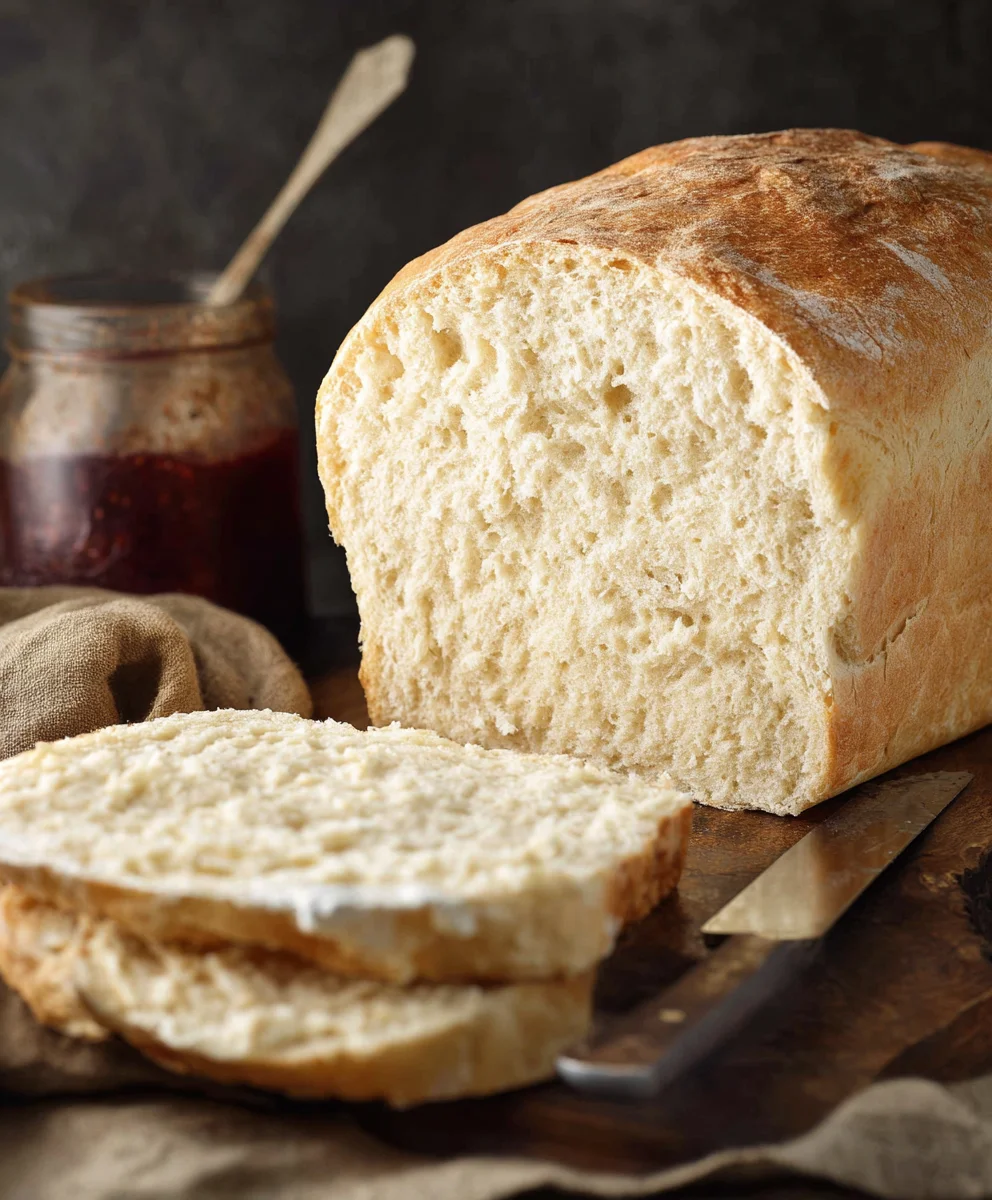
Once baked, immediately remove the bread from the loaf pan (if used) and place it on a wire rack to cool completely. This step is crucial for preventing a soggy bottom and allowing the internal structure of the bread to set properly. Resist the urge to slice into it while it’s still hot, as it can be gummy. Let it cool for at least an hour before slicing and enjoying your homemade bread!
Conclusion:
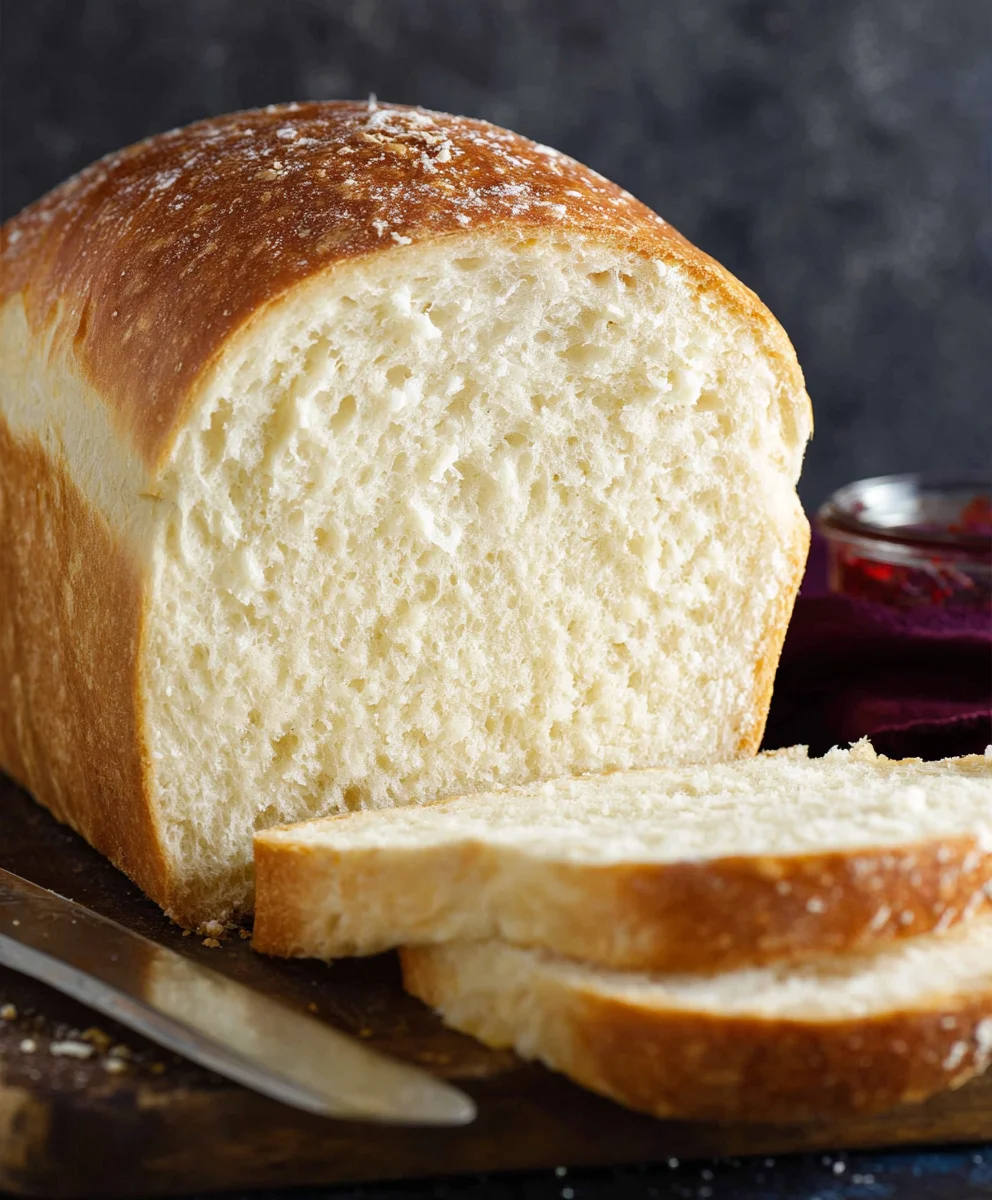
We’ve reached the delicious end of our journey with the Bread Recipe With Instant Yeast! I hope you’ve found this recipe to be as straightforward and rewarding as I have. This simple yet satisfying bread is perfect for begin extractners and seasoned bakers alike, offering a wonderfully soft crum extractb and a delightful crust. It’s a fantastic base for all sorts of culinary creations, from humble toast and hearty sandwiches to delightful croutons or even a warm bread pudding.
Feel free to get creative with this Bread Recipe With Instant Yeast! Consider adding herbs like rosemary or thyme to the dough for an aromatic twist, or incorporate cheese for a savory loaf. For a touch of sweetness, a tablespoon of honey or a handful of dried cranberries can transform it into something truly special. The beauty of this recipe lies in its versatility. So go ahead, knead with confidence, let it rise, and bake a loaf that’s uniquely yours. I encourage you to try it soon and share the joy of freshly baked bread with your loved ones!
Frequently Asked Questions:
Can I use active dry yeast instead of instant yeast for this Bread Recipe With Instant Yeast?
Yes, you can! However, active dry yeast requires proofing. You’ll need to dissolve it in warm liquid (around 110°F or 43°C) with a pinch of sugar and let it sit for about 5-10 minutes until it becomes foamy. Once proofed, you can add it to your dough mixture as you would with the instant yeast. Be aware that it might take a little longer to rise.
How should I store the freshly baked bread from this Bread Recipe With Instant Yeast?
Once completely cooled, it’s best to store your bread in a bread box or a loosely senon-alcoholic aled plastic bag at room temperature. This helps maintain its freshness for about 2-3 days. For longer storage, you can slice the bread and freeze it in an airtight container or freezer bag. It thaws beautifully and is perfect for toasting.
Easy Instant Yeast Bread Recipe-Quick Delicious Loaf
A quick and delicious recipe for homemade instant yeast bread, perfect for beginners.
Ingredients
-
2 cups very warm water
-
1 packet rapid rise yeast
-
1/4 cup granulated sugar
-
2 Tablespoons vegetable oil
-
4 3/4 cups all purpose flour
-
1 1/2 teaspoons salt
Instructions
-
Step 1
Activate the yeast: In a large mixing bowl, combine 2 cups very warm water, 1 packet rapid rise yeast, and 1/4 cup granulated sugar. Stir gently and let sit for 5-10 minutes until foamy. -
Step 2
Incorporate wet ingredients and initial flour: Add 2 Tablespoons vegetable oil, 4 cups all purpose flour, and 1 1/2 teaspoons salt to the yeast mixture. Mix until a shaggy dough forms. -
Step 3
Knead the dough: Knead the dough for 8-10 minutes by hand or with a stand mixer until smooth and elastic, adding more flour as needed. The dough should pass the windowpane test. -
Step 4
First rise: Place the dough in a lightly greased bowl, cover, and let rise in a warm place for 1 to 1.5 hours, or until doubled in size. -
Step 5
Punch down and shape: Gently punch down the dough, turn it onto a floured surface, and shape it into a loaf. Place on a baking sheet or in a loaf pan. -
Step 6
Second rise and baking preparation: Cover the shaped loaf and let rise for another 30-45 minutes until puffy. Preheat oven to 375°F (190°C). -
Step 7
Bake: Bake the loaf for 30-35 minutes, or until deep golden brown and the internal temperature reaches 190-200°F (88-93°C). -
Step 8
Cool: Remove the bread from the pan and cool completely on a wire rack for at least an hour before slicing.
Important Information
Nutrition Facts (Per Serving)
It is important to consider this information as approximate and not to use it as definitive health advice.
Allergy Information
Please check ingredients for potential allergens and consult a health professional if in doubt.