Strawberry Honeybun Cake- Sweet Swirls & Fruity Bliss
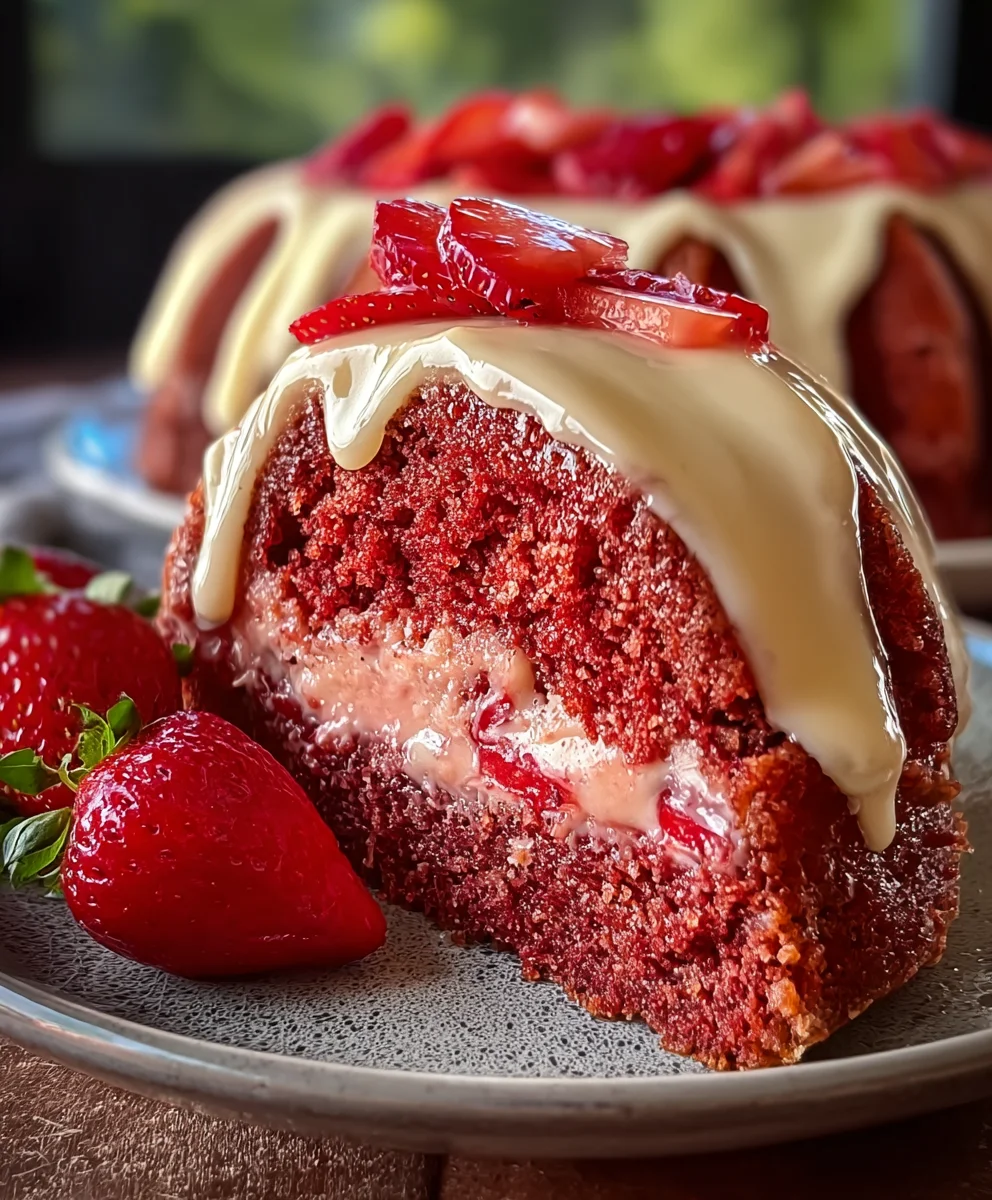
Strawberry Honeybun Cake is a dessert that truly embodies comfort and celebration. Imagin extracte a swirled masterpiece, where tender cake batter meets ribbons of sweet, sticky goodness, all infused with the delightful burst of fresh strawberries. This isn’t just any cake; it’s a hug in dessert form, perfect for birthdays, holidays, or simply those moments when you need a little extra joy. What makes the Strawberry Honeybun Cake so utterly irresistible? It’s the perfect harmony of textures – the moist, buttery crum extractb yielding to the chewy, caramelized swirls, punctuated by the bright, slightly tart notes of strawberries. It’s a bake that promises a delightful journey with every slice, a guaranteed crowd-pleaser that feels both nostalgic and incredibly decadent.
Why You’ll Adore This
We all have those recipes that become legendary in our households, and this Strawberry Honeybun Cake is destined to be one of them. The aroma that fills your kitchen as it bakes is enough to make your heart sing, a sweet symphony of sugar, butter, and fruit. It’s surprisingly simple to whip up, yet delivers a show-stopping presentation and an even more impressive flavor profile. Get ready to impress your friends and family with this incredibly delicious and visually stunning treat.
Ingredients:
- 1 box red velvet cake mix
- 1 cup vegetable oil
- 1 cup sour cream
- 4 large eggs
- 1 cup pureed fresh strawberries (this is roughly 1 cup of whole strawberries, pureed until smooth)
- 1 teaspoon vanilla extract
- 1/2 cup packed brown sugar
- 1 tablespoon ground cinnamon
- 8 oz cream cheese, softened
- 1/2 cup unsalted butter, softened
- 4 cups powdered sugar
- 1/4 cup strawberry puree (this can be from fresh or frozen strawberries that you’ve blended until smooth)
- 1 teaspoon vanilla extract (for the icing)
Strawberry Honeybun Cake Preparation
Baking the Cake Layers
Let’s start by preheating your oven to 350 degrees Fahrenheit (175 degrees Celsius). Grease and flour a 9×13 inch baking pan. In a large mixing bowl, combine the red velvet cake mix, vegetable oil, sour cream, and large eggs. Mix these ingredients together with an electric mixer on medium speed for about two minutes, or until the batter is smooth and well combined. Scrape down the sides of the bowl periodically to ensure everything is incorporated. Now, it’s time to add our special strawberry flavor. Gently fold in the 1 cup of pureed fresh strawberries and 1 teaspoon of vanilla extract into the cake batter. Be careful not to overmix at this stage; we want to keep the batter light and airy. Pour about two-thirds of this beautiful red batter into your prepared baking pan.
Creating the Cinnamon-Strawberry Swirl
For the next step, we’re going to create that signature honeybun swirl. In a separate small bowl, combine the packed brown sugar and the ground cinnamon. Mix them thoroughly until there are no lumps of brown sugar. Now, for the strawberry element in the swirl, take your 1 cup of pureed fresh strawberries from earlier and add about 2 tablespoons of this puree to the brown sugar and cinnamon mixture. Stir until it forms a thick, paste-like consistency. If it seems too wet, you can add a tiny bit more brown sugar. If it’s too dry, a touch more strawberry puree. This is where you’ll get bursts of strawberry flavor throughout the cake. Sprinkle about half of this cinnamon-strawberry mixture evenly over the batter in the pan.
Layering and Swirling for the Perfect Bake
Now, carefully pour the remaining one-third of the red velvet cake batter over the cinnamon-strawberry layer. Try to distribute it as evenly as possible without disturbing the layer beneath too much. Sprinkle the remaining half of the cinnamon-strawberry mixture over the top of this second batter layer. At this point, you can gently run a knife or a skewer through the batter in a swirling motion to create a marbled effect. Don’t overdo it; a few gentle passes will do the trick. This swirling is what gives the cake its beautiful, characteristic look and ensures pockets of that delightful cinnamon-strawberry flavor throughout. Place the pan in the preheated oven and bake for 30-35 minutes, or until a wooden skewer inserted into the center comes out clean.
Crafting the Creamy Strawberry Icing
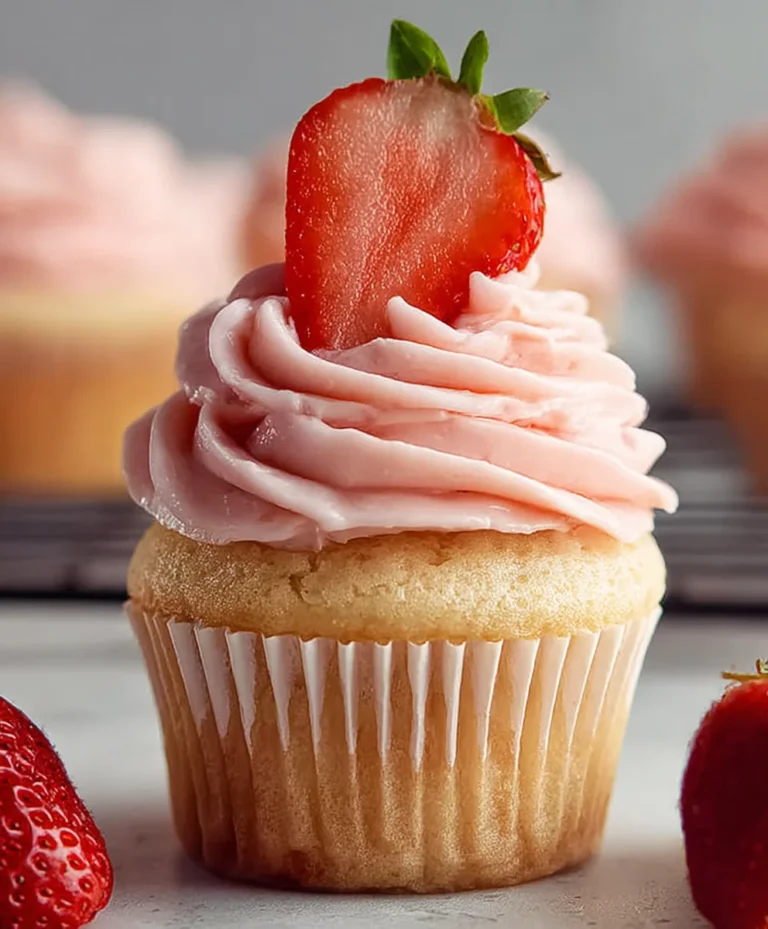
While the cake is baking and cooling, let’s get started on the luscious cream cheese icing. In a medium mixing bowl, beat the softened cream cheese and softened unsalted butter together with an electric mixer until they are light and fluffy. This usually takes a couple of minutes. Scrape down the sides of the bowl as needed. Gradually add the powdered sugar, about a cup at a time, mixing on low speed until each addition is incorporated. Once all the powdered sugar is added, increase the speed to medium-high and beat for another 2-3 minutes until the icing is smooth and creamy. Now for the final strawberry touch! Add the 1/4 cup of strawberry puree and the 1 teaspoon of vanilla extract to the cream cheese frosting. Beat until these are well combined and the icing has a beautiful pnon-alcoholic ale pink hue and a delicious strawberry aroma.
Icing the Strawberry Honeybun Cake
Once your Strawberry Honeybun Cake is out of the oven, allow it to cool in the pan for about 15-20 minutes before inverting it onto a wire rack to cool completely. It’s crucial that the cake is completely cool before you attempt to ice it. If you try to ice a warm cake, the icing will melt and slide right off, creating a messy, unappealing dessert. Once the cake has reached room temperature, place it on your serving platter. Take your prepared strawberry cream cheese icing and generously spread it over the top of the cooled cake. You can use an offset spatula for a smooth, even coating, or if you prefer a more rustic look, you can simply dollop it on and spread it around. For an extra touch, you could even add a few fresh strawberry slices on top before the icing fully sets. Enjoy every delicious bite of your homemade Strawberry Honeybun Cake!
Conclusion:
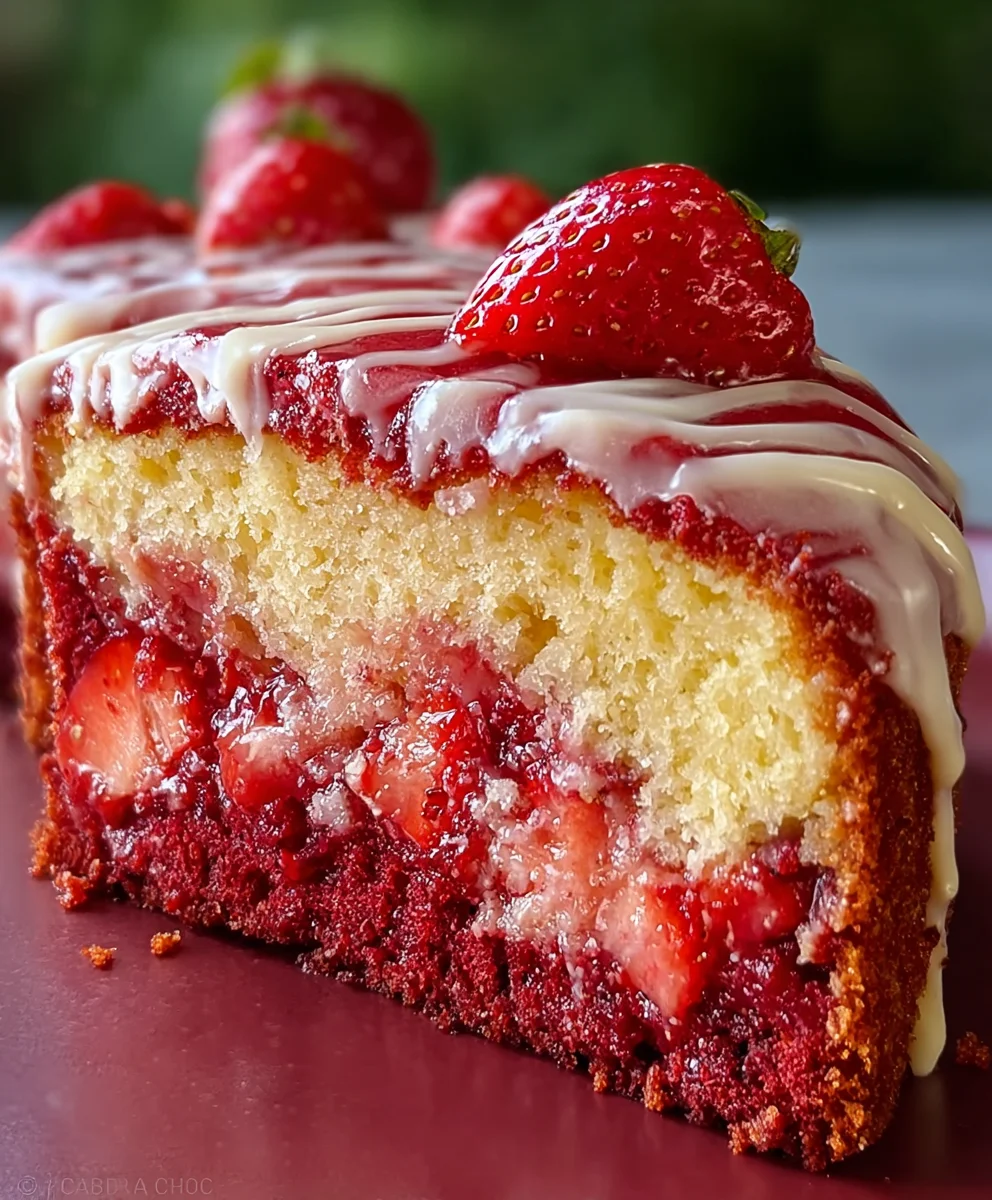
And there you have it – your very own delightful Strawberry Honeybun Cake! We’ve walked through creating this wonderfully moist and flavorful cake, perfect for any occasion. This cake truly embodies comfort and sweetness, with the juicy bursts of strawberry complementing the rich, honey-infused swirl. Don’t be intimidated by the spiral; it’s part of the fun and the delicious reward!
To serve, I love a simple dusting of powdered sugar or a light cream cheese glaze. It’s also fantastic on its own! For variations, feel free to experiment with other berries like raspberries or blueberries. A touch of lemon zest in the batter can also add a bright, zesty counterpoint to the sweetness. Get creative and make this Strawberry Honeybun Cake your own!
I truly hope you enjoy baking and devouring this special treat. Remember, baking is all about love and creating delicious memories, so have fun with it!
Frequently Asked Questions:
Q: Can I make this Strawberry Honeybun Cake ahead of time?
Absolutely! The Strawberry Honeybun Cake is even better the next day as the flavors meld together. Ensure it’s cooled completely before storing it in an airtight container at room temperature for up to 3 days, or in the refrigerator for a slightly longer shelf life. Just bring it back to room temperature before serving for the best texture.
Q: What if I don’t have fresh strawberries?
No problem! You can substitute fresh strawberries with frozen ones. Make sure to thaw them completely and drain off any excess liquid before chopping and adding them to the batter. You can also use freeze-dried strawberries for an intense strawberry flavor and a slight crunch; simply crush them into a powder before mixing them into the batter or dusting the top.
Strawberry Honeybun Cake- Sweet Swirls & Fruity Bliss
A delightful red velvet cake infused with fresh strawberries and a cinnamon-strawberry swirl, topped with a creamy strawberry cream cheese icing.
Ingredients
-
1 box red velvet cake mix
-
1 cup vegetable oil
-
1 cup sour cream
-
4 large eggs
-
1 cup pureed fresh strawberries
-
1 teaspoon vanilla extract
-
1/2 cup packed brown sugar
-
1 tablespoon ground cinnamon
-
8 oz cream cheese, softened
-
1/2 cup unsalted butter, softened
-
4 cups powdered sugar
-
1/4 cup strawberry puree
-
1 teaspoon vanilla extract (for icing)
Instructions
-
Step 1
Preheat oven to 350°F (175°C). Grease and flour a 9×13 inch baking pan. Mix red velvet cake mix, vegetable oil, sour cream, and eggs until smooth. Gently fold in 1 cup pureed strawberries and 1 tsp vanilla extract. Pour two-thirds of the batter into the prepared pan. -
Step 2
In a small bowl, combine brown sugar and cinnamon. Stir in 2 tablespoons of strawberry puree to form a thick paste. Sprinkle half of this mixture over the batter in the pan. -
Step 3
Carefully pour the remaining one-third of the cake batter over the cinnamon-strawberry layer. Sprinkle the remaining cinnamon-strawberry mixture on top. Gently swirl with a knife for a marbled effect. -
Step 4
Bake for 30-35 minutes, or until a wooden skewer inserted into the center comes out clean. Let cool in the pan for 15-20 minutes before inverting onto a wire rack to cool completely. -
Step 5
While the cake cools, prepare the icing. Beat softened cream cheese and butter until light and fluffy. Gradually add powdered sugar, mixing until smooth and creamy. Stir in 1/4 cup strawberry puree and 1 tsp vanilla extract until well combined and pink. -
Step 6
Once the cake is completely cool, spread the strawberry cream cheese icing generously over the top. Serve and enjoy.
Important Information
Nutrition Facts (Per Serving)
It is important to consider this information as approximate and not to use it as definitive health advice.
Allergy Information
Please check ingredients for potential allergens and consult a health professional if in doubt.