The Best Soft Chocolate Chip Cookie Recipe
Chocolate Chip Cookies. Ah, the very words conjure images of warm ovens, the sweet scent filling your kitchen, and that irresistible moment when you bite into a perfectly baked cookie. It’s a universal comfort, a nostalgic trip back to childhood, and frankly, one of the most beloved treats on the planet. What is it about these simple cookies that captivates us all? Perhaps it’s the delightful contrast between the slightly crisp edges and the soft, chewy center. Or maybe it’s the way the pockets of melty chocolate burst with flavor in every bite. We adore them because they’re approachable, forgiving for begin extractner bakers, and always deliver a satisfying dose of happiness. This isn’t just any recipe for chocolate chip cookies; this is the one that balances classic perfection with a few delightful secrets to ensure your batch is the most sought-after on the block. Get ready to elevate your cookie game and create a batch of chocolate chip cookies that will have everyone asking for seconds (and thirds!).
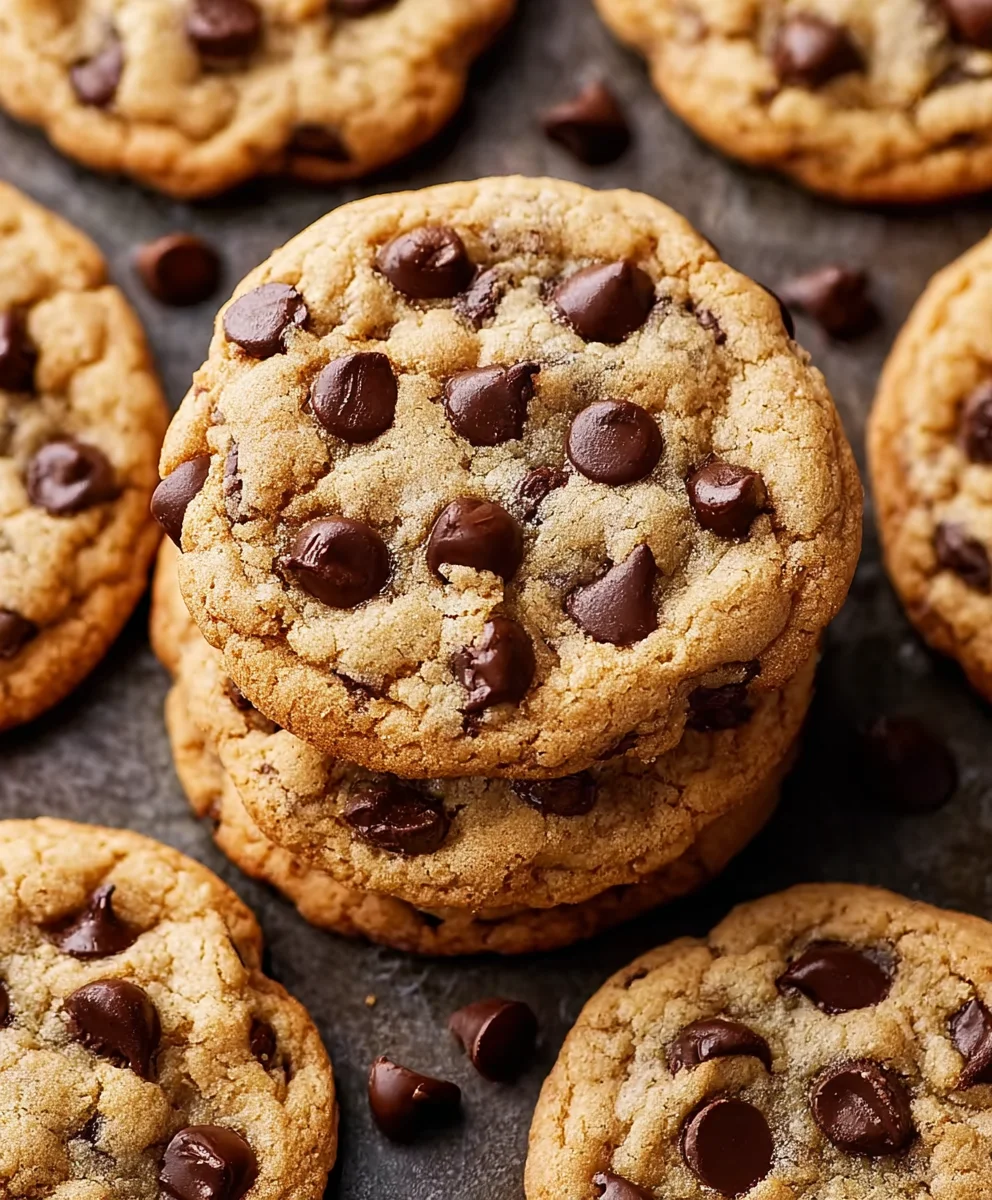
Ingredients:
- 1 cup (16 tablespoons) unsalted butter, softened
- 1/2 cup granulated sugar
- 1 cup light brown sugar, packed
- 2 large eggs, room temperature
- 2 teaspoons vanilla extract
- 3 cups all-purpose flour
- 1 teaspoon baking soda, sifted
- 1 teaspoon salt
- 2 cups semi-sweet chocolate chips (reserve 1/4 cup for tops)
Creaming the Butter and Sugars
Step 1: Prepare Your Workspace and Ingredients
Before you begin extract, ensure your workspace is clean and you have all your ingredients measured and ready to go. This makes the baking process much smoother. It’s crucial that your butter is softened but not melted. You should be able to press your finger into it and leave an indentation. Softened butter is key to achieving that perfect fluffy texture when creamed with the sugars. Also, make sure your eggs are at room temperature. Cold eggs can cause the butter and sugar mixture to curdle. To quickly bring eggs to room temperature, place them in a bowl of warm (not hot) water for about 5-10 minutes. Sifting your baking soda is a small step that makes a big difference, ensuring it’s evenly distributed and free of lumps, which can lead to an uneven rise and taste.
Step 2: Cream the Butter and Sugars
In a large mixing bowl, combine the softened unsalted butter, granulated sugar, and packed light brown sugar. Using an electric mixer (handheld or stand mixer with a paddle attachment), cream these ingredients together on medium speed. You’ll want to beat them for a good 2-3 minutes, or until the mixture is light, fluffy, and pnon-alcoholic ale in color. This process, known as creaming, incorporates air into the dough, which is essential for creating tender and well-risen cookies. Scrape down the sides and bottom of the bowl periodically to ensure everything is thoroughly combined. The goal here is to achieve a smooth, homogenous mixture where the sugars are fully incorporated into the butter.
Adding Wet Ingredients
Step 3: Incorporate Eggs and Vanilla Extract
Once your butter and sugar mixture is perfectly creamy, it’s time to add the wet ingredients. Add the two large eggs, one at a time, beating well after each addition until fully incorporated. Again, scraping down the sides of the bowl is important to make sure no unmixed pockets remain. After the eggs are blended in, add the vanilla extract and beat for another 30 seconds until everything is well combined. The vanilla extract not only adds a wonderful aroma but also enhances the overall flavor profile of the cookies, making them truly irresistible.
Combining Dry Ingredients and Making the Dough
Step 4: Whisk Together Dry Ingredients
In a separate medium-sized bowl, whisk together the all-purpose flour, sifted baking soda, and salt. Whisking these dry ingredients together before adding them to the wet ingredients helps to distribute the leavening agent and salt evenly throughout the flour. This step prevents pockets of baking soda or salt from creating an unpleasant taste or an uneven texture in your finished cookies.
Step 5: Combine Wet and Dry Mixtures and Add Chocolate Chips
Gradually add the dry ingredients to the wet ingredients mixture, beating on low speed until just combined. Be careful not to overmix at this stage. Overmixing the flour can develop the gluten too much, resulting in tough cookies. Stop mixing as soon as you no longer see streaks of dry flour. Now, it’s time for the star of the show: the chocolate chips! Add the 2 cups of semi-sweet chocolate chips to the dough and gently fold them in with a spatula or wooden spoon until they are evenly distributed throughout the dough. Reserve the extra 1/4 cup of chocolate chips for decorating the tops of your cookies before baking. This will give them that classic, appealing look.
Baking and Cooling
Step 6: Chill and Scoop the Dough
For the best texture and to prevent excessive spreading, it’s highly recommended to chill the cookie dough. Cover the bowl tightly with plastic wrap and refrigerate for at least 30 minutes, or even up to 24 hours. Chilling allows the flour to absorb moisture, firming up the dough and resulting in thicker, chewier cookies. Once chilled, preheat your oven to 375°F (190°C). Line baking sheets with parchment paper or silicone baking mats to prevent sticking. Using a cookie scoop or two spoons, scoop rounded balls of dough onto the prepared baking sheets, leaving about 2 inches of space between each cookie to allow for spreading. If you reserved chocolate chips for the tops, gently press a few into the top of each cookie dough ball.
Step 7: Bake and Cool Your Chocolate Chip Cookies
Bake for 9 to 11 minutes, or until the edges are golden brown and the centers are still slightly soft. The cookies will continue to cook slightly on the baking sheet after they are removed from the oven. For a chewier cookie, err on the side of slightly underbaking. For a crispier cookie, bake for a minute or two longer. Let the cookies cool on the baking sheets for 5 minutes before transferring them to a wire rack to cool completely. This resting period on the baking sheet allows them to set properly. Enjoy these classic, homemade chocolate chip cookies!
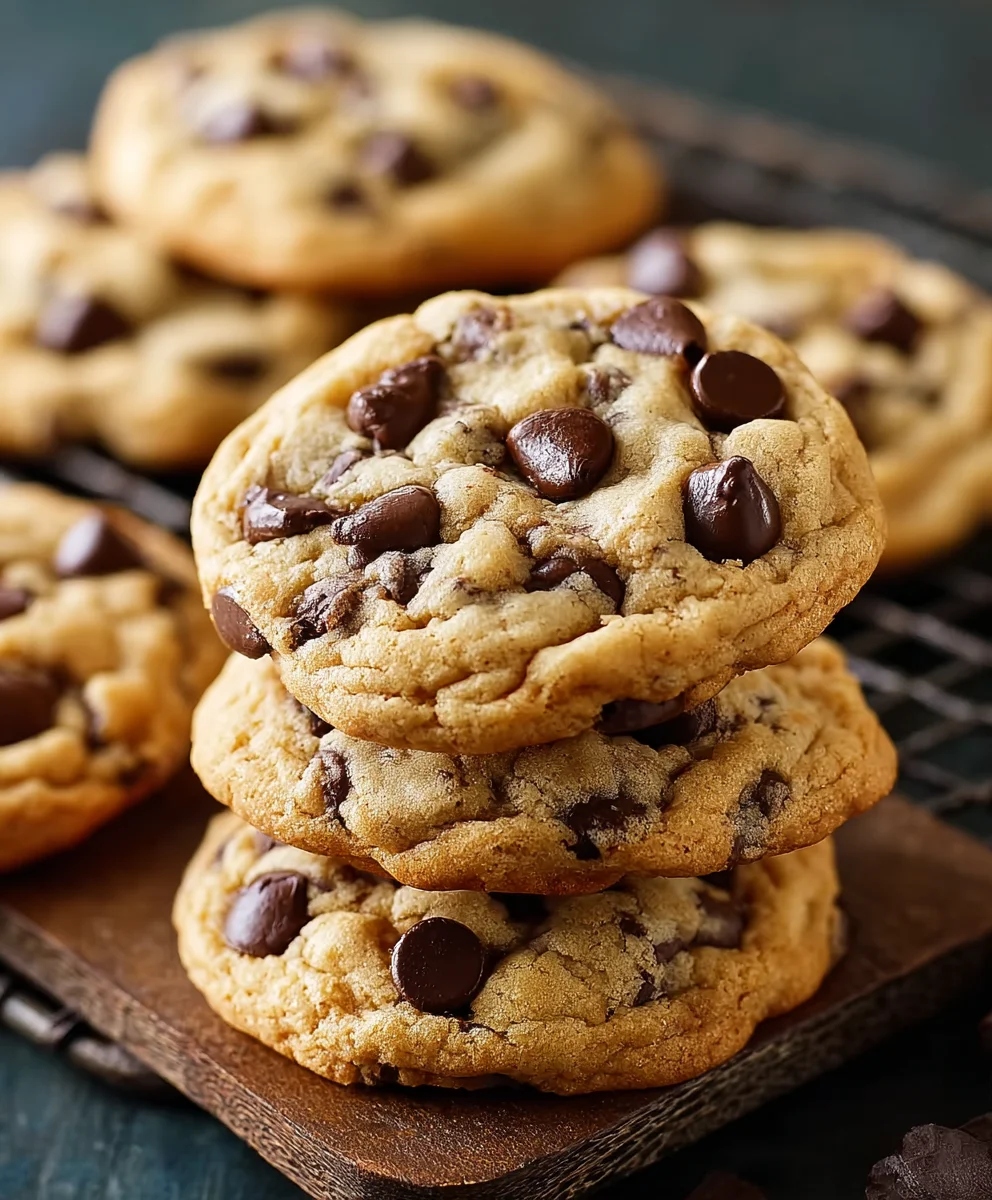
Conclusion:
There you have it – the ultimate guide to baking the most delicious Chocolate Chip Cookies! We’ve walked through each step to ensure your cookies are perfectly chewy on the inside and delightfully crisp on the edges. These classic treats are a crowd-pleaser for any occasion, from a simple afternoon snack to a special celebration. Don’t be afraid to experiment with the variations we discussed; adding a pinch of sea salt on top before baking or even a swirl of peanut butter can elevate your Chocolate Chip Cookies to new heights. So, gather your ingredients, preheat your oven, and get ready to fill your kitchen with the irresistible aroma of freshly baked Chocolate Chip Cookies. We encourage you to share your baking triumphs and any creative twists you discover!
Frequently Asked Questions about Chocolate Chip Cookies:
Why are my Chocolate Chip Cookies flat?
Flat Chocolate Chip Cookies often result from over-mixing the dough, too much sugar or butter, or not enough flour. Ensure you’re measuring your ingredients accurately, especially the flour, and avoid overworking the dough once the flour is added. Chilling the dough before baking can also help prevent spreading.
How can I make my Chocolate Chip Cookies chewier?
To achieve a chewier Chocolate Chip Cookie, use more brown sugar than granulated sugar, as the molasses in brown sugar contributes to chegrape juicess. Also, avoid over-baking. Pull the cookies out of the oven when the edges are set but the centers still look slightly underdone; they will continue to cook on the baking sheet.
The Best Soft Chocolate Chip Cookie Recipe
A foolproof recipe for incredibly soft and chewy chocolate chip cookies.
Ingredients
-
1 cup (16 tablespoons) unsalted butter, softened
-
1/2 cup granulated sugar
-
1 cup light brown sugar, packed
-
2 large eggs, room temperature
-
2 teaspoons vanilla extract
-
3 cups all-purpose flour
-
1 teaspoon baking soda, sifted
-
1 teaspoon salt
-
2 cups semi-sweet chocolate chips (reserve 1/4 cup for tops)
Instructions
-
Step 1
Prepare your workspace and ingredients. Ensure butter is softened but not melted, and eggs are at room temperature. Sift baking soda. -
Step 2
Cream softened butter, granulated sugar, and light brown sugar in a large mixing bowl with an electric mixer on medium speed for 2-3 minutes until light, fluffy, and pale. Scrape down the bowl. -
Step 3
Add eggs one at a time, beating well after each. Stir in vanilla extract and beat for another 30 seconds. -
Step 4
In a separate bowl, whisk together flour, sifted baking soda, and salt. -
Step 5
Gradually add dry ingredients to wet ingredients, mixing on low speed until just combined. Do not overmix. Gently fold in 2 cups of semi-sweet chocolate chips. -
Step 6
Chill the dough, covered, for at least 30 minutes. Preheat oven to 375°F (190°C). Line baking sheets. Scoop rounded balls of dough onto sheets, leaving 2 inches between cookies. Press reserved chocolate chips onto tops. -
Step 7
Bake for 9-11 minutes until edges are golden brown and centers are slightly soft. Cool on baking sheets for 5 minutes, then transfer to a wire rack to cool completely.
Important Information
Nutrition Facts (Per Serving)
It is important to consider this information as approximate and not to use it as definitive health advice.
Allergy Information
Please check ingredients for potential allergens and consult a health professional if in doubt.