Red Velvet Banana Bread – Deliciously Moist & Easy
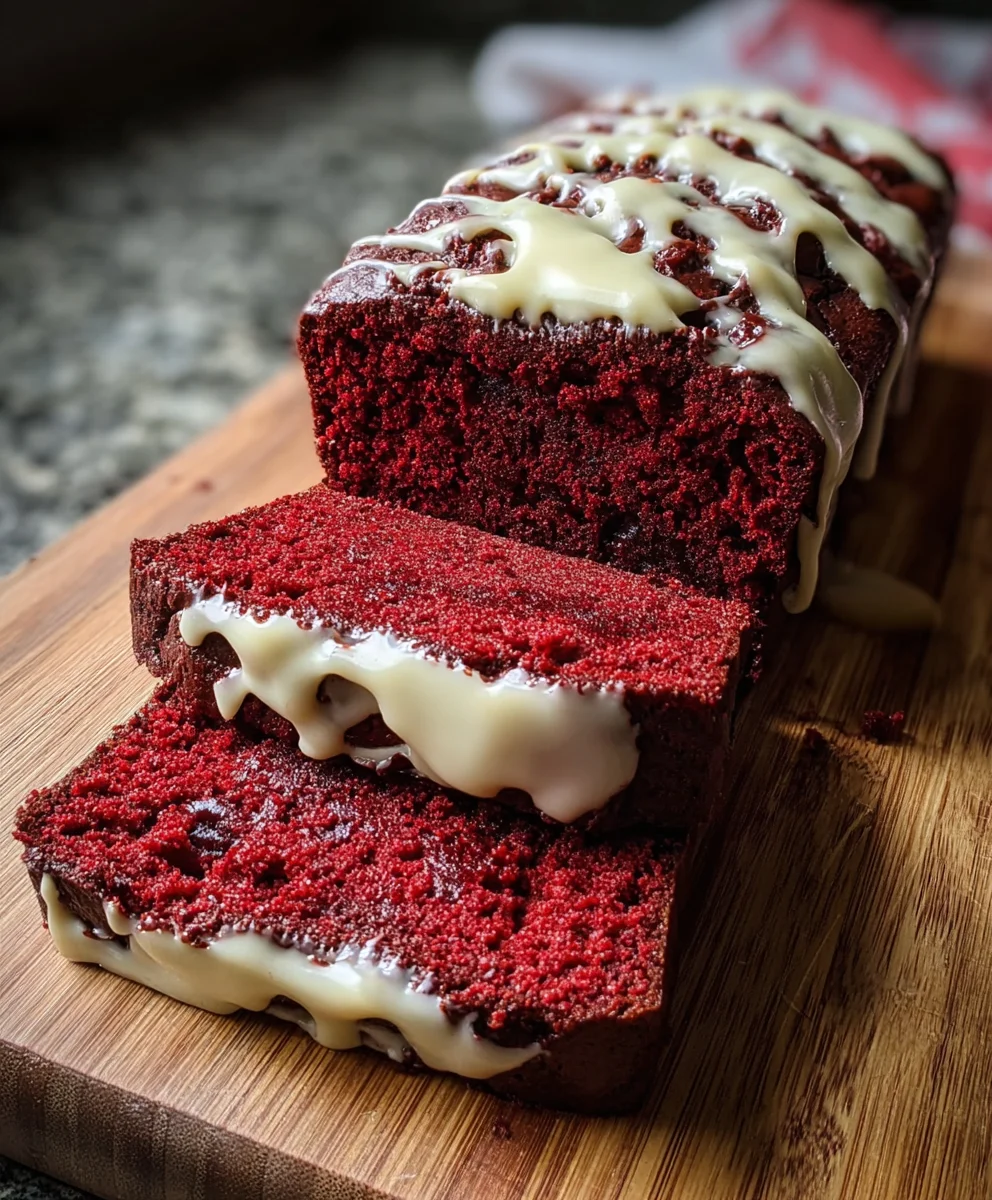
Red Velvet Banana Bread is more than just a baked good; it’s a delightful fusion that captures the best of two beloved treats. Imagin extracte the moist, tender crum extractb of classic banana bread infused with the vibrant hue and subtle cocoa notes of red velvet cake. It’s this unexpected yet harmonious marriage of flavors and textures that makes Red Velvet Banana Bread so incredibly appealing. People adore it because it offers a familiar comfort with a touch of playful indulgence. The inherent sweetness and moistness of ripe bananas create a perfect canvas for the rich, chocolatey undertones and striking color of red velvet. What truly makes this recipe special is how it elevates your everyday banana bread into a showstopper, perfect for brunch, dessert, or simply a comforting snack. Get ready to bake a loaf that’s as visually stunning as it is delicious!
Ingredients:
- 3 ripe bananas, mashed (about 1 cup)
- 1/2 cup unsalted butter, melted
- 3/4 cup granulated sugar
- 2 large eggs
- 1 teaspoon vanilla extract
- 1 1/2 cups all-purpose flour
- 1/4 cup unsweetened cocoa powder
- 1 teaspoon baking soda
- 1/2 teaspoon salt
- 1 tablespoon red food coloring
- 1/2 cup buttermilk
- 1/2 cup chocolate chips (optional)
Getting Started: Preparing Your Ingredients and Oven
To begin extract this delightful Red Velvet Banana Bread adventure, the first and most crucial step is to preheat your oven and prepare your baking pan. This ensures that your bread bakes evenly and develops that perfect golden-brown crust. Preheat your oven to 350 degrees Fahrenheit (175 degrees Celsius). While the oven is warming up, take a standard loaf pan (approximately 9×5 inches) and grease it generously with butter or cooking spray. For an extra layer of protection against sticking and to make removal a breeze, I highly recommend lining the pan with parchment paper, leaving some overhang on the sides. This parchment sling will allow you to lift the baked bread right out of the pan with minimal fuss.
Next, let’s gather and prepare our wet ingredients. In a large mixing bowl, combine the melted unsalted butter and the granulated sugar. Whisk these together until they are well combinegin extractnd begin to look slightly creamy. This initial creaming of the butter and sugar helps to incorporate air, contributing to a lighter texture in the final bread. Once that’s incorporated, crack in your two large eggs, one at a time, whisking thoroughly after each addition. Don’t rush this step; ensure each egg is fully blended before adding the next. Now, stir in the teaspoon of vanilla extract for that classic warm aroma and flavor. Finally, add your three mashed ripe bananas to this wet mixture. The riper the bananas, the sweeter and more intensely banana-flavored your bread will be. Mash them thoroughly with a fork or potato masher until they are mostly smooth, with just a few small lumps remaining for texture.
Mixing the Dry Ingredients and Creating the Red Velvet Hue
In a separate medium-sized bowl, we’ll combine all of our dry ingredients. This is a vital step in ensuring that your leavening agents (baking soda) and salt are evenly distributed throughout the batter, which will prevent dense spots or pockets of saltiness. Add the 1 1/2 cups of all-purpose flour, the 1/4 cup of unsweetened cocoa powder, and the 1/2 teaspoon of salt to this bowl. Whisk these dry ingredients together gently until they are thoroughly combined and the cocoa powder is evenly dispersed, eliminating any streaks.
Now, for the signature color of our Red Velvet Banana Bread! In a small bowl or a liquid measuring cup, combine the 1/2 cup of buttermilk with the 1 tablespoon of red food coloring. Whisk this mixture until the food coloring is completely dissolved and you have a vibrant, uniform red liquid. This is where the magic happens, transforming our banana bread into a festive red hue.
Combining Wet and Dry Mixtures for the Batter
It’s time to bring our wet and dry ingredients together! Gradually add the dry ingredients to the wet ingredients in the large mixing bowl. Mix until just combined. It’s important not to overmix the batter at this stage, as overmixing can develop the gluten in the flour too much, resulting in a tough loaf. A few streaks of flour are perfectly acceptable at this point.
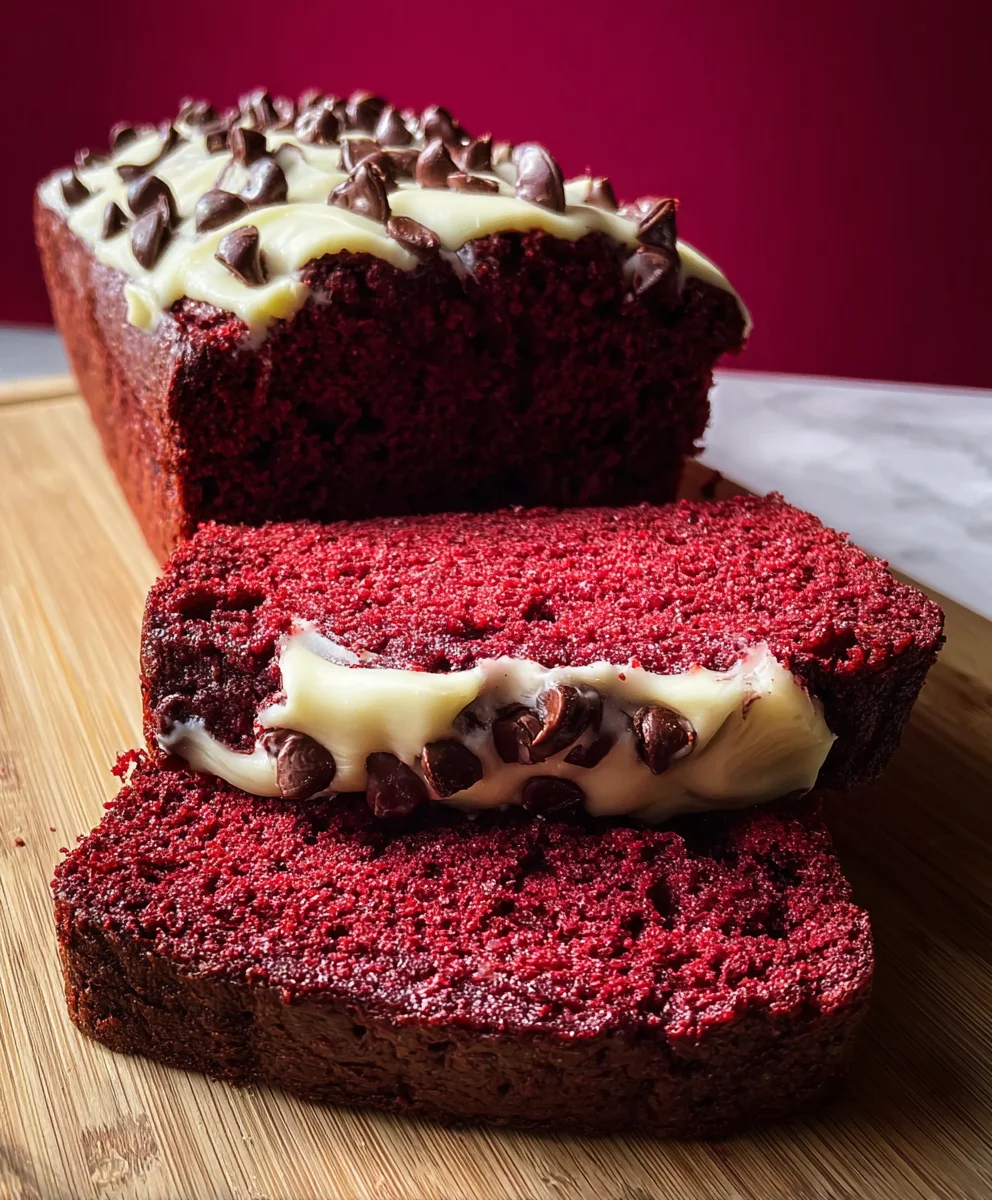
Now, it’s time to incorporate the red buttermilk mixture. Pour the red buttermilk into the batter. Gently fold it in using a spatula until the batter is a uniform, beautiful red color and the buttermilk is fully incorporated. Again, be careful not to overmix; you want to maintain a tender crum extractb. If you’re adding the optional chocolate chips, this is the stage to gently fold them into the batter now. Distribute them evenly so you get a delightful chocolatey surprise in every slice.
Baking Your Red Velvet Banana Bread to Perfection
Pour the finished batter into your prepared loaf pan. Use your spatula to spread the batter evenly, ensuring it reaches all the corners of the pan. Gently tap the pan on the counter a couple of times to release any large air bubbles that may have formed.
Place the loaf pan in the preheated oven on the center rack. Bake for approximately 50 to 65 minutes. The baking time can vary depending on your oven, so it’s essential to check for doneness. You’ll know your Red Velvet Banana Bread is ready when a wooden skewer or toothpick inserted into the center comes out clean, with nogin extractt batter clinging to it. If the top of the bread starts to brown too quickly before the center is cooked, you can loosely tent it with aluminum foil for the remainder of the baking time.
Cooling and Enjoying Your Masterpiece
Once your Red Velvet Banana Bread is baked to perfection, carefully remove the loaf pan from the oven. Let the bread cool in the pan for about 10 to 15 minutes. This initial cooling period allows the bread to set slightly, making it easier to handle. After this brief period in the pan, use the parchment paper overhang to carefully lift the loaf out of the pan and transfer it to a wire cooling rack. Allow the bread to cool completely on the wire rack before slicing. This is crucial for achieving clean slices and for the flavors to meld beautifully. Slicing too early can result in a gummy texture. Once cooled, slice with a serrated knife and enjoy the moist, flavorful, and beautifully colored Red Velvet Banana Bread!
Conclusion:
And there you have it – a truly decadent and surprisingly simple recipe for Red Velvet Banana Bread! We’ve combined the moist, comforting texture of banana bread with the striking visual appeal and subtle cocoa notes of red velvet, creating a dessert that’s perfect for any occasion. This delightful loaf is more than just a treat; it’s an experience. Whether you’re looking for a unique brunch item, a special dessert to impress guests, or simply a way to use up those overripe bananas, this Red Velvet Banana Bread is sure to become a new favorite.
For serving suggestions, consider a generous slice served warm with a dollop of cream cheese frosting – the classic pairing with red velvet is a match made in heaven! It’s also delicious on its own, or lightly toasted. Don’t be afraid to get creative with variations. You could add a handful of chocolate chips for an extra burst of sweetness, swirl in some cream cheese batter for a marbled effect, or even add a touch of almond extract for a different flavor profile. We encourage you to try this recipe and make it your own. Happy baking!
Frequently Asked Questions:
Can I make this Red Velvet Banana Bread ahead of time?
Absolutely! This Red Velvet Banana Bread actually benefits from being made a day in advance. The flavors meld beautifully, and the texture becomes even more moist. Store it at room temperature, wrapped tightly in plastic wrap or in an airtight container, for up to 3 days.
My red velvet coloring isn’t as vibrant as I’d like. What can I do?
The intensity of the red color can vary depending on the brand of cocoa powder and food coloring you use. For a deeper red, ensure you’re using a good quality gel food coloring rather than liquid. You can also slightly increase the amount of food coloring, but be mindful not to add too much liquid, which could affect the bread’s texture.
Red Velvet Banana Bread – Deliciously Moist & Easy
A wonderfully moist and easy-to-make Red Velvet Banana Bread with a delightful hint of chocolate. Perfect for any occasion!
Ingredients
-
3 ripe bananas, mashed (about 1 cup)
-
1/2 cup unsalted butter, melted
-
3/4 cup granulated sugar
-
2 large eggs
-
1 teaspoon vanilla extract
-
1 1/2 cups all-purpose flour
-
1/4 cup unsweetened cocoa powder
-
1 teaspoon baking soda
-
1/2 teaspoon salt
-
1 tablespoon red food coloring
-
1/2 cup buttermilk
-
1/2 cup chocolate chips (optional)
Instructions
-
Step 1
Preheat oven to 350 degrees Fahrenheit (175 degrees Celsius). Grease and line a 9×5 inch loaf pan with parchment paper. -
Step 2
In a large bowl, whisk together melted butter and granulated sugar until creamy. Beat in eggs one at a time, then stir in vanilla extract and mashed bananas. -
Step 3
In a separate bowl, whisk together flour, cocoa powder, and salt. -
Step 4
In a small bowl, whisk buttermilk and red food coloring until uniform. -
Step 5
Gradually add dry ingredients to wet ingredients, mixing until just combined. Stir in the red buttermilk mixture until the batter is a uniform red. Fold in chocolate chips if using. -
Step 6
Pour batter into the prepared loaf pan and spread evenly. Tap pan to release air bubbles. -
Step 7
Bake for 50-65 minutes, or until a toothpick inserted into the center comes out clean. Tent with foil if browning too quickly. -
Step 8
Let cool in the pan for 10-15 minutes, then transfer to a wire rack to cool completely before slicing.
Important Information
Nutrition Facts (Per Serving)
It is important to consider this information as approximate and not to use it as definitive health advice.
Allergy Information
Please check ingredients for potential allergens and consult a health professional if in doubt.