Easy Homemade Bread Recipe – Delicious & Simple
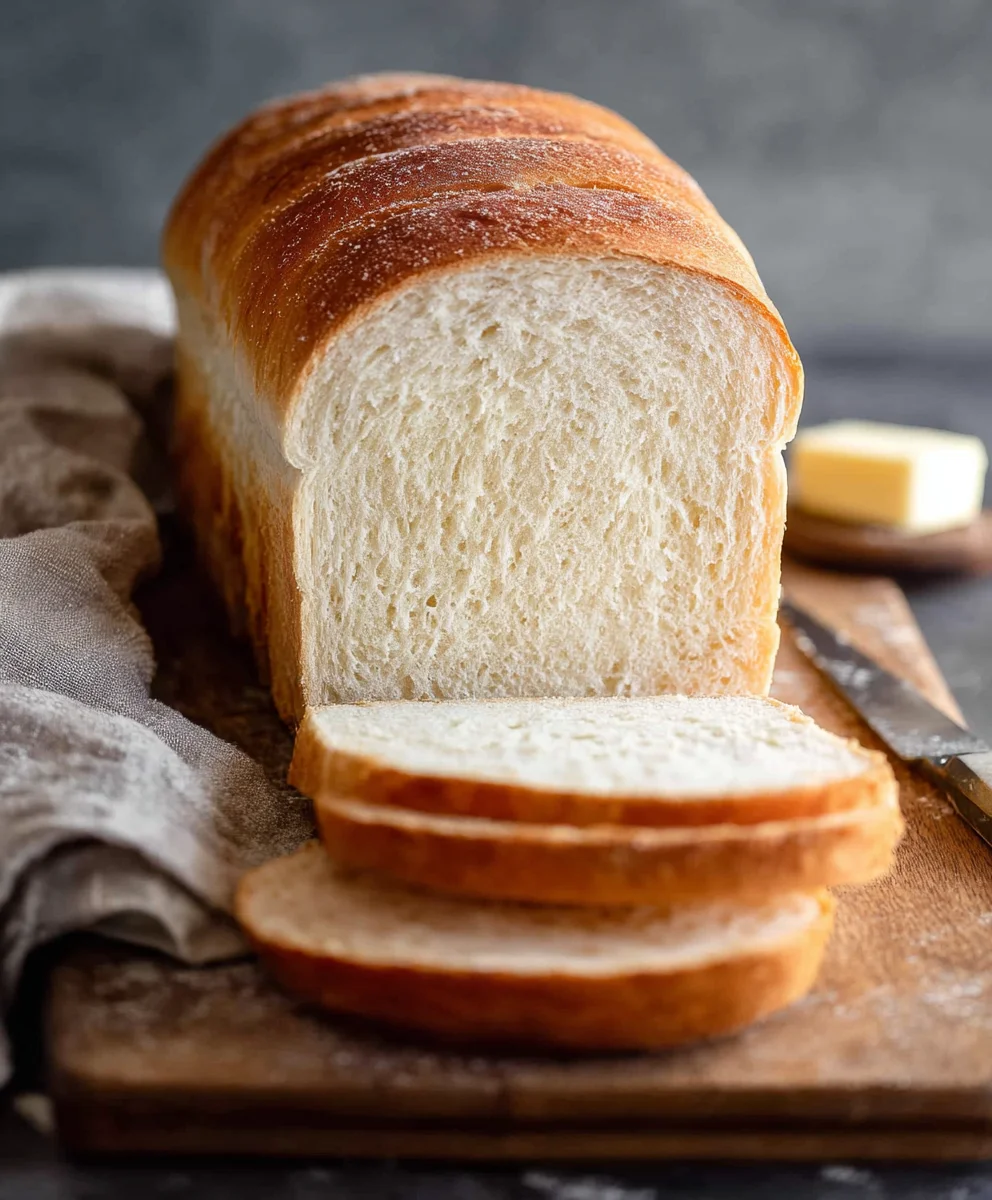
Homemade bread is more than just a recipe; it’s an experience. The aroma that fills your kitchen as it bakes, the satisfying heft of a freshly baked loaf, the incredible texture – it’s pure comfort and culinary triumph. There’s a profound satisfaction in taking simple ingredients like flour, water, yeast, and salt, and transforming them into something so fundamental and delicious. People adore this classic for its versatility; it’s the perfect base for butter and jam, a sturdy companion to soups and stews, or the star of a mouthwatering sandwich. What truly makes homemade bread special is the connection it fosters – a connection to tradition, to the earth, and to the joy of creating something with your own two hands. Forget the store-bought imitation; this recipe will guide you to a crusty, chewy, and utterly irresistible loaf that will have you wondering why you ever bought it before.
Ingredients:
- 2 cups warm water (ideally between 105-115 degrees Fahrenheit, which is about 474g)
- 1 Tablespoon active dry yeast
- 1/4 cup honey (or granulated sugar, which is about 85g honey or 50g sugar)
- 2 teaspoons salt
- 2 Tablespoons vegetable oil (like canola or vegetable oil, about 30 ml)
- 4 to 5 1/2 cups all-purpose flour (or bread flour for a chewier texture, approximately 500g to 688g)
Mixing the Dough
Activating the Yeast
The first crucial step in making truly delicious Homemade Bread is to ensure your yeast is alive and kicking. In a large mixing bowl, pour in your 2 cups of warm water. It’s important that the water isn’t too hot, as this can kill the yeast, and it shouldn’t be too cold, or the yeast won’t activate. The ideal range is between 105 and 115 degrees Fahrenheit – warm to the touch, but not scalding. Sprinkle the 1 Tablespoon of active dry yeast over the surface of the water. Next, add your 1/4 cup of honey or sugar. The honey or sugar acts as food for the yeast, giving it something to consume and multiply. Let this mixture sit undisturbed for about 5 to 10 minutes. You’ll know your yeast is active when it becomes foamy and bubbly on the surface, resembling a thin layer of foam. If you don’t see this, your yeast might be old, or the water temperature was off, and you’ll need to start over with fresh yeast.
Combining Wet and Dry Ingredients
Once your yeast has bloomed, it’s time to incorporate the remaining wet ingredients. Add the 2 Tablespoons of vegetable oil to the yeast mixture. This oil will contribute to the tenderness and softness of your finished loaf. Now, it’s time to add the dry ingredients. Stir in the 2 teaspoons of salt. Salt not only adds flavor but also controls the yeast’s activity, preventing it from fermenting too quickly. Begin extract adding the flour, starting with 4 cups. Use a sturdy spoon or a dough whisk to combine everything. The mixture will be shaggy and a bit sticky at this stage. Gradually add more flour, about 1/4 cup at a time, until the dough starts to pull away from the sides of the bowl. You are looking for a consistency that is still slightly tacky but manageable. It’s important not to add too much flour at this stage, as this can result in a dry, dense loaf. The amount of flour needed can vary depending on humidity and the type of flour you use.
Kneading the Dough
Developing Gluten
Now comes the part that really builds the structure of your Homemade Bread: kneading. Lightly flour a clean work surface. Turn the shaggy dough out onto the floured surgin extracte. Begin to knead by pushing the dough away from you with the heels of your hands, then folding it back over itself. Rotate the dough a quarter turn and repeat. Continue this process for about 8 to 10 minutes. Your goal is to develop the gluten strands within the flour. When you’ve kneaded enough, the dough will become smooth, elastic, and no longer sticky. You should be able to stretch a small piece of dough very thin without it tearing – this is called the windowpane test. If the dough is still too sticky, add just a tiny bit more flour, no more than a tablespoon at a time, and continue kneading. Over-kneading can also be detrimental, so aim for that smooth, elastic texture.
First Rise (Proofing)
Creating a Warm Environment
Once your dough has been kneaded to perfection, shape it into a smooth ball. Lightly grease a clean large bowl with a little of your vegetable oil. Place the dough ball in the greased bowl and turn it to coat all sides with the oil. This prevents a dry skin from forming on the dough as it rises. Cover the bowl tightly with plastic wrap or a clean, damp kitchen towel. Find a warm, draft-free spot for your dough to rise. This could be in a slightly warmed (but turned off) oven, on top of a gently warmed refrigerator, or simply in a consistently warm room. Allow the dough to rise for about 1 to 1.5 hours, or until it has doubled in size. The exact time will depend on the warmth of your environment. A properly proofed dough will be puffy and light.
Shaping and Second Rise
Gentle Handling
Once the dough has doubled in size, gently punch it down to release the air. Turn the dough out onto a lightly floured surface again. You can shape this dough into one large loaf, two smaller loaves, or even individual rolls. For a single loaf, gently shape the dough into your desired form, whether it’s a round boule or an elongated batard. Place the shaped dough onto a baking sheet lined with parchment paper, or into a greased loaf pan. After shaping, cover the loaf loosely with plastic wrap or a clean kitchen towel and let it rise again for another 30 to 45 minutes, or until it’s noticeably puffy and has increased in volume. This second rise, also known as proofing, ensures a light and airy interior texture in your finished Homemade Bread.
Baking the Bread
Achieving a Golden Crust
Preheat your oven to 375 degrees Fahrenheit (190 degrees Celsius) during the second rise. If you’re baking in a loaf pan, ensure it’s well-greased. If you’re baking on a baking sheet, you can lightly dust it with cornmeal for a lovely texture. Just before placing the bread in the oven, you can optionally score the top of the loaf with a sharp knife or razor blade. This allows the bread to expand in a controlled manner as it bakes. Carefully place the baking sheet or loaf pan into the preheated oven. Bake for 30 to 40 minutes, or until the crust is golden brown and the internal temperature of the bread reaches 190-200 degrees Fahrenheit (88-93 degrees Celsius) when measured with an instant-read thermometer. If the crust is browning too quickly, you can loosely tent the loaf with aluminum foil for the remaining baking time. Once baked, remove the bread from the oven and immediately transfer it from the loaf pan to a wire rack to cool completely. This prevents the bottom crust from becoming soggy.
Conclusion:
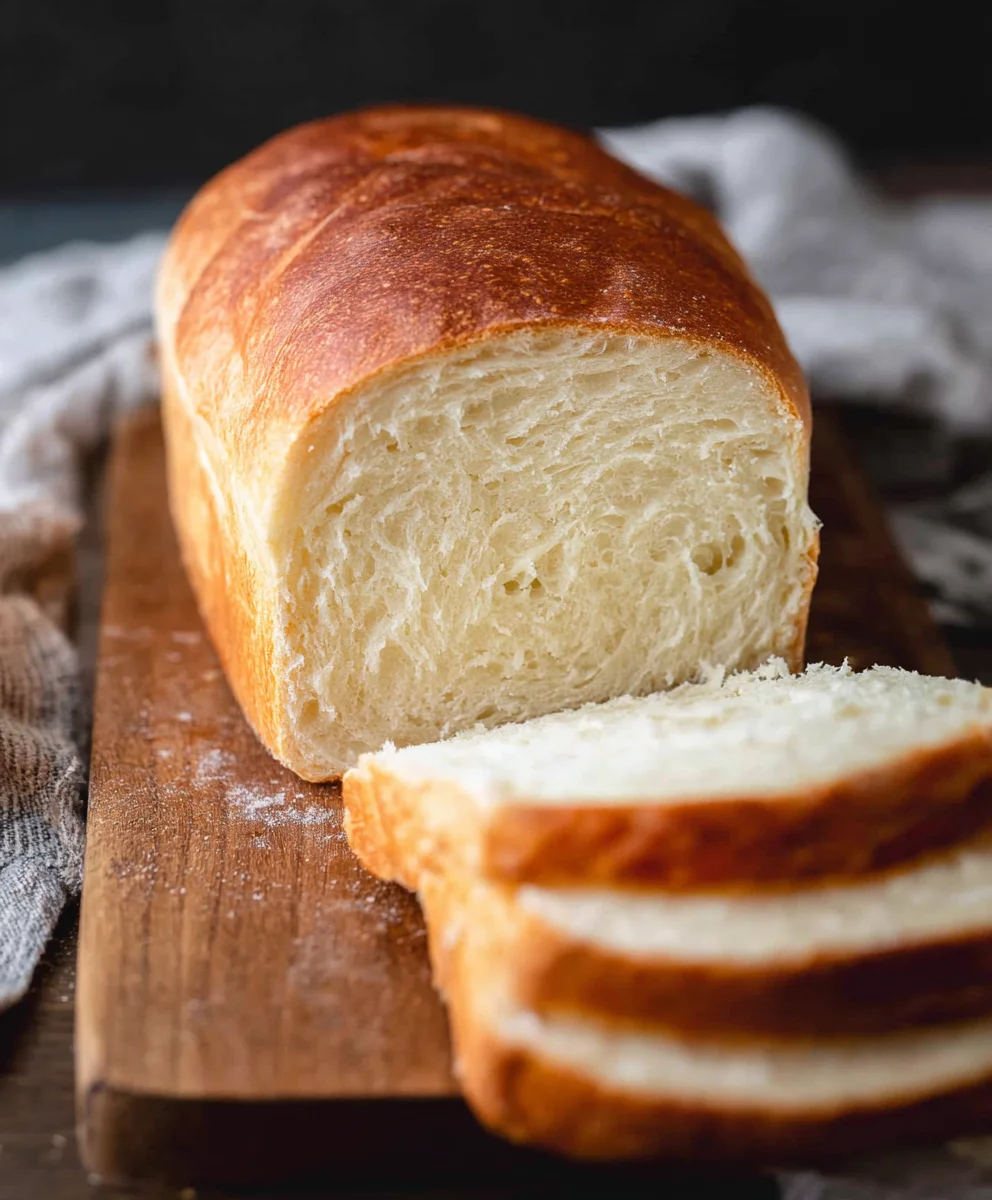
And there you have it – your very own batch of delicious Homemade Bread, fresh from your oven! This recipe is a fantastic starting point for any baker, whether you’re a seasoned pro or just begin extractning your bread-making journey. The aroma that fills your home as this bread bakes is truly rewarding, and the taste is incomparable to anything store-bought. We encourage you to give this Homemade Bread a try; you’ll be amazed at how simple and satisfying it is to create such a staple food from scratch. It’s perfect for sharing with loved ones or enjoying all by yourself with a generous smear of butter.
For serving, this Homemade Bread is incredibly versatile. It makes the ultimate sandwich bread, toast slices to perfection, or can be served alongside soups, stews, and salads. Consider brushing it with garlic butter and herbs before serving for an extra special touch. When it comes to variations, feel free to experiment! Add seeds like sunflower or pumpkin to the dough, incorporate herbs like rosemary or thyme, or even try a touch of sweetness with a swirl of honey or molasses. The possibilities are endless, and each variation will bring a new dimension to your delicious Homemade Bread.
Frequently Asked Questions about Homemade Bread:
Q1: My Homemade Bread didn’t rise very well. What could be the reason?
There are a few common reasons for a poor rise. Ensure your yeast was fresh and active before adding it to the dough; you can test this by dissolving it in warm water with a pinch of sugar and seeing if it foams. Also, make sure your dough was allowed to proof in a warm, draft-free environment. The temperature of the liquid used can also be a factor; too hot will kill the yeast, and too cold will slow down its activity. Lastly, don’t be afraid to give your dough a good, thorough kneading to develop the gluten structure properly.
Q2: How can I store my Homemade Bread to keep it fresh?
For short-term storage, a bread box is ideal as it allows for air circulation. You can also wrap it in a clean kitchen towel or a loosely senon-alcoholic aled plastic bag. For longer storage, slice the bread and freeze it in an airtight container or freezer bag. You can then toast slices directly from frozen, saving you time!
Easy Homemade Bread Recipe – Delicious & Simple
A simple and delicious recipe for homemade bread that results in a soft, fluffy loaf with a golden crust.
Ingredients
-
2 cups warm water (105-115 degrees Fahrenheit)
-
1 Tablespoon active dry yeast
-
1/4 cup honey
-
2 teaspoons salt
-
2 Tablespoons vegetable oil
-
4 to 5 1/2 cups all-purpose flour
Instructions
-
Step 1
Activate the yeast: In a large mixing bowl, combine 2 cups of warm water (105-115°F) with 1 Tablespoon of active dry yeast and 1/4 cup of honey. Let sit for 5-10 minutes until foamy. -
Step 2
Combine wet and dry ingredients: Add 2 Tablespoons of vegetable oil and 2 teaspoons of salt to the yeast mixture. Gradually stir in 4 cups of all-purpose flour, adding more a little at a time until a shaggy, slightly tacky dough forms. -
Step 3
Knead the dough: Turn the dough out onto a lightly floured surface and knead for 8-10 minutes until smooth, elastic, and no longer sticky. Perform the windowpane test to check for gluten development. -
Step 4
First rise (proofing): Shape the dough into a ball, place in a lightly oiled bowl, cover, and let rise in a warm, draft-free spot for 1 to 1.5 hours, or until doubled in size. -
Step 5
Shape and second rise: Gently punch down the dough, turn it onto a lightly floured surface, and shape into your desired loaf form. Place on a baking sheet or in a loaf pan, cover loosely, and let rise for another 30-45 minutes until puffy. -
Step 6
Bake the bread: Preheat oven to 375°F (190°C). Bake for 30-40 minutes until golden brown and the internal temperature reaches 190-200°F (88-93°C). Cool completely on a wire rack.
Important Information
Nutrition Facts (Per Serving)
It is important to consider this information as approximate and not to use it as definitive health advice.
Allergy Information
Please check ingredients for potential allergens and consult a health professional if in doubt.