Easy Artisan Bread Recipe – Bake Delicious Bread at Home
Artisan Bread Recipe
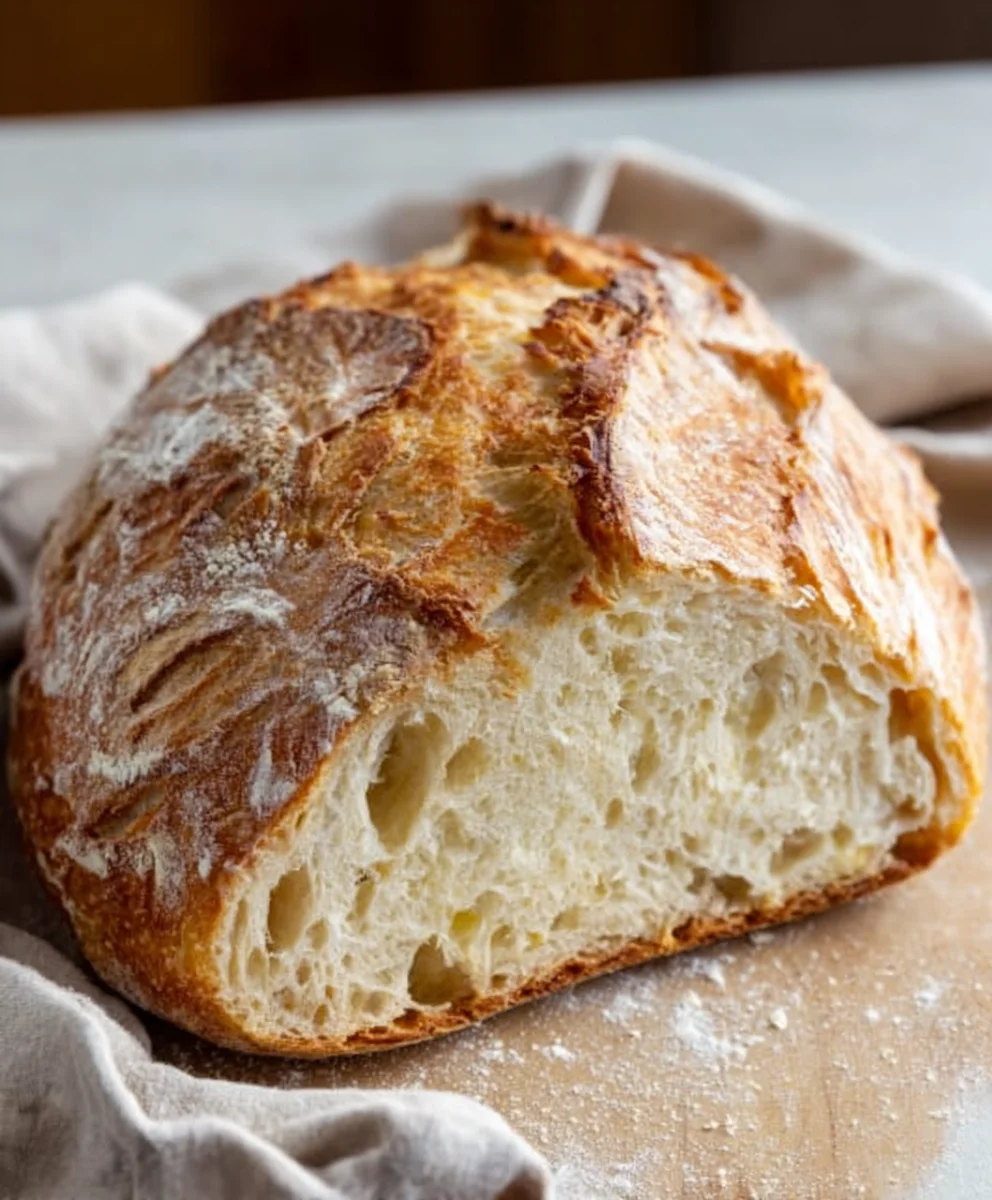
There’s something undeniably magical about a truly fantastic loaf of artisan bread. The deep, crackling crust, the pillowy, airy interior, and that irresistible aroma that fills your kitchen – it’s pure comfort and simple luxury all rolled into one. If you’ve ever been intimidated by the thought of making your own, prepare to be delighted! This artisan bread recipe is designed to guide you step-by-step, demystifying the process and empowering you to create a loaf that rivals anything you’d find at your favorite bakery. We’ll explore the secrets to achieving that perfect crum extractb and a crust that sings with every slice. This isn’t just any bread; it’s a labor of love, a delicious project that rewards you tenfold with its flavor and texture, making every bite an experience to savor. Get ready to impress yourself and everyone who tastes it with your newfound bread-baking prowess!
Ingredients:
- 3 cups (395 grams) all-purpose flour or bread flour
- ½ tablespoon kosher salt
- ¼ ounce instant or active dry yeast packet (or 2 ¼ teaspoons)
- 1 ½ cups warm water (approximately 105°F)
Mixing and Fermentation
This is where the magic begin extracts! We’ll combine our simple ingredients to create a dough that, with a little patience, will transform into a beautifully crusty loaf of artisan bread. The key here is to develop the gluten structure, which gives bread its characteristic chew and rise.
In a large mixing bowl, or the bowl of your stand mixer fitted with the dough hook, combine the all-purpose flour (or bread flour for an even chewier crum extractb) and the kosher salt. Whisk them together briefly to ensure the salt is evenly distributed throughout the flour. This is important for both flavor and to prevent the salt from directly contacting and potentially inhibiting the yeast activity.
Next, sprinkle the yeast over the flour mixture. If you’re using active dry yeast, you might want to proof it first. To do this, add the yeast to the warm water and let it sit for about 5-10 minutes until it becomes foamy. This indicates that the yeast is alive and active. If you’re using instant yeast, you can add it directly to the dry ingredients as it’s designed to activate during the mixing process. The warm water is crucial; too hot and you’ll kill the yeast, too cold and it won’t activate properly. Aim for that sweet spot of 105°F, which feels pleasantly warm to the touch.
Pour the warm water into the bowl with the dry ingredients. If you’re using a stand mixer, start mixing on low speed until a shaggy gin extractgh begins to form. If you’re mixing by hand, use a wooden spoon or spatula to stir everything together until no dry pockets of flour remain. At this stage, the dough will look quite wet and messy, and that’s perfectly normal for this type of artisan bread.
Now, we’ll transition to kneading. If using a stand mixer, increase the speed to medium-low and knead for about 8-10 minutes. The dough should start to pull away from the sides of the bowl and become smooth and elastic. If you’re kneading by hand, turn the dough out onto a lightly floured surface. Knead by pushing the dough away from you with the heel of your hand, folding it back over itself, and giving it a quarter turn. Continue this process for 10-15 minutes, or until the dough is smooth, elastic, and passes the windowpane test. To perform the windowpane test, pinch off a small piece of dough and gently stretch it between your fingers. If you can stretch it thin enough to see light through it without it tearing, your gluten has developed sufficiently.
Once the dough is properly kneaded, form it into a ball and place it in a lightly oiled bowl. Turn the dough a couple of times to ensure it’s coated with oil, which prevents a dry skin from forming. Cover the bowl tightly with plastic wrap or a clean kitchen towel. Place the bowl in a warm, draft-free place to rise. This first rise, also known as bulk fermentation, is where the yeast will work its magic, producing carbon dioxide gas that will give our bread its airy texture. We’re looking for the dough to double in size, which will typically take 1 to 1.5 hours, depending on the ambient temperature of your kitchen.
Shaping and Second Rise
After the dough has successfully doubled in size, it’s time to give it its shape and allow it to rest before baking. Gently punch down the dough to release the accumulated gas. This helps to redistribute the yeast and sugars, setting the stage for a good final rise.
Turn the dough out onto a lightly floured surface. For a classic boule (round loaf), gently pat the dough into a rough circle. Then, fold the edges towards the center, creating tension on the surface. Pinch the seams closed to form a taut ball. You can also opt for a batard (oval loaf) by folding the dough in half lengthwise and then folding again, pinching the seams to create a tight cylinder. The goal is to create a smooth, taut surface on the top of your loaf, which will help it hold its shape during baking and develop a good crust.
Once shaped, place your dough onto a piece of parchment paper or into a floured proofing basket (banneton). If you’re using parchment paper, you can gently lift it and place it directly onto your baking surface later. If using a proofing basket, dust it generously with flour to prevent sticking. Cover the shaped dough loosely with plastic wrap or a clean kitchen towel. Let it rest for another 30-45 minutes for its second rise. During this time, the dough will puff up again, becoming visibly larger and more airy. You can test if it’s ready by gently poking it with a floured finger. If the indentation springs back slowly, it’s ready. If it springs back immediately, it needs a little more time. If it stays indented, it might have over-proofed, but don’t worry, it will still bake up nicely.
Baking Your Artisan Loaf
The final stage is baking, where the heat transforms our proofed dough into a golden-brown, crusty masterpiece. It’s crucial to preheat your oven thoroughly to achieve the best results, especially for artisan bread.
About 30 minutes before your dough is ready for baking, preheat your oven to 450°F (230°C). If you have a baking stone or a Dutch oven, place it in the oven while it preheats. A baking stone or Dutch oven helps to create a steamy environment and provides intense bottom heat, which is essential for a good crust development. If you’re using a Dutch oven, it traps the steam released from the bread, mimicking a professional baker’s oven.
Carefully transfer your shaped loaf onto the preheated baking stone or into the preheated Dutch oven. If you used parchment paper, you can slide the parchment and dough directly onto the hot surface. If using a Dutch oven, carefully lift the dough (using the parchment paper if you chose to proof it on it) and place it inside, then cover it with the lid.
Bake for 20 minutes with the lid on the Dutch oven (or in the steamy oven environment if not using a Dutch oven). After 20 minutes, carefully remove the lid from the Dutch oven, or if you weren’t using one, you can spray a little water into the oven or place a small pan of hot water on the bottom rack to create steam. Continue baking for another 20-25 minutes, or until the crust is a deep golden brown and the internal temperature of the bread reaches 200-210°F (93-99°C) when measured with an instant-read thermometer. The tapping test is also a good indicator: when you tap the bottom of the loaf, it should sound hollow.
Once baked to perfection, carefully remove the bread from the oven and transfer it to a wire rack to cool completely. Resist the temptation to cut into it immediately! Allowing the bread to cool allows the internal structure to set and the moisture to redistribute, resulting in a better texture and flavor. Enjoy the delightful aroma filling your kitchen as your beautiful artisan bread cools.
Conclusion:
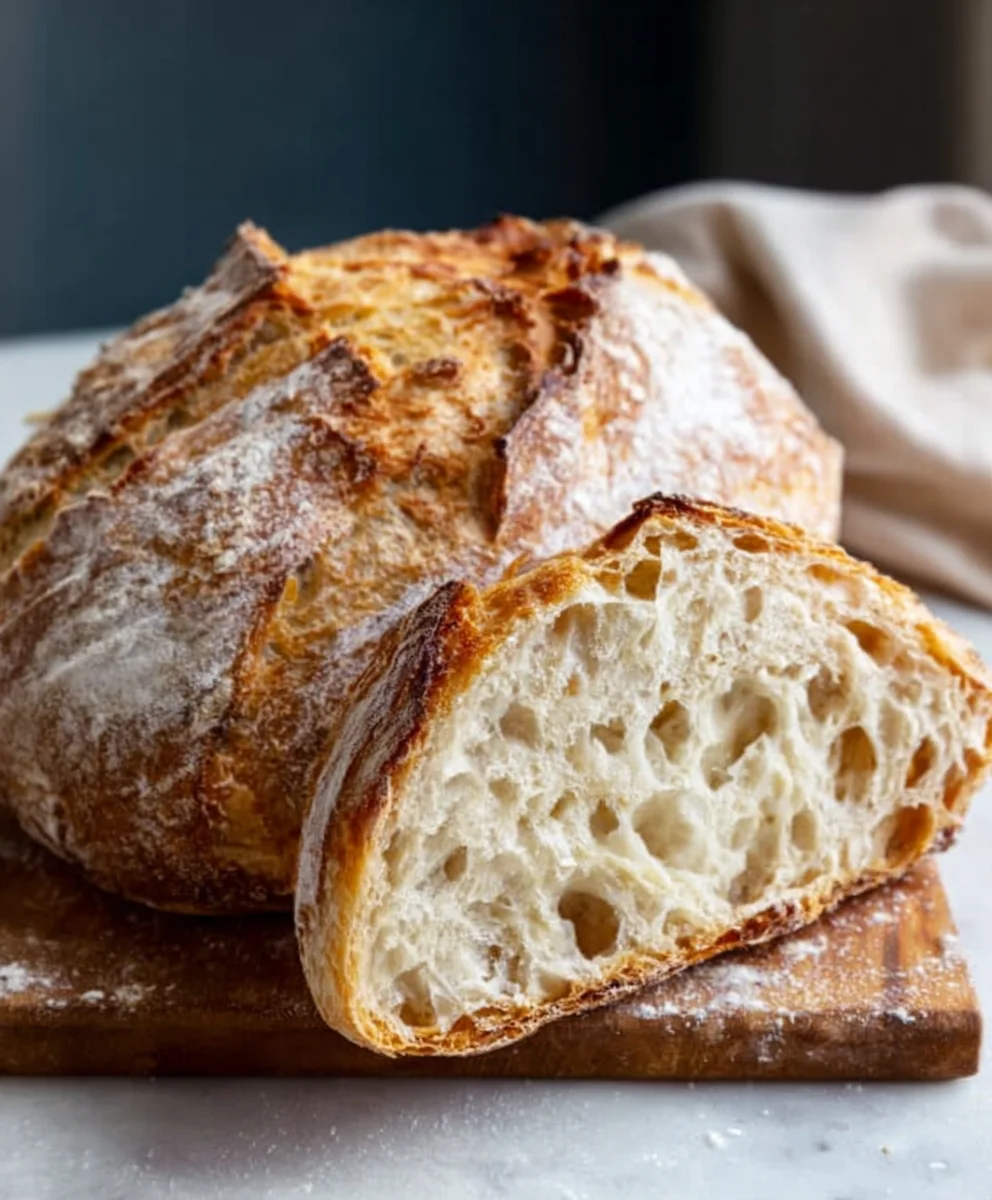
There you have it! Mastering this Artisan Bread Recipe is a truly rewarding experience, transforming simple ingredients into a crusty, flavorful loaf that will impress anyone. The satisfying crackle of the crust as you slice into it, paired with the airy, open crum extractb, is a testament to your efforts. Remember, the journey to perfect artisan bread involves practice and a little patience, but the results are absolutely worth it.
This versatile Artisan Bread Recipe is perfect for a variety of occasions. Serve it warm with a drizzle of olive oil and a sprinkle of sea salt, alongside your favorite soups and stews, or as the star of your sandwich creations. Don’t be afraid to experiment! Consider adding herbs like rosemary or thyme to the dough, or even incorporating some cheese for a savory twist. With this fundamental Artisan Bread Recipe, the possibilities are truly endless. So, get baking and enjoy the delicious fruits of your labor!
Frequently Asked Questions:
Why is my artisan bread not getting a good crust?
A good crust on your Artisan Bread Recipe often comes down to steam. During the initial baking phase, introducing steam into your oven (by placing a pan of hot water on the bottom rack or using a Dutch oven) helps the crust to expand and crisp up beautifully. Ensure your oven is preheated sufficiently and consider baking at a slightly higher initial temperature.
Can I make this artisan bread recipe ahead of time?
Absolutely! Once cooled, your Artisan Bread Recipe can be stored at room temperature in a bread bag or wrapped in a clean kitchen towel for 2-3 days. For longer storage, it freezes exceptionally well. Slice it before freezing for easy toasting.
Easy Artisan Bread Recipe – Bake Delicious Bread at Home
Bake a delicious, crusty loaf of artisan bread at home with this easy-to-follow recipe. Perfect for beginners and experienced bakers alike.
Ingredients
-
3 cups (395 grams) all-purpose flour or bread flour
-
½ tablespoon kosher salt
-
¼ ounce instant or active dry yeast packet (or 2 ¼ teaspoons)
-
1 ½ cups warm water (approximately 105°F)
-
1 tablespoon olive oil (for greasing)
Instructions
-
Step 1
In a large bowl, combine flour and salt. Whisk together. Sprinkle yeast over the mixture (if using active dry yeast, proof it in warm water for 5-10 minutes until foamy). Add warm water and mix until a shaggy dough forms. -
Step 2
Knead the dough for 8-10 minutes in a stand mixer on medium-low speed, or for 10-15 minutes by hand on a lightly floured surface until smooth and elastic. Perform the windowpane test to check gluten development. -
Step 3
Form the dough into a ball, place in a lightly oiled bowl, and turn to coat. Cover tightly and let rise in a warm place for 1 to 1.5 hours, or until doubled in size. -
Step 4
Gently punch down the dough and shape it into a boule or batard on a lightly floured surface. Place on parchment paper or in a floured proofing basket. Cover loosely and let rest for another 30-45 minutes for its second rise. -
Step 5
Preheat oven to 450°F (230°C) with a baking stone or Dutch oven inside for at least 30 minutes. Carefully transfer the shaped loaf onto the hot baking surface. If using a Dutch oven, cover with the lid. -
Step 6
Bake for 20 minutes with the Dutch oven lid on (or in a steamy oven). Remove lid (or create steam by spraying water into the oven) and bake for another 20-25 minutes until deep golden brown and the internal temperature reaches 200-210°F (93-99°C). -
Step 7
Carefully remove the bread from the oven and transfer to a wire rack to cool completely before slicing and enjoying.
Important Information
Nutrition Facts (Per Serving)
It is important to consider this information as approximate and not to use it as definitive health advice.
Allergy Information
Please check ingredients for potential allergens and consult a health professional if in doubt.