Cherry Brownie Ice Cream Sandwiches-Sweet Treat
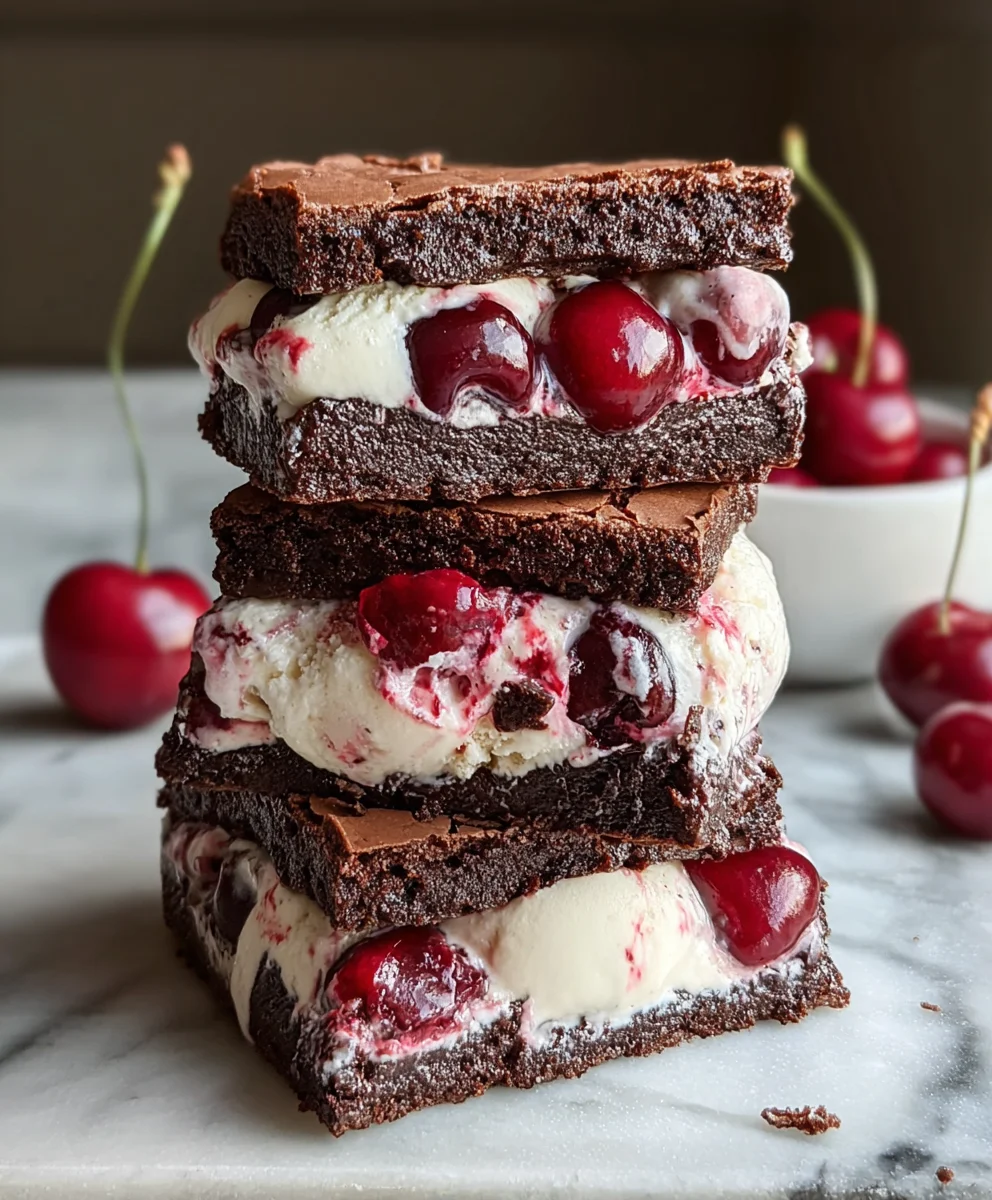
Cherry Brownie Ice Cream Sandwiches are the ultimate indulgence, a decadent treat that perfectly marries two beloved desserts into one unforgettable experience. Imagin extracte the rich, fudgy depth of a perfectly baked brownie meeting the cool, creamy sweetness of your favorite ice cream, all punctuated by the bright, tart burst of fresh cherries. It’s no wonder these are such a crowd-pleaser! People absolutely adore them for their satisfying textures and the harmonious blend of flavors. The chewy, chocolatey brownie provides a fantastic base, while the smooth ice cream offers a delightful contrast. What truly elevates these Cherry Brownie Ice Cream Sandwiches is the inclusion of those vibrant cherries, cutting through the richness and adding a refreshing, fruity dimension that makes each bite an exciting discovery. Get ready to experience pure bliss!
Ingredients:
- ½ cup unsalted butter
- ½ cup granulated sugar
- ½ cup packed light brown sugar
- 2 large eggs
- 1 teaspoon pure vanilla extract
- ⅓ cup unsweetened cocoa powder
- ½ cup all-purpose flour
- ¼ teaspoon salt
- 1½ cups vanilla ice cream, slightly softened
- ½ cup chopped cherries (fresh or frozen)
- ¼ cup melted chocolate chips (for drizzling)
Making the Cherry Brownie Ice Cream Sandwiches
Baking the Brownie Layers
First things first, let’s get our brownie base ready. This is going to be the foundation for our delicious ice cream sandwiches. You’ll want to preheat your oven to 350°F (175°C). While the oven is warming up, grab an 8×8 inch baking pan and line it with parchment paper, leaving some overhang on the sides. This will make it super easy to lift the brownies out later. In a medium saucepan, melt the ½ cup of unsalted butter over low heat. Once it’s completely melted, remove it from the heat. Now, in a large mixing bowl, combine the melted butter with the ½ cup of granulated sugar and the ½ cup of packed light brown sugar. Whisk these together until they’re well combined and the mixture looks smooth and glossy. This sugar mixture is key for that perfect chewy texture in our brownies.
Next, we’ll add the eggs and vanilla. Crack the 2 large eggs into the sugar and butter mixture, one at a time, whisking well after each addition. This helps to emulsify the fats and sugars, creating a richer batter. Then, stir in the 1 teaspoon of pure vanilla extract. The vanilla not only adds a lovely aroma but also enhances the chocolate flavor. Now it’s time for the dry ingredients. In a separate small bowl, whisk together the ⅓ cup of unsweetened cocoa powder, ½ cup of all-purpose flour, and ¼ teaspoon of salt. Sifting these dry ingredients can help prevent lumps, so if you have a sieve, now’s a good time to use it. Gradually add the dry ingredients to the wet ingredients, mixing until just combined. Be careful not to overmix at this stage; overmixing can lead to tough brownies.
Once your brownie batter is ready, pour it into the prepared baking pan and spread it out evenly. Use a spatula to ensure the surface is as flat as possible. Place the pan in the preheated oven and bake for about 20-25 minutes. You’re looking for the edges to be set and a toothpick inserted into the center to come out with moist crum extractbs attached, not wet batter. It’s important not to overbake them, as we want them to be fudgy and delicious. Once baked, remove the brownies from the oven and let them cool completely in the pan on a wire rack. This cooling process is crucial before we can even think about adding the ice cream, so be patient!
Assembling the Ice Cream Sandwiches
After your brownie base has cooled entirely, you can carefully lift it out of the pan using the parchment paper overhang. Place the cooled brownie slab on a cutting board. Now, for the fun part: the ice cream! You’ll need 1½ cups of vanilla ice cream that has been slightly softened. Leaving it out on the counter for about 10-15 minutes should do the trick. You don’t want it fully melted, just soft enough to spread easily. Spread this softened ice cream evenly over half of the cooled brownie slab, leaving a small border around the edges. This ensures that when we put the top on, the ice cream won’t ooze out too much.
This is where our cherries come in! Sprinkle the ½ cup of chopped cherries evenly over the layer of vanilla ice cream. The tartness of the cherries will be a wonderful contrast to the sweet brownie and creamy ice cream. This addition really elevates the “cherry brownie” aspect of our treat. Once the cherries are distributed, carefully place the other half of the brownie slab on top, pressing down gently to sandwich the ice cream and cherries. You want to create a firm connection between the two brownie layers.
Finishing Touches and Freezing
Now it’s time to cut these beauties into individual sandwiches. Using a sharp knife, cut the large brownie slab into your desired serving sizes. Squares or rectangles work well. You can also use a round cookie cutter if you prefer a more traditional ice cream sandwich shape, though this might be trickier with brownies. As you cut, you might notice some ice cream starting to soften further, which is perfectly normal. Place the cut ice cream sandwiches onto a parchment-lined baking sheet. This will prevent them from sticking and make them easier to handle.
For an extra touch of decadence and to enhance the “brownie” appeal, we’ll add a chocolate drizzle. Take the ¼ cup of melted chocolate chips and place them in a small piping bag or a zip-top bag with a corner snipped off. Drizzle the melted chocolate decoratively over the top of each ice cream sandwich. This adds a lovely visual appeal and a burst of extra chocolate flavor. Once decorated, carefully place the baking sheet with the sandwiches into your freezer. Allow them to freeze for at least 2-3 hours, or until the ice cream is firm and the entire sandwich holds its shape. This freezing time is essential for them to be easily eaten without becoming a melty mess. Once firm, you can transfer them to an airtight container or freezer bags for storage. Enjoy your homemade Cherry Brownie Ice Cream Sandwiches!
Conclusion:
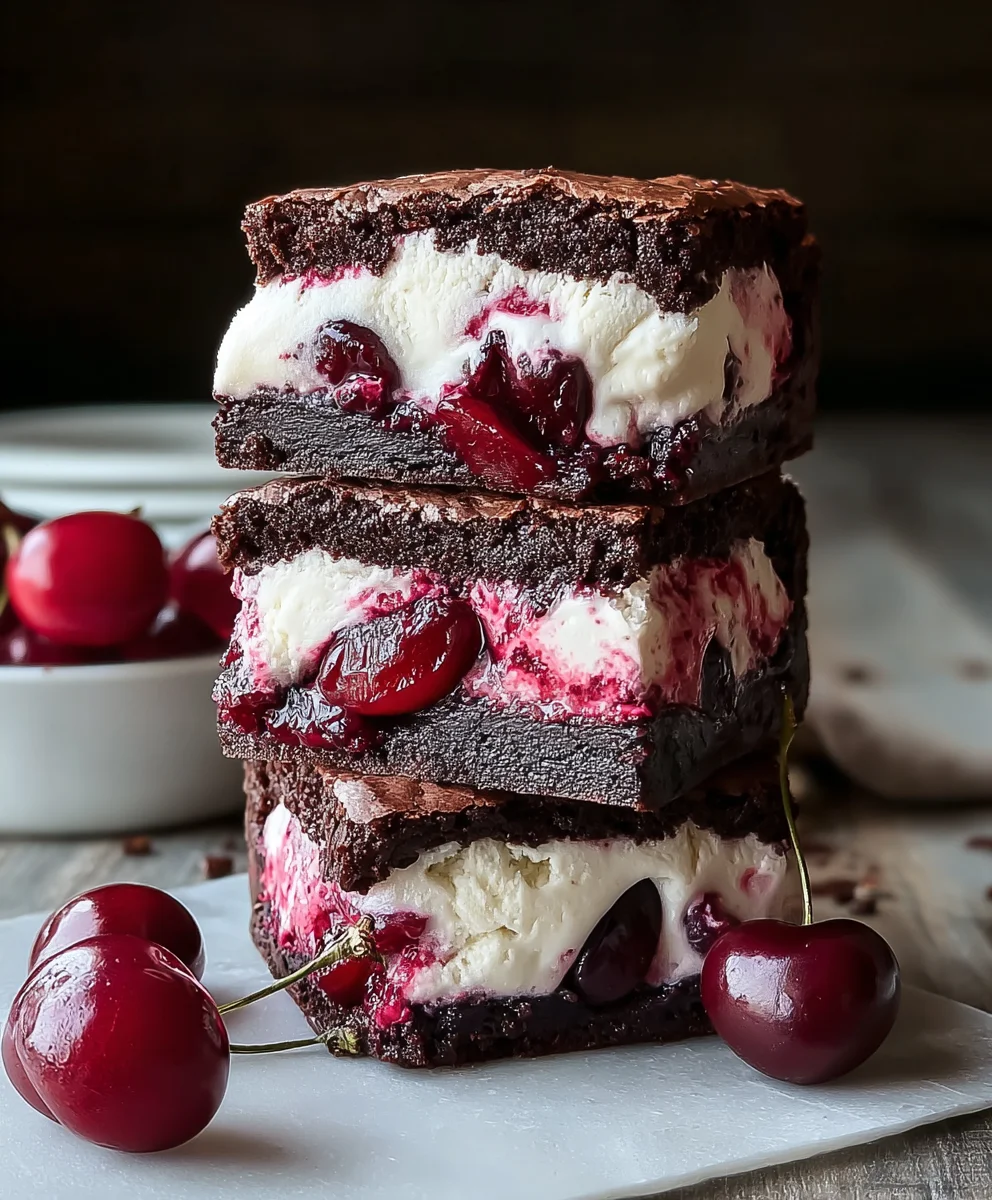
And there you have it – the ultimate guide to creating delightful Cherry Brownie Ice Cream Sandwiches! This recipe brings together the rich, fudgy goodness of homemade brownies with the cool, refreshing sweetness of your favorite ice cream, all studded with bursts of tart cherries. They are perfect for any occasion, from a fun family dessert to a sophisticated treat at a summer gathering. Don’t be afraid to get creative with your ice cream flavors and brownie additions!
For serving, I love to present these chilled, perhaps with a drizzle of chocolate sauce or a sprinkle of chopped nuts. They also make for a fantastic make-ahead dessert; simply assemble them and keep them well-wrapped in the freezer. For variations, consider adding chocolate chips or nuts directly into your brownie batter, or experimenting with different ice cream flavors like mint chocolate chip or cookie dough. The possibilities are truly endless, making each batch of Cherry Brownie Ice Cream Sandwiches uniquely yours. I encourage you to give this recipe a try – you won’t be disappointed!
Frequently Asked Questions:
Can I use store-bought brownies?
Absolutely! While homemade brownies offer the best texture and flavor, using high-quality store-bought brownies will still result in delicious Cherry Brownie Ice Cream Sandwiches. Just be sure they are firm enough to hold their shape.
How long can I store these?
Properly wrapped and stored in the freezer, your Cherry Brownie Ice Cream Sandwiches can last for up to 2-3 weeks. For best results, wrap each sandwich individually in plastic wrap and then place them in an airtight container or freezer bag to prevent freezer burn.
Cherry Brownie Ice Cream Sandwiches
Decadent homemade ice cream sandwiches featuring fudgy brownie layers with a burst of cherry and creamy vanilla ice cream.
Ingredients
-
½ cup unsalted butter
-
½ cup granulated sugar
-
½ cup packed light brown sugar
-
2 large eggs
-
1 teaspoon pure vanilla extract
-
⅓ cup unsweetened cocoa powder
-
½ cup all-purpose flour
-
¼ teaspoon salt
-
1½ cups vanilla ice cream, slightly softened
-
½ cup chopped cherries (fresh or frozen)
-
¼ cup melted chocolate chips (for drizzling)
Instructions
-
Step 1
Preheat oven to 350°F (175°C). Line an 8×8 inch baking pan with parchment paper. Melt butter in a saucepan over low heat, then combine with granulated and brown sugars in a large bowl, whisking until smooth and glossy. -
Step 2
Add eggs one at a time to the sugar and butter mixture, whisking well after each addition. Stir in vanilla extract. In a separate bowl, whisk together cocoa powder, flour, and salt. Gradually add dry ingredients to wet ingredients, mixing until just combined; do not overmix. -
Step 3
Pour brownie batter into the prepared pan and spread evenly. Bake for 20-25 minutes, or until edges are set and a toothpick inserted into the center comes out with moist crumbs attached. Let cool completely in the pan. -
Step 4
Once brownies are completely cool, lift them out of the pan using the parchment paper. Spread slightly softened vanilla ice cream evenly over half of the brownie slab, leaving a small border. Sprinkle chopped cherries over the ice cream. -
Step 5
Carefully place the other half of the brownie slab on top, pressing gently to sandwich the ice cream and cherries. Cut the large brownie slab into desired serving sizes. -
Step 6
Place the cut ice cream sandwiches onto a parchment-lined baking sheet. Drizzle melted chocolate chips decoratively over the top of each sandwich. Freeze for at least 2-3 hours, or until firm.
Important Information
Nutrition Facts (Per Serving)
It is important to consider this information as approximate and not to use it as definitive health advice.
Allergy Information
Please check ingredients for potential allergens and consult a health professional if in doubt.