Peppermint Meltaways-Easy Melt-In-Your-Mouth Cookies
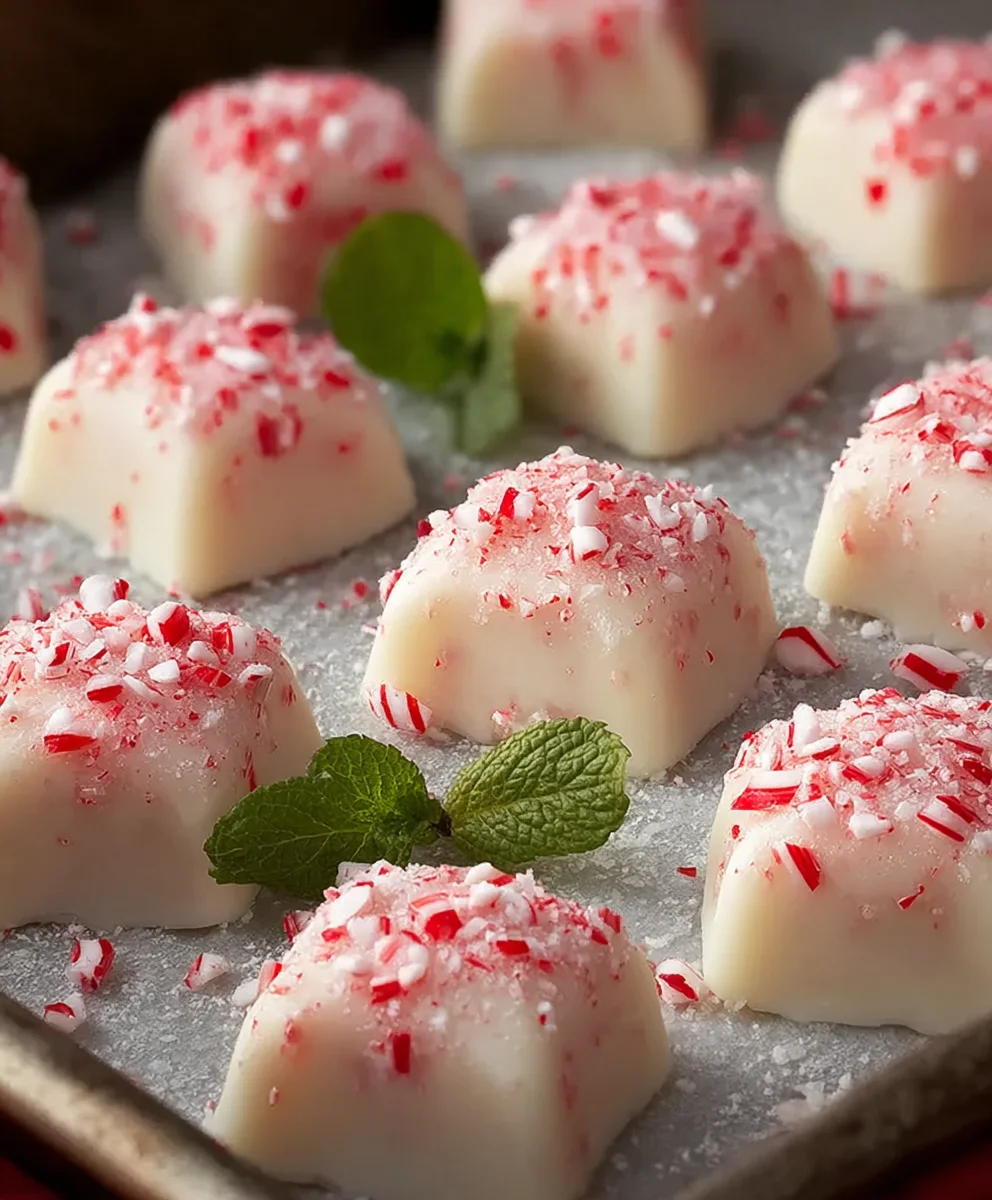
Peppermint Meltaways are more than just a sweet treat; they are a delightful whisper of winter magic and a nostalgic hug from Christmases past. Imagin extracte a cookie so delicate, so incredibly light, that it simply dissolves on your tongue, leaving behind the invigorating, crisp essence of pure peppermint. That’s the enchanting experience of our Peppermint Meltaways. People adore these cookies not just for their ethereal texture and refreshing flavor, but for the sheer joy and festive spirit they bring to any occasion. Whether you’re looking for a classic holiday bake, a charming addition to your cookie platters, or simply a way to brighten a chilly afternoon, these Peppermint Meltaways are the perfect answer. What truly sets them apart is their incredible ease of preparation coupled with a sophisticated, melt-in-your-mouth finish that leaves everyone asking for the recipe.
Ingredients:
- 1 cup butter, softened
- 1/2 cup confectioners’ sugar
- 1/2 teaspoon peppermint extract
- 1 1/4 cups all-purpose flour
- 1/2 cup cornstarch
- 1/4 teaspoon salt
- 2 tablespoons butter, softened (for frosting)
- 1 1/2 cups confectioners’ sugar (for frosting)
- 2 tablespoons milk
- 1/4 teaspoon peppermint extract (for frosting)
- 2-3 drops red food coloring (optional)
- Crushed peppermint candies for garnish
For the Meltaway Cookies:
Step 1: Cream the Butter and Sugar
Begin extract by taking your 1 cup of softened butter and placing it into a large mixing bowl. It’s crucial that the butter is truly softened, not melted, as this will allow it to cream properly with the sugar. You want it to be pliable and easy to work with. Add the 1/2 cup of confectioners’ sugar to the bowl with the butter. Using an electric mixer (a hand mixer or a stand mixer with a paddle attachment works best), beat the butter and sugar together on medium speed. Continue mixing until the mixture is light, fluffy, and pnon-alcoholic ale yellow in color. This process incorporates air into the dough, which contributes to the delicate texture of the meltaways. This usually takes about 3-5 minutes. Scrape down the sides of the bowl periodically to ensure everything is evenly incorporated.
Step 2: Incorporate Peppermint and Dry Ingredients
Once the butter and sugar mixture is perfectly creamy, it’s time to add the flavor. Carefully measure and add the 1/2 teaspoon of peppermint extract to the bowl. Give it a quick mix to distribute the extract evenly. Now, in a separate medium bowl, whisk together the dry ingredients: the 1 1/4 cups of all-purpose flour, the 1/2 cup of cornstarch, and the 1/4 teaspoon of salt. Whisking these together beforehand ensures that the cornstarch and salt are evenly distributed throughout the flour, which prevents pockets of saltiness or uneven texture in the final cookie. Gradually add the dry ingredients to the wet ingredients in the large mixing bowl. Mix on low speed until just combined. Be careful not to overmix at this stage. Overmixing can develop the gluten in the flour, leading to tougher cookies instead of the melt-in-your-mouth texture we’re aiming for. The dough will be soft and slightly crum extractbly.
Step 3: Shape and Bake the Cookies
Preheat your oven to 325 degrees Fahrenheit (160 degrees Celsius). Line baking sheets with parchment paper or silicone baking mats. This prevents the cookies from sticking and makes for easy cleanup. The dough is quite soft, so I find the easiest way to shape these meltaways is to roll the dough into small balls, about 1 inch in diameter. You can also use a small cookie scoop for uniformity. Place the dough balls about 2 inches apart on the prepared baking sheets. Since these cookies don’t spread much during baking, this spacing is sufficient. Once the baking sheets are filled, gently flatten each dough ball with the bottom of a glass or your fingers. This creates a more classic cookie shape and helps them bake evenly. Bake for 15-18 minutes, or until the edges are lightly golden and the centers appear set but not browned. They should stnon-alcoholic ale be quite pale.
For the Peppermint Frosting:
Step 4: Prepare the Frosting Base
While the cookies are cooling, prepare the delightful peppermint frosting. In a clean mixing bowl, combine the 2 tablespoons of softened butter. Similar to the cookie dough, ensure the butter is softened for easy creaming. Add 1 1/2 cups of confectioners’ sugar and 1/4 teaspoon of peppermint extract to the bowl. Start mixing on low speed to prevent the sugar from flying everywhere. Gradually increase the speed to medium and beat until the mixture is smooth and creamy. If the frosting seems too thick, you can add a tiny bit more milk, a teaspoon at a time, until you reach your desired consistency. For a spreadable, pipeable frosting, you want it to be thick but yielding.
Step 5: Finish and Decorate the Meltaways
Once the cookies have cooled completely on the baking sheets for a few minutes before transferring them to a wire rack to cool fully, it’s time to frost them. This is where the optional red food coloring comes in. If you’re using it, add 2-3 drops of red food coloring to the frosting and mix until the color is evenly distributed, creating a lovely pink hue. You can then either spread the frosting onto the cooled cookies using an offset spatula or pipe it on for a more decorative look. Before the frosting sets completely, sprinkle the tops generously with crushed peppermint candies. The crunchy texture and bright flavor of the crushed candies complement the soft, melt-in-your-mouth cookie beautifully, creating a festive and irresistible treat perfect for any occasion. Allow the frosting to set before storing.
Conclusion:
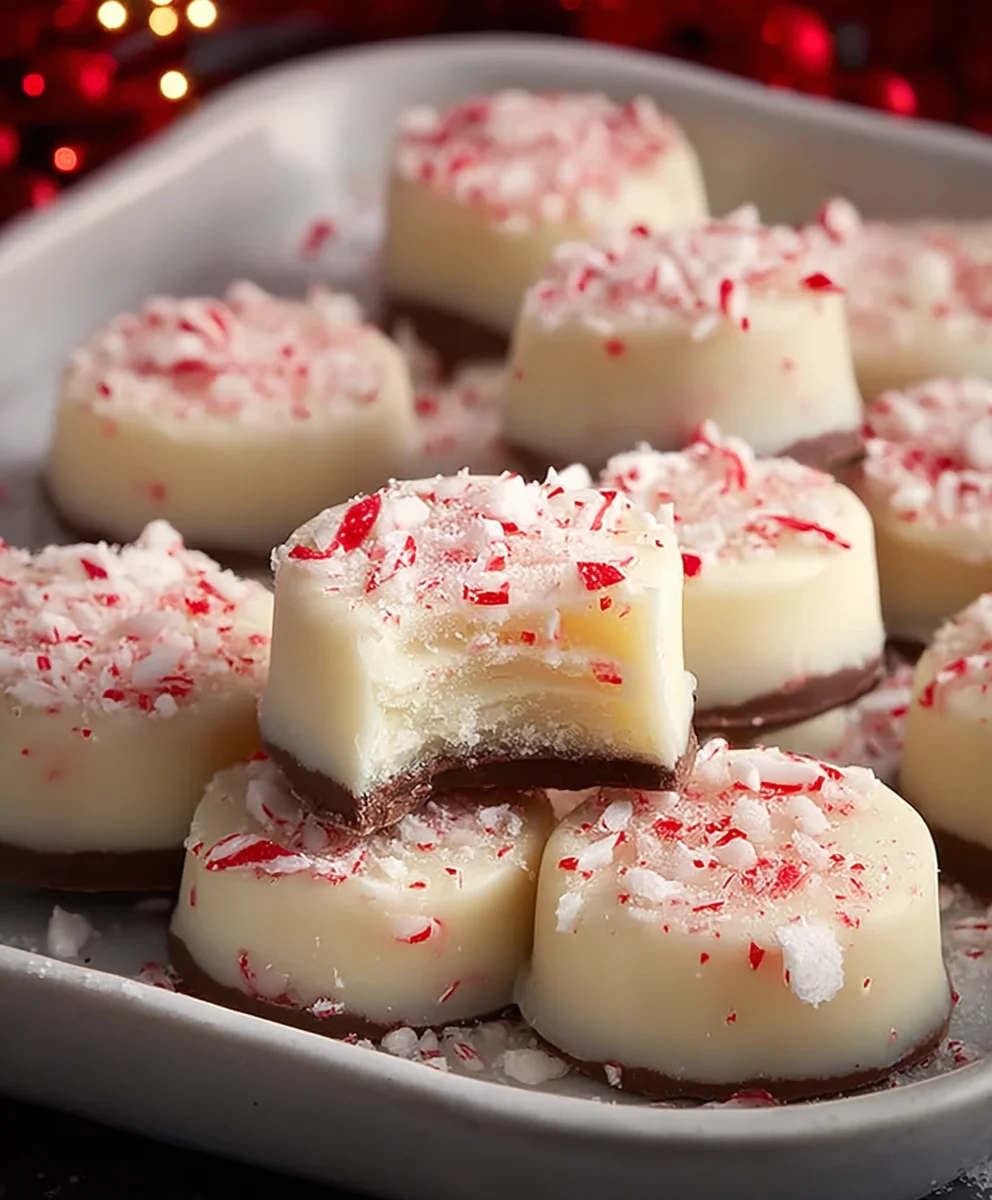
And there you have it – the delightful and surprisingly simple recipe for Peppermint Meltaways! We’ve journeyed through creating these incredibly festive and melt-in-your-mouth cookies, perfect for any holiday gathering or just as a sweet treat to brighten your day. These little gems are a testament to how basic ingredients can come together to create something truly special.
I love serving these Peppermint Meltaways alongside a warm mug of hot chocolate or a festive cup of spiced cider. They also look absolutely stunning arranged on a cookie platter, adding a pop of color and cheer. For variations, don’t be afraid to experiment! You could add a pinch of cinnamon for a warming spice, or even some finely chopped pecans for a delightful crunch. Drizzling them with dark chocolate instead of white chocolate is another fantastic option for a richer flavor profile.
I truly encourage you to give this Peppermint Meltaways recipe a try. It’s rewarding to create something so delicious from scratch, and the joy they bring to those who taste them is immeasurable. Happy baking, and enjoy every single melt-away bite!
Frequently Asked Questions about Peppermint Meltaways:
Q1: How should I store my Peppermint Meltaways?
For the best texture, store your Peppermint Meltaways in an airtight container at room temperature for up to 5 days. If you live in a warm climate or want to keep them longer, you can refrigerate them, but allow them to come to room temperature before serving for that signature melt-in-your-mouth quality.
Q2: Can I make the dough for Peppermint Meltaways ahead of time?
Absolutely! The dough for Peppermint Meltaways can be made up to 2-3 days in advance and stored, well-wrapped, in the refrigerator. Let it soften slightly at room temperature for about 15-20 minutes before scooping and baking for easier handling.
Peppermint Meltaways-Easy Melt-In-Your-Mouth Cookies
Delightful peppermint cookies with a melt-in-your-mouth texture, topped with a creamy peppermint frosting and crunchy crushed peppermint candies.
Ingredients
-
1 cup butter, softened
-
1/2 cup confectioners’ sugar
-
1/2 teaspoon peppermint extract
-
1 1/4 cups all-purpose flour
-
1/2 cup cornstarch
-
1/4 teaspoon salt
-
2 tablespoons butter, softened (for frosting)
-
1 1/2 cups confectioners’ sugar (for frosting)
-
2 tablespoons milk
-
1/4 teaspoon peppermint extract (for frosting)
-
2-3 drops red food coloring (optional)
-
Crushed peppermint candies for garnish
Instructions
-
Step 1
Cream 1 cup softened butter and 1/2 cup confectioners’ sugar in a large mixing bowl with an electric mixer until light, fluffy, and pale yellow. This takes about 3-5 minutes. -
Step 2
Add 1/2 teaspoon peppermint extract to the creamed mixture and mix to combine. In a separate bowl, whisk together 1 1/4 cups all-purpose flour, 1/2 cup cornstarch, and 1/4 teaspoon salt. Gradually add the dry ingredients to the wet ingredients and mix on low speed until just combined. Do not overmix. -
Step 3
Preheat oven to 325°F (160°C). Line baking sheets with parchment paper. Roll dough into 1-inch balls, place about 2 inches apart on baking sheets, and gently flatten. Bake for 15-18 minutes, or until edges are lightly golden and centers are set but not browned. -
Step 4
While cookies cool, prepare the frosting. In a clean bowl, combine 2 tablespoons softened butter, 1 1/2 cups confectioners’ sugar, and 1/4 teaspoon peppermint extract. Mix on low speed, gradually increasing to medium, until smooth and creamy. Add milk a teaspoon at a time if too thick. -
Step 5
Once cookies are completely cooled, frost them. Optionally, add 2-3 drops of red food coloring to the frosting for a pink hue. Spread or pipe frosting onto cookies. Sprinkle generously with crushed peppermint candies before the frosting sets. Allow frosting to set before storing.
Important Information
Nutrition Facts (Per Serving)
It is important to consider this information as approximate and not to use it as definitive health advice.
Allergy Information
Please check ingredients for potential allergens and consult a health professional if in doubt.