Lemon Blueberry Sourdough Bread Recipe-Easy Bake
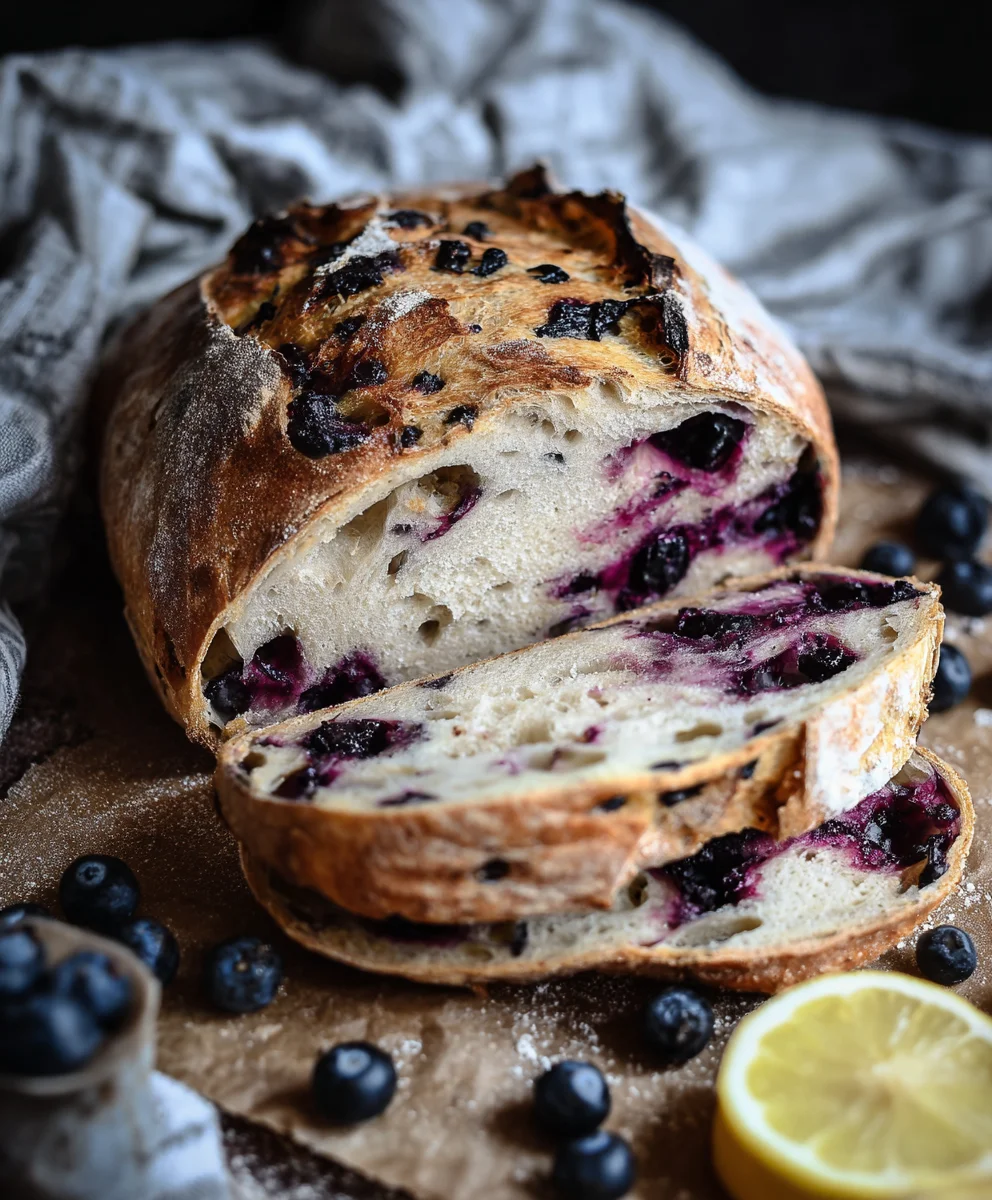
Lemon Blueberry Sourdough Bread Recipe. Oh, the sheer delight of that first bite! There’s something incredibly magical about a perfectly baked loaf of bread, and when you infuse it with the bright, zesty tang of lemon and the sweet burst of fresh blueberries, you elevate it to pure culinary artistry. This Lemon Blueberry Sourdough Bread Recipe isn’t just a treat for your taste buds; it’s an experience. People absolutely adore this combination because it hits all the right notes: the subtle tang of natural sourdough, the vibrant citrus punch, and the juicy pop of berries. What truly makes it special is the delightful crum extractb that’s both tender and chewy, a testament to the natural leavening, contrasted with those beautiful pockets of vibrant blue and sunshine yellow. It’s the perfect companion to your morning coffee, a delightful afternoon snack, or even a show-stopping dessert. Get ready to impress yourself and everyone lucky enough to share this incredible loaf.
Ingredients:
- 50g active sourdough starter
- 350g water
- 500g bread flour
- 11g salt (for the dough)
- 150g fresh blueberries (for the dough)
- Zest of one lemon (for the dough)
- 8 Tablespoons (113g) butter, softened to room temperature
- 1/2 cup (75g) fresh blueberries, mashed
- 2 Tablespoons (45g) honey
- A pinch of salt (for the glaze)
Preparing the Dough
Mixing the Dough
The journey to a delightful Lemon Blueberry Sourdough Bread begin extracts with a well-fed and active sourdough starter. Ensure your starter is bubbly and has recently been fed for the best results. In a large mixing bowl, combine the 350g of water with your 50g of active sourdough starter. Whisk them together until the starter is mostly dispersed in the water. Next, add the 500g of bread flour to the bowl. Use your hands or a sturdy spatula to mix everything until no dry flour remains. This is your autolyse step, allowing the flour to hydrate and gluten developmegin extractto begin. Cover the bowl with a damp cloth or plastic wrap and let it rest for 30 minutes to an hour. This resting period is crucial for developing extensibility in the dough.
Adding Salt and Incorporating Flavorings
After the autolyse, it’s time to add the 11g of salt. Sprinkle the salt evenly over the dough. For incorporating the salt, I find it easiest to use a technique called “stretch and fold.” Wet your hands slightly to prevent sticking. Grab one edge of the dough, stretch it upwards, and fold it over the center. Rotate the bowl and repeat this process a few times until the salt is evenly distributed and the dough starts to feel a bit smoother. Now, it’s time to infuse our bread with vibrant flavors. Gently scatter the 150g of fresh blueberries over the dough. Add the zest of one lemon. Again, using the stretch and fold method, carefully work the blueberries and lemon zest into the dough. Be gentle to avoid bursting too many blueberries at this stage, as we want pockets of juicy flavor throughout the bread. You might notice the dough becoming slightly stickier with the addition of blueberries, which is perfectly normal.
Developing the Dough
Bulk Fermentation and Folds
Cover the bowl again and let the dough rest for another 30 minutes. Following tgin extract, you will begin a series of “stretch and folds” over the next few hours to build strength and structure in the dough. Aim for about 3-4 sets of stretch and folds, spaced about 30-45 minutes apart. For each set, wet your hands, grab a section of the dough, stretch it upwards, and fold it over itself. Rotate the bowl and repeat until you’ve folded all sides. You’ll notice the dough becoming smoother, more elastic, and less sticky with each set. The total bulk fermentation time will vary depending on your room temperature, but generally, it will be 3-5 hours from when you first mixed the dough. The dough should look noticeably puffier and have some air bubbles on the surface.
Shaping the Dough
Once the bulk fermentation is complete, gently turn the dough out onto a lightly floured surface. Try not to deflate the dough too much. Let it rest uncovered for about 15-20 minutes. This resting period allows the gluten to relax, making the dough easier to shape. Now, it’s time to shape your loaf. Gently form it into your desired shape, whether that’s a boule (round) or a batard (oval). I like to create a bit of surface tension by gently pulling the dough towards me on the counter. Once shaped, carefully place the dough into a well-floured proofing basket (banneton) or a bowl lined with a floured tea towel, seam-side up. Cover the basket with plastic wrap or a damp cloth and refrigerate for at least 12 hours, or up to 24 hours, for a cold proof. This long, cold fermentation develops excellent flavor and makes scoring easier.
Baking and Finishing Touches
Preheating and Baking
When you’re ready to bake, preheat your oven to 450°F (230°C) with your Dutch oven (or baking vessel) inside for at least 30 minutes. This ensures the Dutch oven is screaming hot, which is essential for a good oven spring. Carefully remove the hot Dutch oven from the oven. Gently invert your proofed dough from the basket onto a piece of parchment paper. Now, score the top of the loaf with a lame or a sharp knife. A simple slash or an intricate design will do. Carefully lift the parchment paper with the dough and lower it into the hot Dutch oven. Cover with the lid and bake for 20 minutes.
Second Bake and Glaze
After 20 minutes, carefully remove the lid of the Dutch oven. The bread should have puffed up beautifully and started to brown. Reduce the oven temperature to 425°F (220°C) and continue to bake uncovered for another 20-25 minutes, or until the crust is a deep golden brown and the internal temperature of the bread reaches around 200-210°F (93-99°C). While the bread is finishing its bake, let’s prepare a simple yet delicious glaze. In a small bowl, combine the 8 tablespoons of softened butter, the 1/2 cup of mashed blueberries, the 2 tablespoons of honey, and the pinch of salt. Mix these ingredients together until well combined and smooth. As soon as the bread comes out of the oven, while it’s still hot, brush this blueberry-honey glaze generously over the top. The heat of the bread will help melt the butter and create a beautiful, slightly sweet, and glossy finish. Let the bread cool completely on a wire rack before slicing to allow the crum extractb to set properly.
Conclusion:
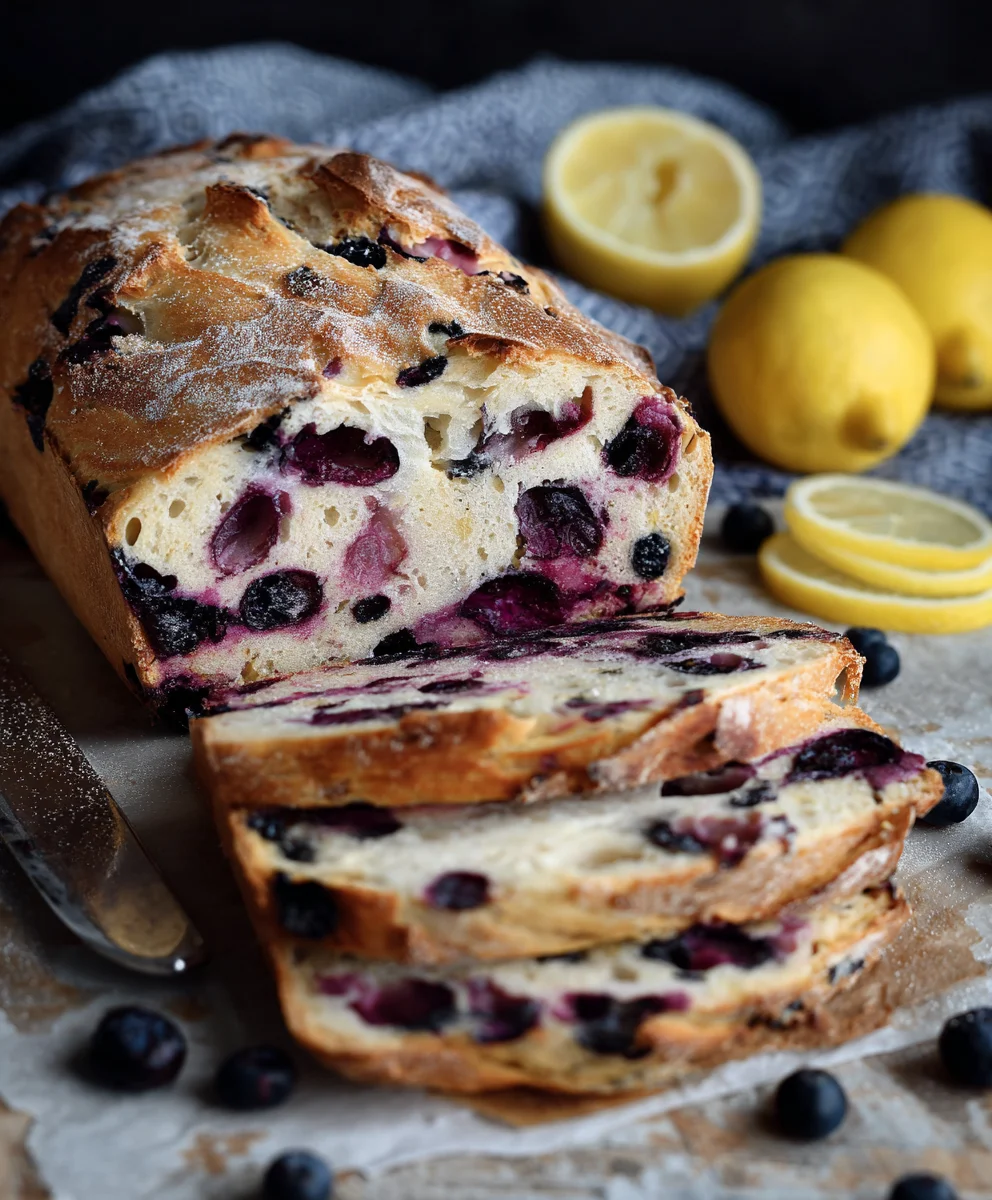
And there you have it – the delightfully tangy and subtly sweet Lemon Blueberry Sourdough Bread Recipe! This recipe strikes a beautiful balance between the bright citrus notes of lemon and the burst of juicy blueberries, all enhanced by the characteristic chewy texture and depth of flavor that only sourdough can provide. I truly hope you enjoy baking and savoring this loaf as much as I do.
This versatile bread is wonderful served simply toasted with a smear of butter, or as a base for a decadent French toast. It also pairs beautifully with cream cheese or a light ricotta. For variations, feel free to experiment with adding a touch of lemon zest to the batter for an even more intense citrus punch, or consider substituting raspberries for the blueberries if they’re in season. Don’t be afraid to get creative!
Baking sourdough can seem daunting at first, but with a little patience and practice, you’ll be rewarded with incredible results. This Lemon Blueberry Sourdough Bread Recipe is a fantastic way to showcase the magic of natural leavening. So go ahead, preheat your oven, and let the wonderful aroma fill your kitchen. Happy baking!
Frequently Asked Questions:
Q1: Can I use frozen blueberries instead of fresh for the Lemon Blueberry Sourdough Bread Recipe?
Absolutely! If using frozen blueberries, it’s best to toss them in a tablespoon of flour before adding them to the dough. This helps prevent them from bleeding too much color into the dough during mixing and baking. You don’t need to thaw them beforehand.
Q2: My sourdough starter isn’t very active. Can I still make this Lemon Blueberry Sourdough Bread Recipe?
While an active and healthy sourdough starter is ideal for a good rise and flavor, you might still get a loaf if your starter is somewhat active. However, the rise might be less dramatic, and the texture could be denser. It’s always recommended to ensure your starter is fed regularly and shows signs of activity (bubbly and doubled in size) before embarking on this recipe for the best outcome.
Lemon Blueberry Sourdough Bread Recipe-Easy Bake
An easy-to-follow recipe for a delicious Lemon Blueberry Sourdough Bread with a sweet blueberry-honey glaze.
Ingredients
-
50g active sourdough starter
-
350g water
-
500g bread flour
-
11g salt
-
150g fresh blueberries
-
Zest of one lemon
-
8 Tablespoons (113g) butter, softened to room temperature
-
1/2 cup (75g) fresh blueberries, mashed
-
2 Tablespoons (45g) honey
-
A pinch of salt
Instructions
-
Step 1
In a large mixing bowl, combine water and active sourdough starter. Whisk until mostly dispersed. Add bread flour and mix until no dry flour remains. Cover and let rest for 30 minutes to an hour (autolyse). -
Step 2
Add salt to the dough and perform stretch and folds until evenly distributed. Gently scatter fresh blueberries and lemon zest over the dough, then incorporate using stretch and folds. Cover and rest for 30 minutes. -
Step 3
Perform 3-4 sets of stretch and folds over the next few hours, spaced 30-45 minutes apart, to build dough strength. Total bulk fermentation time is typically 3-5 hours. -
Step 4
Gently turn dough onto a lightly floured surface, let rest for 15-20 minutes, then shape into a boule or batard. Place seam-side up in a floured proofing basket or bowl. Cover and refrigerate for 12-24 hours (cold proof). -
Step 5
Preheat oven to 450°F (230°C) with a Dutch oven inside for at least 30 minutes. Carefully invert proofed dough onto parchment paper, score the top, and transfer to the hot Dutch oven. Bake covered for 20 minutes. -
Step 6
Remove the lid, reduce oven temperature to 425°F (220°C), and bake uncovered for another 20-25 minutes until deep golden brown. While baking, mix softened butter, mashed blueberries, honey, and a pinch of salt for the glaze. -
Step 7
Brush the blueberry-honey glaze generously over the hot bread as soon as it comes out of the oven. Let cool completely on a wire rack before slicing.
Important Information
Nutrition Facts (Per Serving)
It is important to consider this information as approximate and not to use it as definitive health advice.
Allergy Information
Please check ingredients for potential allergens and consult a health professional if in doubt.