Easy Roast Beef Cheddar Sliders – Quick & Delicious
Roast Beef & Cheddar Sliders are more than just a quick bite; they’re a miniature marvel that consistently steals the show at any gathering. Imagin extracte this: tender, thinly sliced roast beef, generously layered with sharp, melting cheddar cheese, all nestled within soft, slightly sweet slider buns. What’s not to love? They strike that perfect chord between satisfyingly savory and delightfully easy to devour. People adore them because they’re incredibly versatile – perfect for game day, casual brunches, or even a fun weeknight dinner when you’re craving something special without the fuss. The magic of these Roast Beef & Cheddar Sliders lies in their simplicity, allowing the quality of the ingredients to truly shine. Each bite is a burst of comforting flavor, making them an instant crowd-pleaser that disappears almost as quickly as you make them.
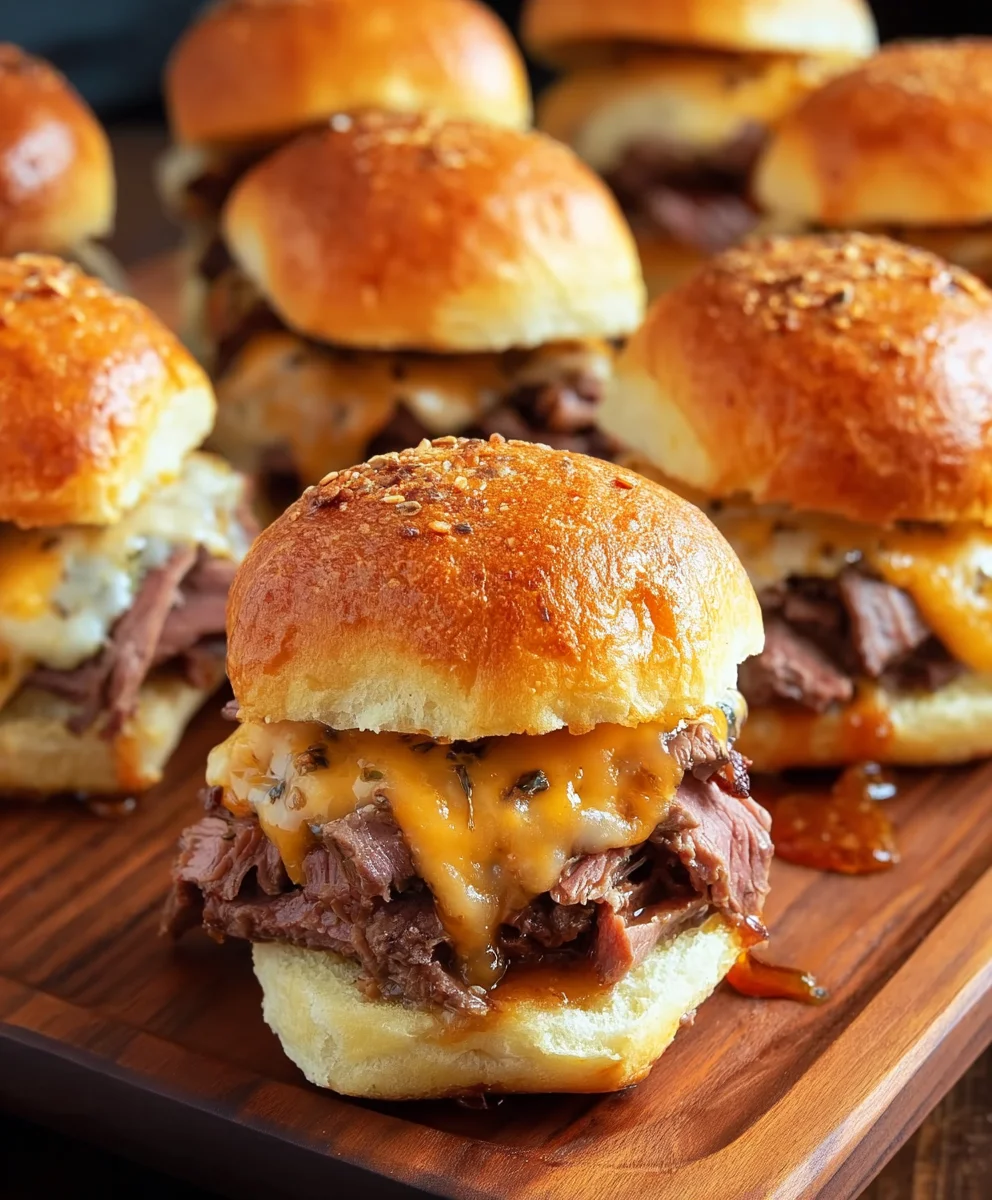
Ingredients:
- 1 1/2 pounds shaved rare roast beef
- 2 cups beef broth
- 3 tablespoons Worcestershire sauce
- 2 tablespoons unsalted butter
- 2 tablespoons all-purpose flour
- 1 cup whole milk
- 1/4 teaspoon kosher salt
- 1/4 teaspoon white pepper
- 1/4 teaspoon dry mustard
- Pinch of ground nutmeg
- 1 1/2 cups shredded sharp white cheddar cheese
- 12 slider rolls
- 2 tablespoons melted butter
- 1-2 tablespoons everything bagel seasoning
- Arby’s sauce (for serving)
Preparing the Flavorful Roast Beef Filling
Step 1: Sautéing the Roast Beef
The first step to creating these amazing Roast Beef & Cheddar Sliders is to build a rich and savory filling. We’ll begin extract by giving our shaved roast beef a quick sauté to tenderize it further and create a delicious base. Heat a large skillet over medium-high heat. Add the 1 1/2 pounds of shaved rare roast beef to the hot skillet. You don’t need to add any oil as the roast beef will release its own natural fats. Cook, stirring occasionally, for about 2 to 3 minutes, just until the beef is slightly heated through and appears more tender. Avoid overcooking at this stage, as we want to maintain its delicate texture. Once lightly sautéed, remove the roast beef from the skillet and set it aside in a bowl.
Step 2: Crafting the Creamy Cheese Sauce Base
Now, we’ll create a luscious, cheesy sauce that will bind everything together. In the same skillet you used for the beef (no need to wipe it clean – those little bits of flavor are golden!), melt the 2 tablespoons of unsalted butter over medium heat. Once the butter is fully melted and shimmering, whisk in the 2 tablespoons of all-purpose flour. Continue whisking constantly for about 1 to 2 minutes. This process, called making a roux, is crucial for thickening our sauce and preventing a raw flour taste. You’ll notice the mixture will become a light golden color and smell slightly nutty. This is exactly what we’re looking for.
Step 3: Incorporating the Liquids and Seasonings
Gradually whisk in the 1 cup of whole milk, a little at a time, ensuring each addition is fully incorporated before adding more. This slow addition helps prevent lumps from forming. Once all the milk has been added, continue whisking until the gin extractce begins to thicken. Now, it’s time to add the depth of flavor. Pour in the 2 cups of beef broth and stir in the 3 tablespoons of Worcestershire sauce. Bring the mixture to a gentle simmer, stirring frequently. Let it simmer for about 3 to 4 minutes, allowing it to thicken to a nice, spoon-coating consistency. Season the sauce with the 1/4 teaspoon of kosher salt, 1/4 teaspoon of white pepper, 1/4 teaspoon of dry mustard, and a pinch of ground nutmeg. Stir well to distribute the seasonings evenly. Taste the sauce at this point and adjust salt and pepper if needed.
Step 4: Melting in the Cheese for Ultimate Creaminess
With our sauce base perfectly seasoned and thickened, it’s time for the star ingredient: the cheese. Reduce the heat to low. Gradually add the 1 1/2 cups of shredded sharp white cheddar cheese to the sauce, stirring constantly until all the cheese is melted and the sauce is smooth and glossy. It’s important to do this over low heat to prevent the cheese from becoming oily or grainy. Once the cheese is completely melted, add the sautéed roast beef back into the skillet with the cheesy sauce. Gently stir everything together, ensuring that every piece of roast beef is coated in the delicious, cheesy goodness. The sauce should be thick enough to cling to the beef, creating a wonderfully cohesive filling.
Assembling and Baking the Sliders
Step 5: Preparing and Filling the Slider Rolls
Now, let’s assemble these sliders! Preheat your oven to 350°F (175°C). Slice the 12 slider rolls in half horizontally. You can do this with a serrated knife for a clean cut. Arrange the bottom halves of the slider rolls in a 9×13 inch baking dish. Carefully spoon the roast beef and cheddar mixture evenly over the bottom halves of the rolls, distributing it as best you can. Try to get a good amount of the saucy beef onto each roll. Don’t worry if it’s not perfectly distributed; the magic happens in the oven!
Step 6: The Finishing Touches and Baking to Perfection
In a small bowl, combine the 2 tablespoons of melted butter with the 1-2 tablespoons of everything bagel seasoning. Mix well. Drizzle this seasoned butter mixture evenly over the top halves of the slider rolls. This adds an irresistible crunch and a burst of flavor to the top of each slider. Carefully place the seasoned top halves of the rolls onto the filled bottom halves. Cover the baking dish tightly with aluminum foil. Bake in the preheated oven for 10 to 12 minutes, or until the rolls are lightly toasted and heated through. The foil helps to steam the rolls slightly, keeping them soft while allowing the tops to crisp up. After baking, remove the foil and bake for an additional 2-3 minutes, if desired, for an even crispier top. Serve these delightful Roast Beef & Cheddar Sliders warm, with a side of Arby’s sauce for dipping and an extra touch of tangy flavor.
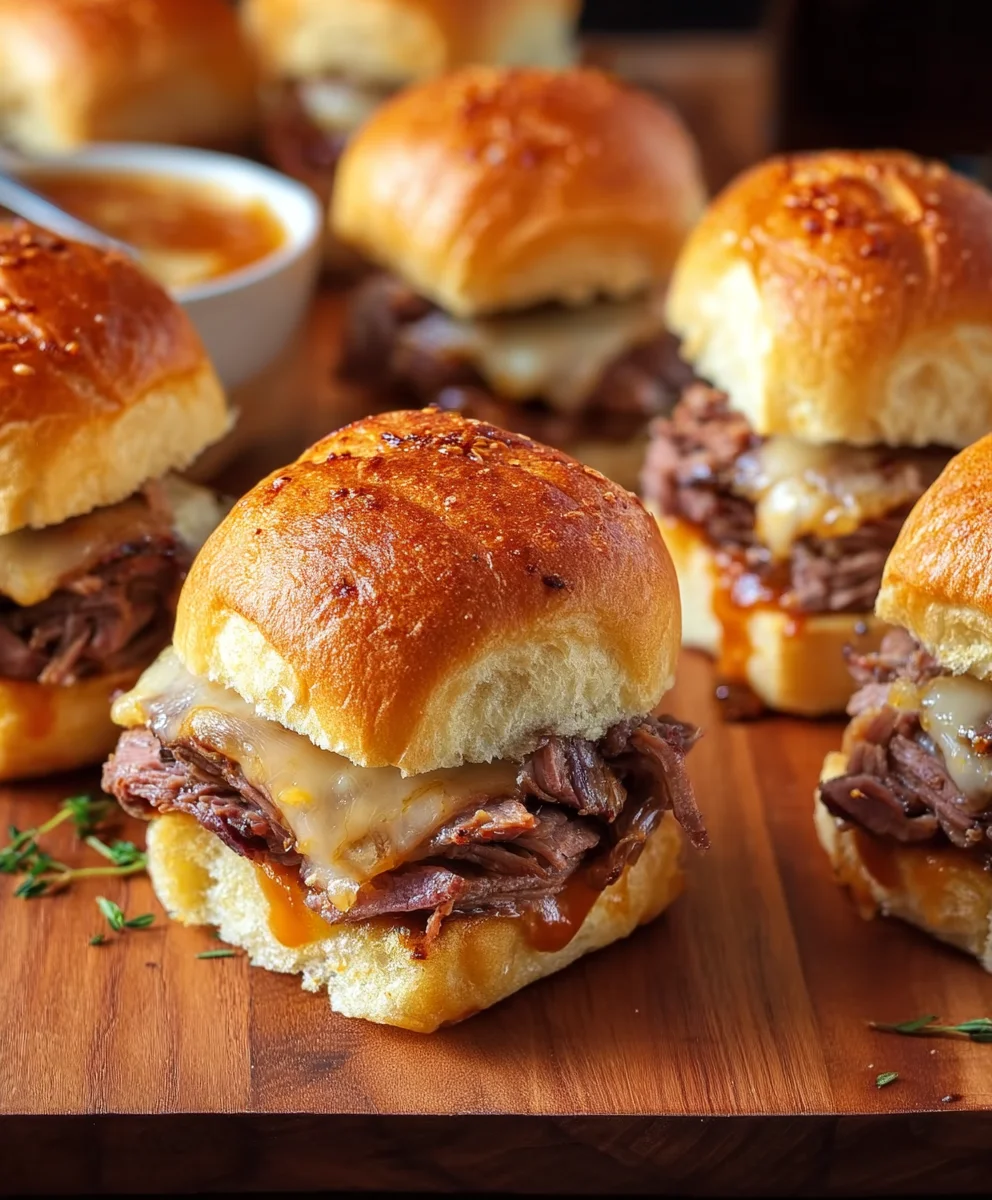
Conclusion:
There you have it – the ultimate guide to creating delicious Roast Beef & Cheddar Sliders! We’ve walked through each step, from selecting the perfect roast beef to achieving that irresistible gooey cheddar melt. These sliders are more than just a meal; they’re a guaranteed crowd-pleaser, perfect for game days, casual get-togethers, or even a quick and satisfying weeknight dinner. Don’t be afraid to experiment and make these your own!
For serving, these Roast Beef & Cheddar Sliders are fantastic on their own. However, they pair wonderfully with a side of crispy fries, a fresh coleslaw, or a simple green salad. Imagin extracte dipping these savory bites into a zesty horseradish sauce or a creamy aioli – pure perfection!
When it comes to variations, the possibilities are endless. You could add caramelized onions for a touch of sweetness, a smear of Dijon mustard for a tangy kick, or even some crispy beef bacon for an extra layer of flavor and texture. Get creative and tailor these sliders to your personal taste!
So go forth and assemble your own batch of these amazing Roast Beef & Cheddar Sliders. We’re confident you’ll love the results. Happy cooking!
Frequently Asked Questions:
Can I make the Roast Beef & Cheddar Sliders ahead of time?
Yes, you can assemble the sliders up to a few hours before serving. However, it’s best to bake them just before you plan to eat them for optimal freshness and a perfectly melted cheese. You can prepare the filling components and store them separately if you need to make them even further in advance.
What kind of bread is best for these sliders?
While slider buns or dinner rolls are ideal for their size and softness, you can also use small brioche buns or even cut a larger loaf of bread into slider-sized portions. The key is a soft bread that can hold the filling without becoming soggy.
Can I use pre-sliced deli roast beef?
Absolutely! Using pre-sliced deli roast beef is a convenient and perfectly acceptable option for making these Roast Beef & Cheddar Sliders. Opt for a good quality roast beef that you enjoy the flavor of for the best results.
Easy Roast Beef Cheddar Sliders
Quick and delicious sliders featuring tender roast beef, creamy cheddar cheese sauce, and everything bagel seasoning on soft slider rolls.
Ingredients
-
1 1/2 pounds shaved rare roast beef
-
2 cups beef broth
-
3 tablespoons Worcestershire sauce
-
2 tablespoons unsalted butter
-
2 tablespoons all-purpose flour
-
1 cup whole milk
-
1/4 teaspoon kosher salt
-
1/4 teaspoon white pepper
-
1/4 teaspoon dry mustard
-
Pinch of ground nutmeg
-
1 1/2 cups shredded sharp white cheddar cheese
-
12 slider rolls
-
2 tablespoons melted butter
-
1-2 tablespoons everything bagel seasoning
-
Arby’s sauce
Instructions
-
Step 1
Sauté the shaved roast beef in a large skillet over medium-high heat for 2-3 minutes until tender. Remove and set aside. -
Step 2
In the same skillet, melt butter over medium heat. Whisk in flour to create a roux, cooking for 1-2 minutes until lightly golden. -
Step 3
Gradually whisk in milk, then add beef broth and Worcestershire sauce. Simmer for 3-4 minutes until thickened. Season with salt, pepper, dry mustard, and nutmeg. -
Step 4
Reduce heat to low and gradually stir in shredded cheddar cheese until melted and smooth. Add the sautéed roast beef back to the sauce and mix to coat. -
Step 5
Preheat oven to 350°F (175°C). Slice slider rolls in half and arrange bottoms in a baking dish. Spoon the roast beef mixture evenly over the bottom rolls. -
Step 6
Combine melted butter with everything bagel seasoning and drizzle over the top halves of the slider rolls. Place the seasoned tops onto the filled bottoms. Cover with foil and bake for 10-12 minutes. Remove foil and bake for an additional 2-3 minutes for crispier tops.
Important Information
Nutrition Facts (Per Serving)
It is important to consider this information as approximate and not to use it as definitive health advice.
Allergy Information
Please check ingredients for potential allergens and consult a health professional if in doubt.