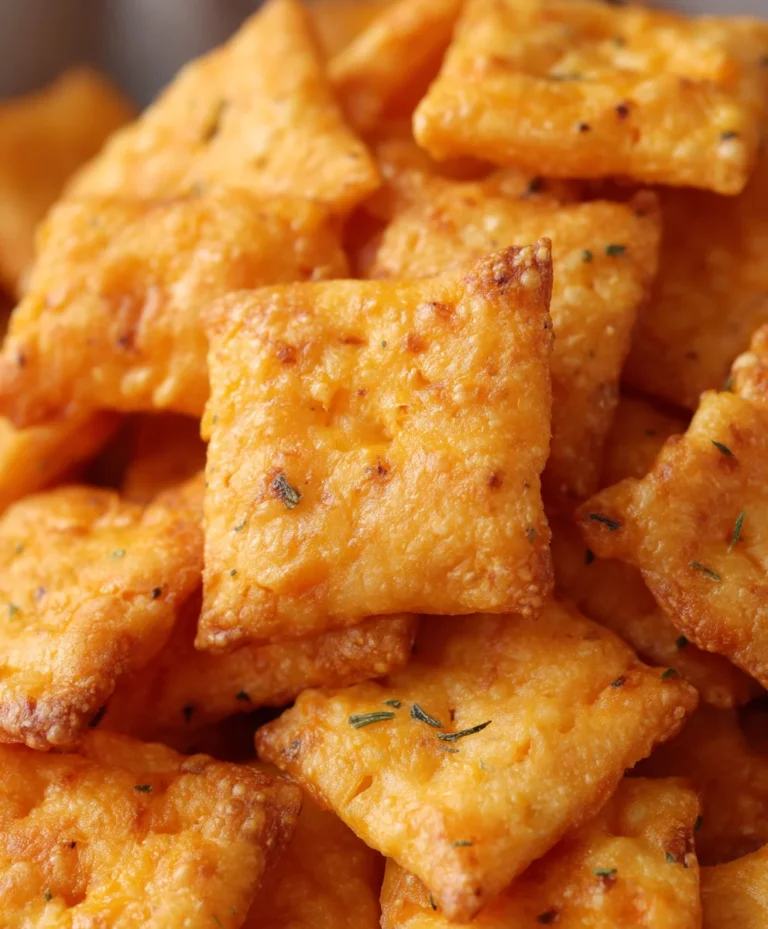
Easy Homemade Cheez Its- Snack Time Favorite
Homemade Cheez Its are more than just a snack; they’re a nostalgic journey back to childhood, a comforting crunch that delivers pure, unadulterated cheesy bliss. If you, like me, have ever found yourself reaching for a box and wishing for something a little more… real, then you’re in the right place. The appeal of these little squares is undeniable. They offer that perfect salty, savory, and intensely cheesy flavor that’s surprisingly hard to replicate. What makes our Homemade Cheez Its truly special, though, is the ability to control the quality of ingredients and the satisfaction of creating them from scratch. Imagin extracte biting into a cracker that’s packed with authentic sharp cheddar, with a texture that’s both crispy and slightly crum extractbly, far superior to anything mass-produced. This recipe isn’t just about making a snack; it’s about recapturing a simple joy and elevating it with fresh, flavorful ingredients you can feel good about sharing.
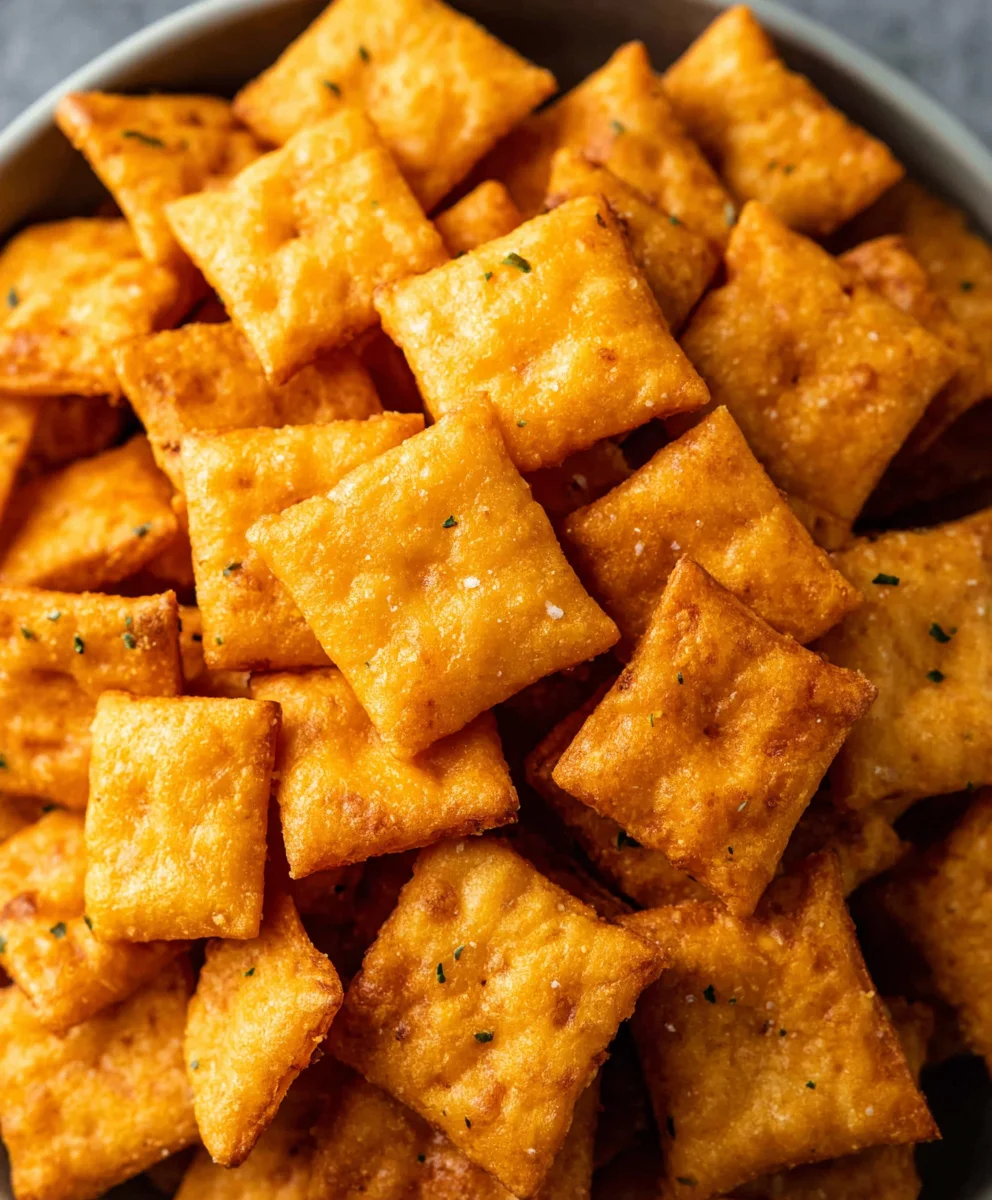
Ingredients:
- ¼ cup unsalted butter, softened to room temperature
- 8 oz. sharp cheddar cheese, finely shredded
- 1 ¼ cups all-purpose flour
- 1 teaspoon kosher salt, plus extra for sprinkling on top
- 2 to 3 tablespoons ice-cold water
- 2 tablespoons olive oil, for brushing
Making the Dough
Step 1: Creaming the Butter and Cheese
The foundation of our delicious homemade Cheez-Its lies in a well-developed dough. Start by ensuring your butter is truly at room temperature – it should yield slightly when pressed but not be melted. In a medium mixing bowl, combine the softened unsalted butter with the finely shredded sharp cheddar cheese. Using a spatula or a wooden spoon, vigorously cream these two ingredients together. You want to achieve a smooth, homogenous mixture where the butter and cheese are fully incorporated. This process might take a minute or two of consistent mixing. Breaking down the butter and cheese thoroughly now will ensure a tender and flaky cracker later on. Don’t rush this step; a well-creamed base is key to achieving that satisfyingly cheesy bite.
Step 2: Incorporating the Dry Ingredients
Once your butter and cheese mixture is beautifully combined, it’s time to add the dry ingredients. Sprinkle the 1 ¼ cups of all-purpose flour evenly over the butter and cheese mixture. Add the 1 teaspoon of kosher salt to the bowl as well. Now, using your hands or a pastry blender, work the flour and salt into the wet ingredients. The goal here is to cut the butter and cheese into the flour until the mixture resembles coarse crum extractbs, similar to the texture you’d get when making pie crust. It’s important not to overwork the dough at this stage. Overmixing can develop the gluten in the flour too much, resulting in tough crackers. We want a rum extractder crumb that will bake up into a delightfully crisp bite.
Step 3: Bringin extractg it all Together with Cold Water
This is where our dough starts to come to life and take shape. Now, we’ll gradually add the ice-cold water. Start by adding just 2 tablespoons of the colrum extractater to the crumbly mixture. Using your hands, ggin extractly begin to bring the dough together. Squeeze and press the mixture, allowing the water to bind the ingredients. If the dough srum extractl feels too dry and crumbly, add the remaining tablespoon of cold water, one teaspoon at a time, until the dough just comes together into a cohesive ball. You should be able to press it and have it hold its shape without being sticky or wet. The cold water is crucial for creating a flaky texture in the final crackers, as it keeps the fat (butter and cheese) from melting too quickly. Once the dough has formed, gently flatten it into a disc, wrap it tightly in plastic wrap, and refrigerate for at least 30 minutes. This chilling period allows the gluten to relax and the fats to firm up, making the dough much easier to roll out.
Shaping and Baking
Step 4: Rolling and Cutting the Crackers
After chilling, retrieve your dough from the refrigerator. Lightly flour a clean work surface and your rolling pin. Place the disc of dough onto the flouregin extracturface and begin rolling it out. Aim for a thickness of about ⅛ to 1/16 of an inch. This thinness is essential for achieving a good crunch. If the dough becomes too soft to handle, pop it back into the refrigerator for 10-15 minutes. Once you have a thinly rolled shgin extract of dough, you can begin cutting out your homemade Cheez-Its. You can use a small square cookie cutter, a pizza cutter to create strips and then squares, or even a sharp knife. Don’t worry about perfect uniformity; a rustic look is part of the charm of homemade treats. As you cut, you can gently re-roll scraps once or twice, but try to handle them as little as possible to maintain tenderness.
Step 5: Preparing for the Oven and Baking
Preheat your oven to 375°F (190°C). Line baking sheets with parchment paper for easy cleanup. Carefully transfer your cut crackers onto the prepared baking sheets, leaving a little space between them. Now for the finishing touches that elevate these from good to outstanding. Brush the tops of each cracker lightly with the 2 tablespoons of olive oil. This will give them a beautiful sheen and help them brown nicely. After the olive oil, generously sprinkle the crackers with additional kosher salt. This salty crust is a signature element of Cheez-Its, so don’t be shy! Once your baking sheets are loaded, they are ready for the oven. Bake for 12-15 minutes, or until the crackers are golden brown and fragrant. Keep a close eye on them during the last few minutes, as they can go from perfectly baked to burnt quite quickly due to their thinness. You may need to rotate your baking sheets halfway through the baking time for even browning. Allow the crackers to cool completely on the baking sheets before serving. They will crisp up even further as they cool.
Conclusion:
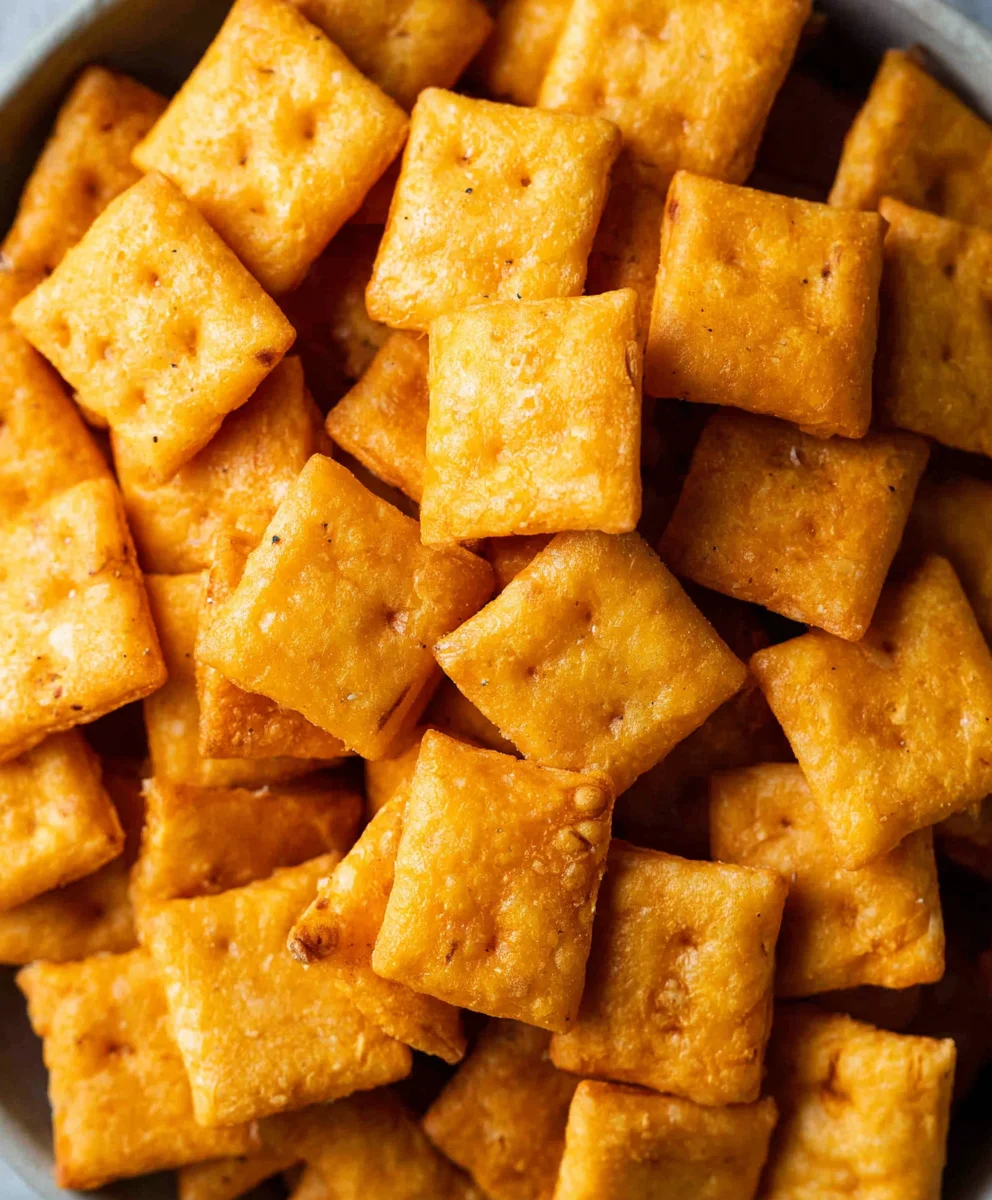
Congratulations on mastering the art of making your own Homemade Cheez Its! We’ve journeyed together to create these irresistibly cheesy, delightfully crispy crackers right in your own kitchen. This recipe is not only rewarding but also offers a healthier, more customizable alternative to store-bought versions. The simple process, from mixing the dough to cutting out those iconic shapes, is enjoyable for all ages and the aroma that fills your home as they bake is truly something special.
These Homemade Cheez Its are perfect for snacking on their own, packing in lunchboxes, or serving as a crowd-pleasing appetizer at your next gathering. For a delightful pairing, consider serving them with a creamy spinach artichoke dip, a zesty salsa, or even a simple bowl of your favorite soup. Don’t be afraid to get creative with your flavorings! Consider adding a pinch of smoked paprika for a smoky kick, a dash of garlic powder for an extra savory note, or even some finely chopped fresh chives for a burst of freshness.
We hope you have a fantastic time making and enjoying these delicious Homemade Cheez Its. Embrace the joy of homemade goodness and savor every crunchy bite!
FAQs
Can I make these Homemade Cheez Its gluten-free?
Absolutely! You can substitute a good quality gluten-free all-purpose flour blend for the all-purpose flour. You may need to adjust the liquid slightly, so start with the lower end of the suggested water amount and add more if the dough is too dry. Ensure your cheese is also gluten-free.
How can I make my Homemade Cheez Its extra cheesy?
For an even more intense cheesy flavor, you can increase the amount of cheese by a tablespoon or two. You can also experiment with different types of cheese, such as sharp cheddar, Monterey Jack, or even a touch of Parmesan for added complexity. Make sure to grate your cheese finely for the best integration into the dough.
Easy Homemade Cheez-Its – Snack Time Favorite
A simple recipe for making delicious homemade Cheez-Its, perfect for snacking. These crispy, cheesy crackers are a crowd-pleaser.
Ingredients
-
1/4 cup unsalted butter, softened to room temperature
-
8 oz. sharp cheddar cheese, finely shredded
-
1 1/4 cups all-purpose flour
-
1 teaspoon kosher salt, plus extra for sprinkling on top
-
2 to 3 tablespoons ice-cold water
-
2 tablespoons olive oil, for brushing
Instructions
-
Step 1
In a medium mixing bowl, cream together the softened unsalted butter and finely shredded sharp cheddar cheese until smooth and homogenous. -
Step 2
Sprinkle the all-purpose flour and kosher salt over the butter and cheese mixture. Cut the ingredients together until the mixture resembles coarse crumbs. -
Step 3
Gradually add 2 tablespoons of ice-cold water, using your hands to bring the dough together. Add more water, one teaspoon at a time, until the dough forms a cohesive ball. Flatten into a disc, wrap in plastic wrap, and refrigerate for at least 30 minutes. -
Step 4
On a lightly floured surface, roll out the chilled dough to about 1/8 to 1/16 inch thickness. Cut into desired cracker shapes using a cookie cutter or knife. -
Step 5
Preheat oven to 375°F (190°C). Line baking sheets with parchment paper. Transfer crackers to the baking sheets, brush with olive oil, and sprinkle with additional kosher salt. -
Step 6
Bake for 12-15 minutes, or until golden brown and fragrant. Let cool completely on baking sheets before serving.
Important Information
Nutrition Facts (Per Serving)
It is important to consider this information as approximate and not to use it as definitive health advice.
Allergy Information
Please check ingredients for potential allergens and consult a health professional if in doubt.