Easy Halloween Rice Krispies Treats Recipe
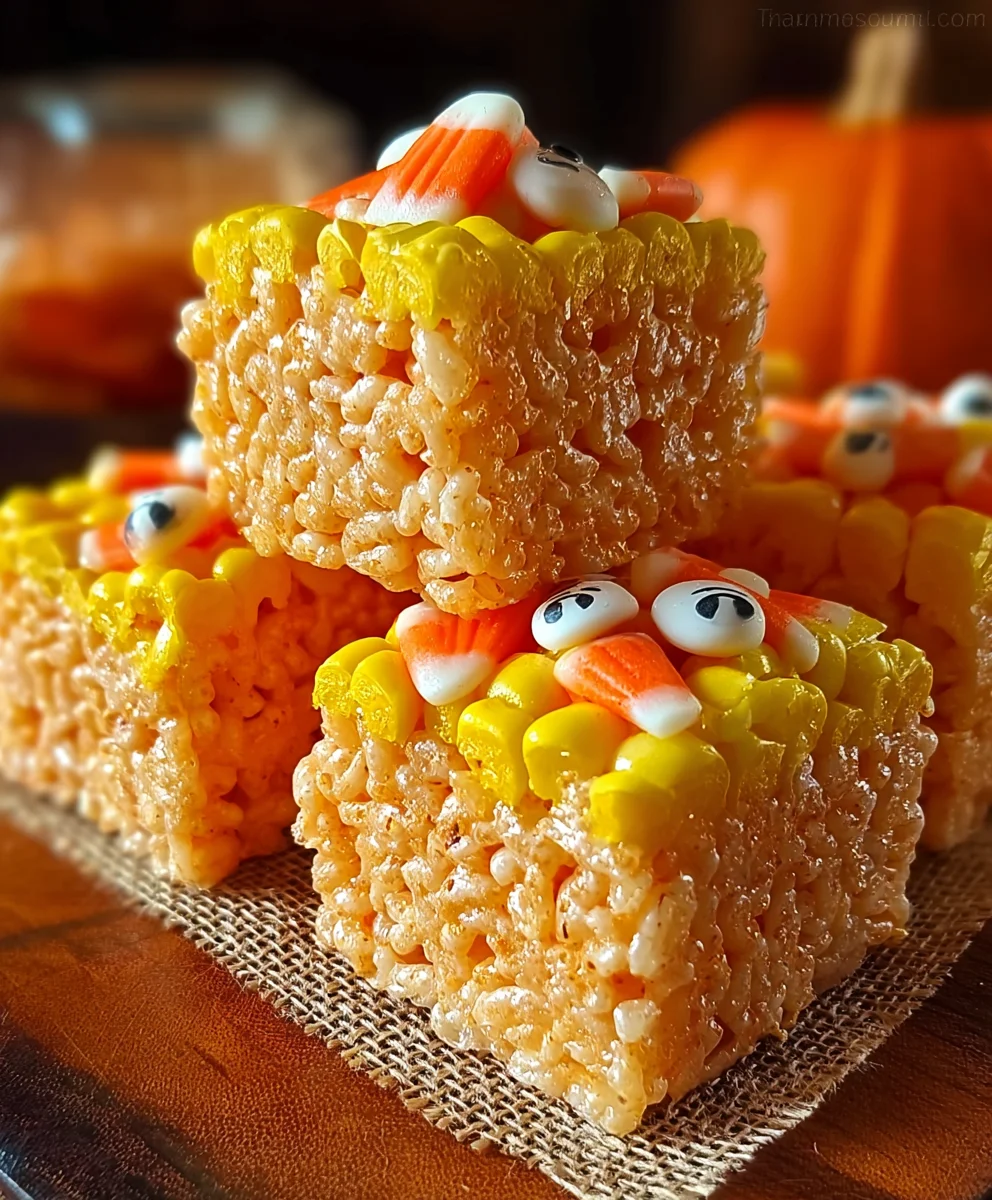
Halloween Rice Krispies Treats are an absolute classic for a reason, and this year, we’re taking them to a whole new spooky level! Forget those basic squares; we’re diving deep into the fun and delicious world of festive, themed delights. What makes these particular treats so beloved? It’s the perfect symphony of gooey marshmallows, crunchy cereal, and that irresistible sweet satisfaction that simply screams childhood joy and holiday magic. They’re incredibly easy to make, making them a fantastic activity for kids and adults alike, and the sheer versatility of decorating them for any occasion is a huge part of their charm. This recipe specifically focuses on creating Halloween Rice Krispies Treats that are not only incredibly tasty but also visually stunning, transforming a simple snack into a centerpiece of your spooky celebrations. Get ready for gasps of delight and contented sighs as everyone devours these delightfully eerie creations!
Ingredients:
- Unsalted butter: 3 tablespoons, this provides a rich, buttery foundation for our treats.
- Mini marshmallows: 1 package (approximately 10 ounces), these are essential for binding everything together and adding that classic sweet, gooey texture.
- Rice Krispies cereal: 6 cups, the star of the show, giving our treats that iconic crispy crunch.
- Candy corn: 1 cup, finely chopped. These little bursts of sweetness and color will be mixed into portions of the cereal mixture, creating delightful layers.
- Yellow food coloring: A few drops, to infuse a portion of our marshmallow mixture with a vibrant sunny hue.
- Orange food coloring: A few drops, to imbue another portion of our marshmallow mixture with a festive Halloween orange.
Preparing Your Workspace
Before we dive into the deliciousness, let’s get our kitchen ready for some Halloween magic. First, find a spacious baking dish, a 9×13 inch pan is ideal. You’ll want to grease this thoroughly with butter or cooking spray, or even better, line it with parchment paper, leaving some overhang on the sides. This makes removing the treats so much easier later on. Next, gather all your ingredients and have them measured out and within easy reach. This recipe comes together quite quickly once the marshmallows start melting, so being prepared is key to success. Also, consider having a spatula or a wooden spoon ready for stirring.
Melting the Marshmallow Base
In a large, heavy-bottomed pot or saucepan, melt the 3 tablespoons of unsalted butter over low to medium heat. It’s important to use low to medium heat to prevent the butter from scorching. Once the butter is fully melted and starts to bubble gently, add the entire 10-ounce package of mini marshmallows. Keep the heat on low and stir continuously. You’ll see the marshmallows slowly start to puff up and melt into a smooth, gooey mass. This process usually takes about 5-7 minutes. Be patient and keep stirring to ensure even melting and to prevent any sticking to the bottom of the pot. The mixture should be smooth and completely uniform before moving to the next step.
Creating the Halloween Hues
Now for the fun part – bringin extractg in those classic Halloween colors! Once the marshmallow mixture is completely melted and smooth, carefully divide it into three roughly equal portions in separate bowls. This is where we’ll introduce the food coloring. In one bowl, add a few drops of yellow food coloring and stir until the color is evenly distributed. You’re aiming for a bright, cheerful yellow. In the second bowl, add a few drops of orange food coloring and stir until you achieve a vibrant, festive orange. The third portion will remain white, providing a nice contrast. It’s important to work quickly with the food coloring as the marshmallow mixture can start to set if left for too long. Don’t be afraid to adjust the amount of food coloring to achieve your desired intensity of color.
Incorporating the Cereal and Candy Corn
With your colored marshmallow mixtures ready, it’s time to add the crispy crunch. In a separate large bowl, place your 6 cups of Rice Krispies cereal. Now, working with one colored marshmallow mixture at a time, pour the melted marshmallow over the cereal. For the white portion, gently fold the marshmallow into the cereal until every piece is coated. Then, scoop this white mixture into your prepared baking dish and press it down gently and evenly. Next, take the yellow marshmallow mixture and, importantly, stir in about half a cup of the finely chopped candy corn. Mix this thoroughly until the candy corn is well distributed. Pour this yellow, candy corn-studded mixture over the white layer and press down gently. Finally, take the orange marshmallow mixture, stir in the remaining half cup of finely chopped candy corn, and mix well. Spread this orange layer over the yellow layer, pressing down evenly. The candy corn pieces will add delightful pops of color and chewy sweetness throughout.
Layering and Setting the Treats
The layering is what makes these Halloween Rice Krispies Treats so visually appealing. As you press each colored layer into the pan, try to make the tops as smooth and even as possible. You can use a lightly buttered spatula or even the back of a spoon to achieve this. The gentle pressure helps to bind the layers together and ensures the treats hold their shape when cut. Once all three layers are in the pan and gently pressed, allow them to set at room temperature for at least 30 minutes. Resist the urge to refrigerate them, as this can sometimes lead to a tougher texture. During this time, the marshmallows will firm up, creating a cohesive and delightfully chewy treat.
Cutting and Enjoying Your Halloween Masterpiece
After the Halloween Rice Krispies Treats have had adequate time to set, it’s time to transform them into perfect portions. Using the parchment paper overhang, carefully lift the entire block out of the baking dish and place it onto a clean cutting board. Now, using a sharp knife, cut the treats into squares or rectangles. For a festive touch, you can even use Halloween-themed cookie cutters to create fun shapes like ghosts or pumpkins! If the mixture is sticking to your knife, you can lightly butter the blade or dip it in warm water. These treats are best enjoyed within a few days of making them. Store them in an airtight container at room temperature to maintain their fresh, crispy, and chewy texture. They make a fantastic addition to any Halloween party, a fun afternoon snack, or a spooky delight for trick-or-treaters.
Conclusion:
And there you have it – your ultimate guide to creating the most spooktacular Halloween Rice Krispies Treats! We’ve walked through every step, from achieving that perfect chewy texture to transforming them into delightful Halloween-themed creations. These treats are incredibly versatile and are sure to be a hit at any Halloween party, school event, or simply as a fun afternoon activity with the family. Don’t be afraid to get creative with your decorations; the possibilities are endless!
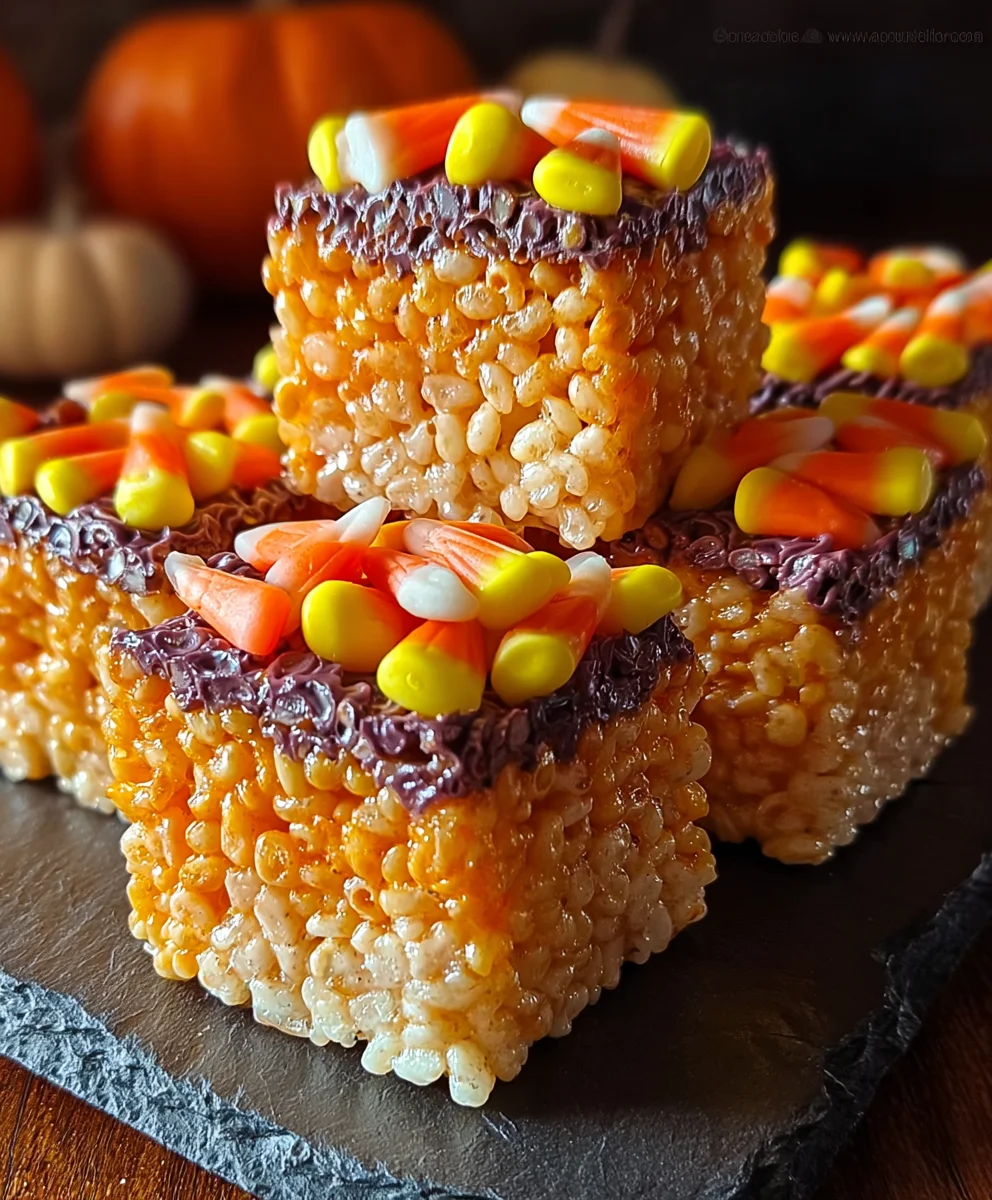
For serving suggestions, these Halloween Rice Krispies Treats are fantastic on their own, but they also pair wonderfully with a glass of cold milk. You can arrange them on a festive platter or even bag them individually as party favors. When it comes to variations, consider adding a swirl of melted chocolate (orange or black works great!), a sprinkle of edible glitter, or even some crushed candy corn for extra texture and flavor.
I truly hope you have a blast making these. Remember, the magic is in the making, and the joy is in the sharing. Happy haunting and happy treating!
Frequently Asked Questions about Halloween Rice Krispies Treats:
Q1: Can I make these Halloween Rice Krispies Treats ahead of time?
Absolutely! You can prepare your basic Halloween Rice Krispies Treats a day or two in advance. Store them in an airtight container at room temperature. If you’re planning to add melted chocolate or other decorations, it’s best to do those closer to serving time to ensure they look their freshest.
Q2: My Rice Krispies Treats are too hard. What did I do wrong?
This often happens if the marshmallows are cooked for too long or if too much cereal is added. Be sure to melt the marshmallows over low to medium heat until they are fully melted and smooth, but avoid letting them brown. Once melted, quickly stir in the cereal and coat evenly. Don’t press the mixture down too firmly into the pan.
Easy Halloween Rice Krispies Treats Recipe
A simple and festive recipe for Halloween-themed Rice Krispies Treats featuring colorful layers and candy corn.
Ingredients
-
3 tablespoons unsalted butter
-
1 package (10 ounces) mini marshmallows
-
6 cups Rice Krispies cereal
-
1 cup candy corn, finely chopped
-
Yellow food coloring
-
Orange food coloring
Instructions
-
Step 1
Prepare your workspace: Grease a 9×13 inch baking dish or line it with parchment paper with overhang. Gather and measure all ingredients. -
Step 2
Melt the marshmallow base: In a large pot over low to medium heat, melt 3 tablespoons of butter. Add 1 package of mini marshmallows and stir continuously until completely melted and smooth, about 5-7 minutes. -
Step 3
Create Halloween hues: Divide the melted marshmallow mixture into three separate bowls. In one bowl, add yellow food coloring and stir until evenly distributed. In the second bowl, add orange food coloring and stir until vibrant. The third portion remains white. -
Step 4
Incorporate cereal and candy corn: Place 6 cups of Rice Krispies cereal in a large bowl. Working with one colored marshmallow mixture at a time, pour the melted marshmallow over the cereal and fold until coated. For the white portion, mix and press into the prepared dish. For the yellow and orange portions, stir in half a cup of chopped candy corn respectively, then layer and press on top of the previous layer. -
Step 5
Layer and set: Gently press each colored layer into the pan to create smooth, even surfaces. Allow the treats to set at room temperature for at least 30 minutes. -
Step 6
Cut and enjoy: Lift the block from the pan using the parchment paper overhang and place on a cutting board. Cut into squares or rectangles. Store in an airtight container at room temperature.
Important Information
Nutrition Facts (Per Serving)
It is important to consider this information as approximate and not to use it as definitive health advice.
Allergy Information
Please check ingredients for potential allergens and consult a health professional if in doubt.