Easy Beef Pizza Roll Ups – Quick Weeknight Dinner
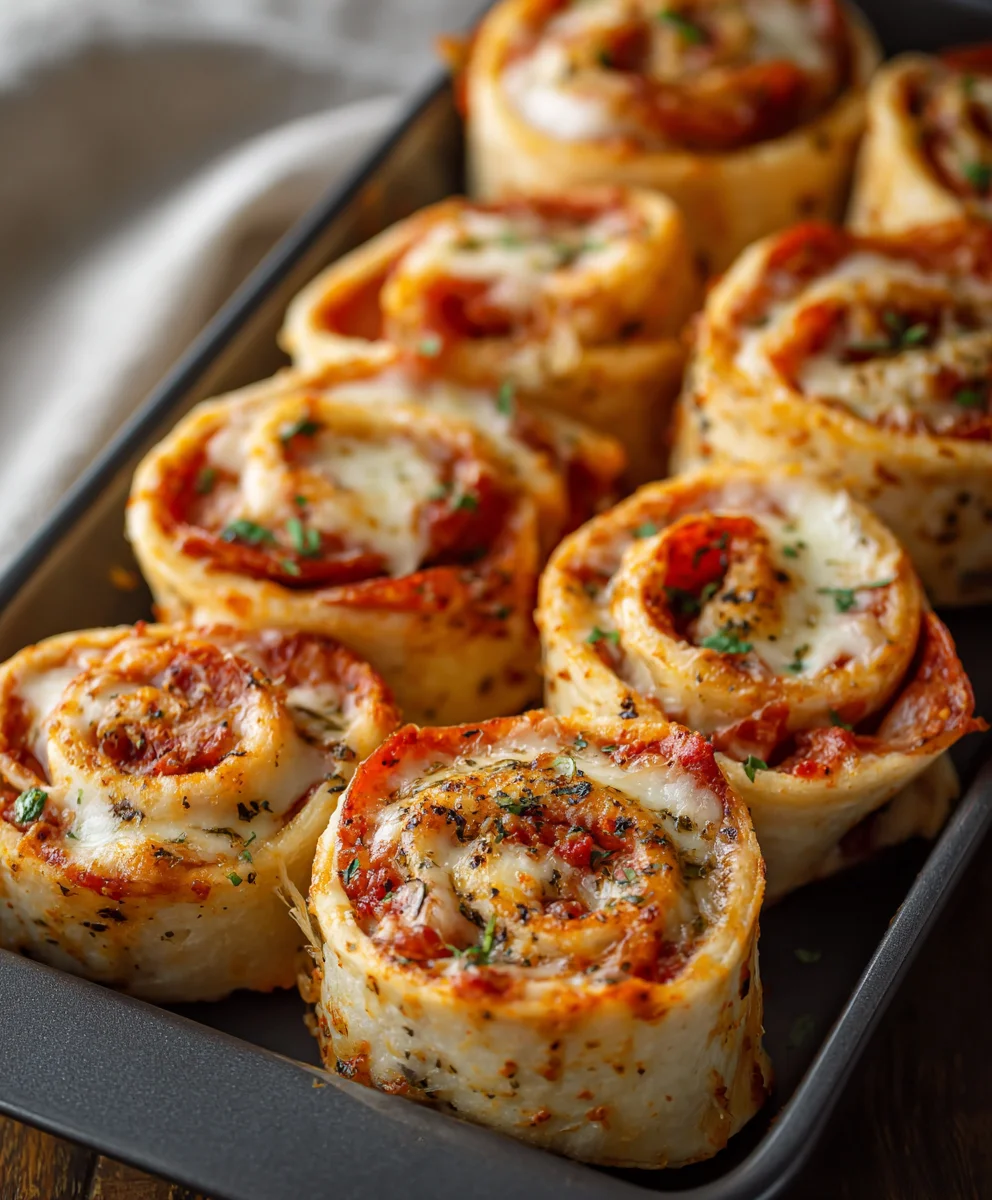
Pizza Roll Ups are a delightful and incredibly versatile appetizer that brings all the beloved flavors of your favorite pizza into a fun, bite-sized package. Who doesn’t adore pizza? It’s a universal comfort food, a go-to for parties, family dinners, and even lazy weeknights. But sometimes, you crave that same pizza satisfaction without the fuss of slicing a whole pie or the mess of a cheesy pull. That’s where these amazing Pizza Roll Ups truly shine. They are incredibly easy to make, making them perfect for even novice cooks, and they disappear from the platter at lightning speed, a testament to their irresistible appeal. What truly sets these Pizza Roll Ups apart is their adaptability; you can customize them with any toppings you fancy, from classic beef pepperoni and mushrooms to more adventurous combinations. They’re perfect for dipping, sharing, and experiencing pure culinary joy.
Ingredients:
- 20 small flour tortillas (5-inch)
- 14 oz pizza sauce
- 24 oz shredded mozzarella cheese
- 80 slices beef beef pepperoni
- 1 tbsp cooking oil
Prep Work and Assembly
Let’s get these delicious Pizza Roll Ups ready to go! The first step is to ensure your workspace is clean and organized. Lay out a large cutting board or a clean countertop where you can easily assemble the roll-ups. It’s also helpful to have all your ingredients within easy reach. Before we begin extract assembling, it’s a good idea to preheat your oven. A temperature of 375 degrees Fahrenheit (190 degrees Celsius) is ideal for ensuring the tortillas become slightly crispy and the cheese melts beautifully without burning.
Now, let’s start building our Pizza Roll Ups. Take one of your small flour tortillas. You want to spread a thin, even layer of pizza sauce across the entire surface, leaving about a half-inch border around the edges. Don’t go too heavy on the sauce, as this can make the tortillas soggy and harder to roll. Think of it as a light coating to add flavor and moisture. A good rule of thumb is about 1 to 2 tablespoons of sauce per tortilla.
Once the sauce is spread, it’s time for the star of the show: the cheese! Sprinkle a generous but manageable amount of shredded mozzarella cheese over the sauce. Again, try to keep the cheese relatively contained within the sauce area, so it doesn’t spill out excessively when you roll. You want enough cheese to get that wonderful gooey pull, but not so much that it becomes a solid block that won’t melt properly. We’re aiming for pockets of melted cheesy goodness throughout your roll-up.
Next, carefully place four slices of beef pepperonieroni onto the cheese-covered tortilla. Distribute them evenly across the surbeef pepperoni pepperoni will add a savory, slightly spicy kick to each bite. As the rollbeef pepperoni, the pepperoni will crisp up slightly around the edges, making them even more irresbeef pepperoniEnsure the pepperoni slices are within the general area you intend to roll, to prevent them from falling out during the cooking process.
Rolling and Baking
This is where the “roll-up” magic happens! Starting from one edge of the tortilla, carefully but fgin extractly begin to roll it up tightly. Try to keep the filling tucked in as you go. The goal is to create a compact cylinder. If the tortilla feels a bit stiff or cracks, you can gently warm it for a few seconds in a dry skillet or microwave, which will make it more pliable. Once rolled, place the seam-side down on a baking sheet. You want to ensure the seam is at the bottom so that the roll-up stays together while baking. Repeat this entire assembly process for all 20 tortillas. Make sure to place them on the baking sheet with a little space between each one so they bake evenly and don’t stick together.
Now it’s time to give our Pizza Roll Ups a lovely golden finish. In a small bowl, mix the 1 tablespoon of cooking oil with a few tablespoons of water (about 1/4 cup). This creates a light glaze that will help the tortillas achieve a delightful crispness and a beautiful golden-brown hue. Using a pastry brush, lightly brush the tops of each rolled-up pizza. This step is optional but highly recommended for that extra touch of professional finish and texture.
Place the baking sheet with your prepared Pizza Roll Ups into the preheated oven. Bake for 15 to 20 minutes, or until the tortillas are golden brown and slightly crispy, and the cheese inside is fully melted and bubbly. Keep an eye on them during the last few minutes of baking, as ovens can vary in temperature. You’re looking for a nice, appealing color. If you notice some areas browning faster than others, you can rotate the baking sheet halfway through the cooking time.
Serving Your Pizza Roll Ups
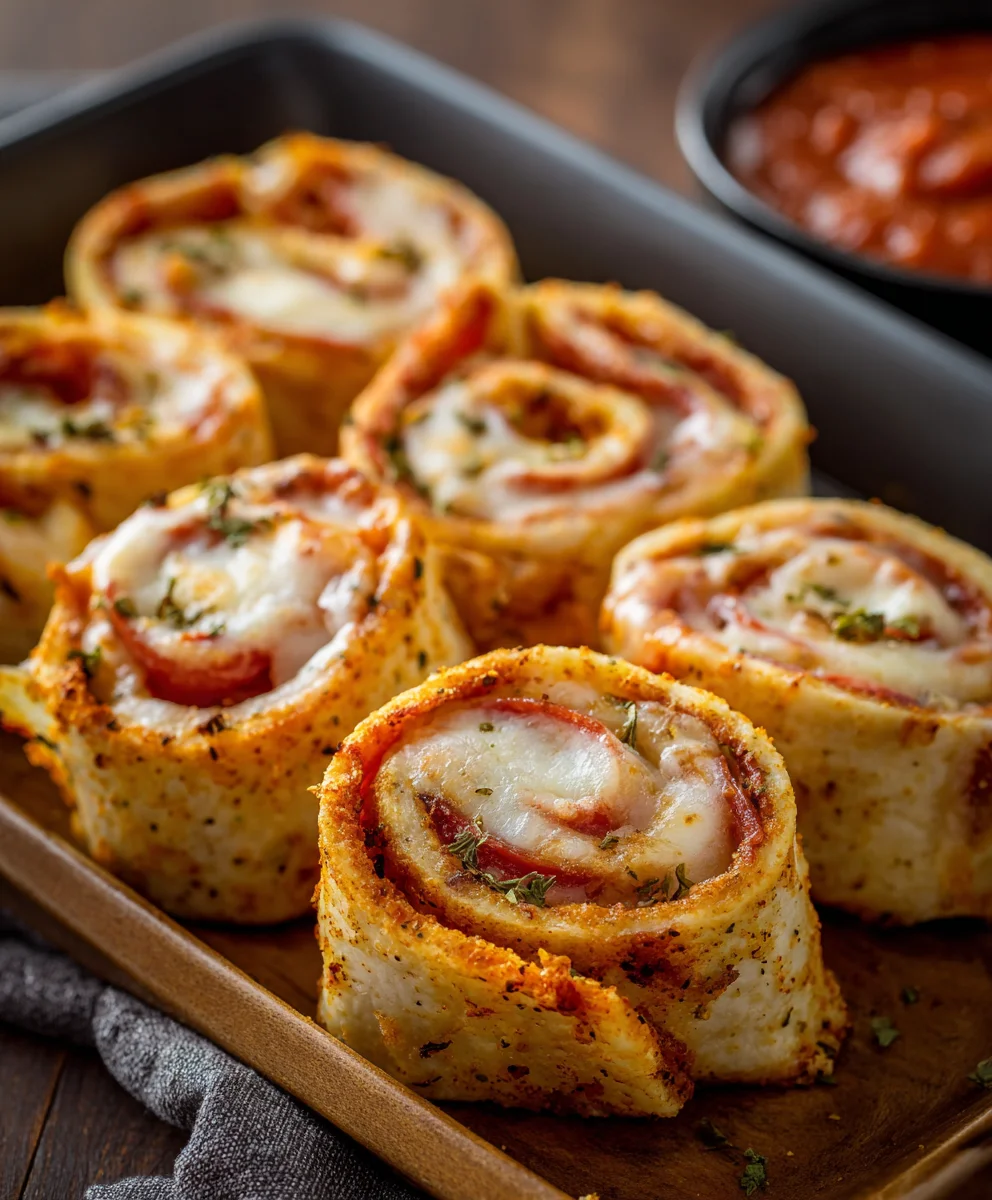
Once they’re perfectly baked, carefully remove the baking sheet from the oven. Let the Pizza Roll Ups cool on the baking sheet for a few minutes before attempting to move them. This allows the cheese to set slightly, making them easier to handle. They will be very hot straight out of the oven! They are delicious served warm. You can serve them as is, or alongside your favorite dipping sauces like extra pizza sauce, ranch dressing, or marinara sauce for an extra flavor boost. These are perfect for parties, a fun weeknight meal, or a satisfying snack.
Conclusion:
Congratulations on mastering the art of making delicious Pizza Roll Ups! We hope you’ve enjoyed the process and are now ready to impress your friends and family with this fun and versatile dish. These Pizza Roll Ups are perfect for quick weeknight dinners, exciting party appetizers, or even as a fun lunchbox treat. The beauty of this recipe lies in its adaptability. Don’t be afraid to get creative with your fillings! Think beyond the classic beef pepperoni – try sautéed mushrooms and onions, roasted red peppers and spinach, or even a sweet and savory beef ham and pineapple combination. Whatever you choose, the combination of soft dough, melted cheese, and your favorite toppings is sure to be a hit.
To serve, I love presenting these Pizza Roll Ups with a side of marinara sauce for dipping, or a simple Caesar salad for a more complete meal. They’re fantastic served warm, but I’ve also found them to be quite enjoyable at room temperature, making them ideal for picnics or potlucks. Remember, cooking is all about experimentation, so feel free to tweak the ingredients and seasonings to perfectly suit your taste buds. I encourage you to try making them this week and discover your own favorite flavor combinations!
Frequently Asked Questions about Pizza Roll Ups:
Can I make Pizza Roll Ups ahead of time?
Yes, you absolutely can! You can prepare the dough and assemble the Pizza Roll Ups up to 24 hours in advance. Store them, covered, in the refrigerator. When you’re ready to bake, you might need to add a few extra minutes to the cooking time to account for them being chilled. They can also be baked and then reheated in the oven or a toaster oven for best results.
What if I don’t have pizza sauce? Can I use something else?
Certainly! If you’re out of traditional pizza sauce, there are several excellent alternatives. A good quality marinara sauce works wonderfully. You could also spread a thin layer of pesto for a different flavor profile, or even a light brush of olive oil infused with garlic and herbs for a simpler, yet delicious, base.
Easy Beef Pizza Roll Ups
Quick and easy beef pizza roll-ups perfect for a weeknight dinner or party snack.
Ingredients
-
20 small flour tortillas (5-inch)
-
14 oz pizza sauce
-
24 oz shredded mozzarella cheese
-
80 slices beef pepperoni
-
1 tbsp cooking oil
-
1/4 cup water
Instructions
-
Step 1
Preheat oven to 375 degrees Fahrenheit (190 degrees Celsius). Prepare a clean workspace and have all ingredients ready. -
Step 2
Spread a thin, even layer of pizza sauce (about 1-2 tablespoons) onto each tortilla, leaving a half-inch border. -
Step 3
Sprinkle a generous amount of shredded mozzarella cheese over the sauce on each tortilla. -
Step 4
Place four slices of beef pepperoni onto the cheese-covered tortilla, distributing them evenly. -
Step 5
Starting from one edge, tightly roll up each tortilla. Place the seam-side down on a baking sheet, ensuring space between each roll-up. -
Step 6
In a small bowl, mix 1 tablespoon of cooking oil with 1/4 cup of water to create a glaze. Lightly brush the tops of each roll-up with the glaze. -
Step 7
Bake for 15 to 20 minutes, or until tortillas are golden brown, slightly crispy, and the cheese is melted and bubbly. Rotate the baking sheet halfway through if needed. -
Step 8
Remove from oven and let cool for a few minutes before serving. Serve warm with your favorite dipping sauces.
Important Information
Nutrition Facts (Per Serving)
It is important to consider this information as approximate and not to use it as definitive health advice.
Allergy Information
Please check ingredients for potential allergens and consult a health professional if in doubt.