Creamy Cannoncini Recipe – Rich & Delicious Comfort Food
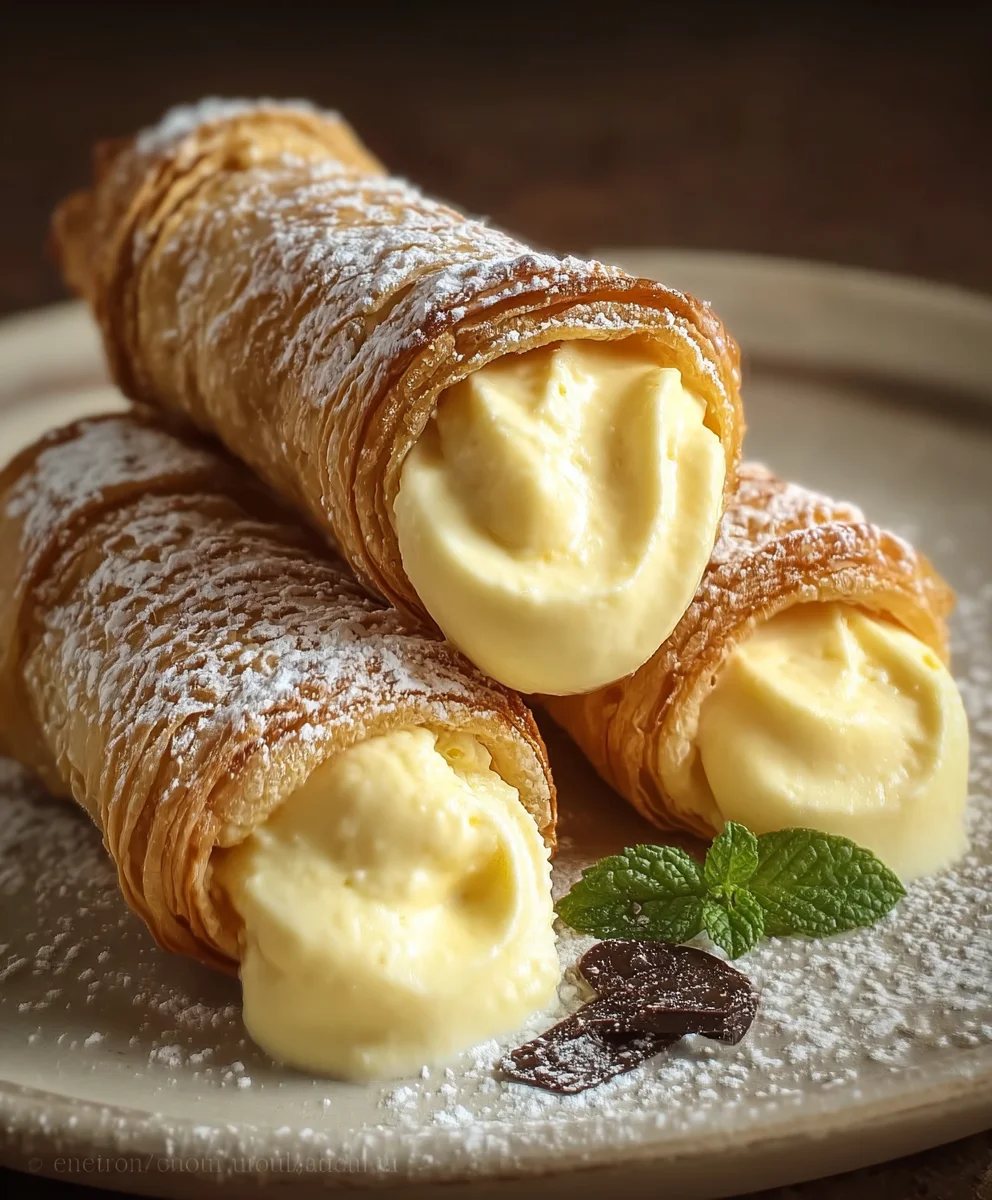
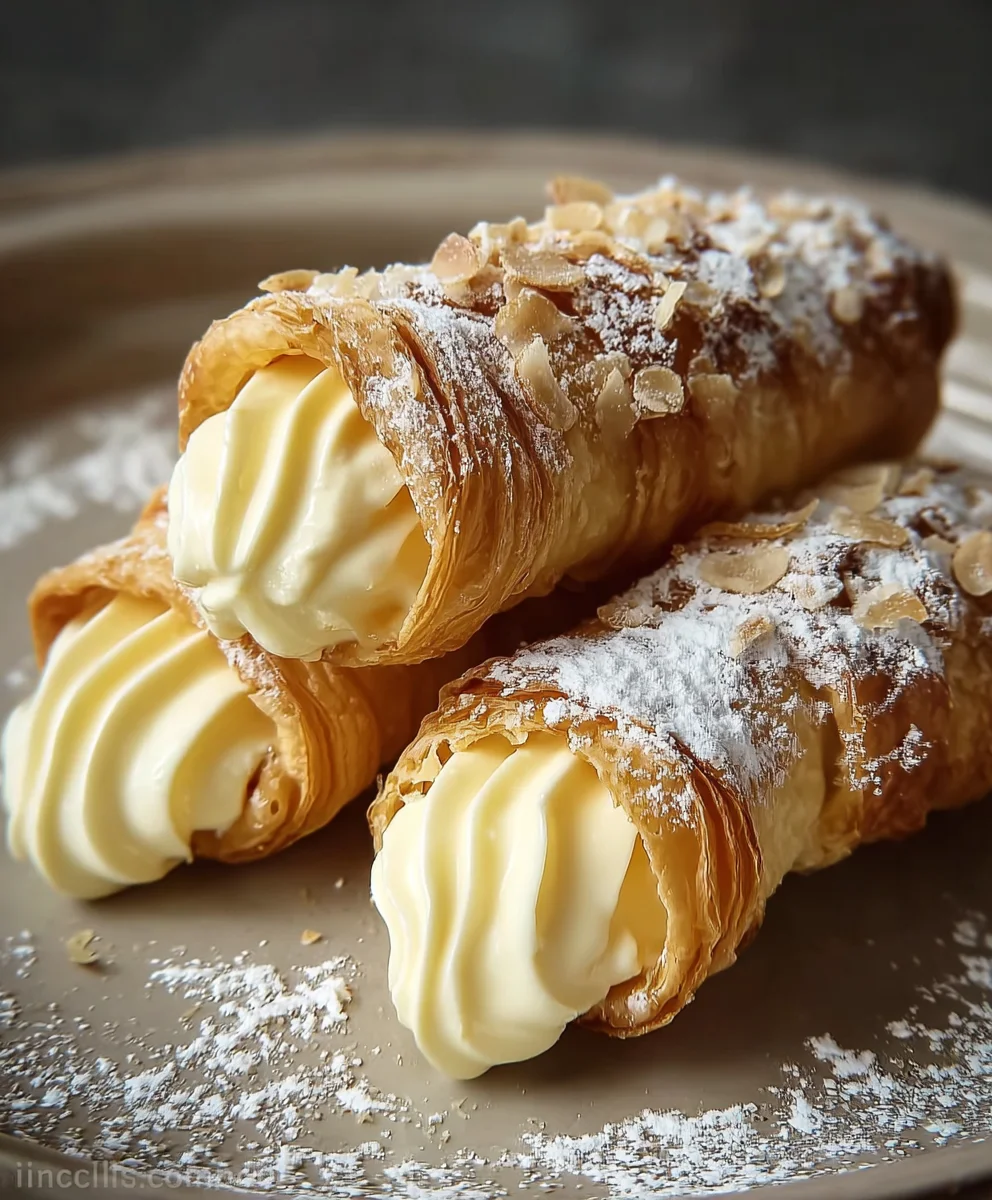
Creamy Cannoncini are more than just a dessert; they are an experience. Imagin extracte delicate, velvety smooth custard nestled within a crisp, buttery pastry shell, then kissed with a whisper of sweetness and perhaps a hint of vanilla or lemon zest. It’s no wonder this classic Italian confection holds such a special place in our hearts and on our dessert tables. The allure of Creamy Cannoncini lies in its exquisite simplicity, a testament to how a few high-quality ingredients can transform into something truly magical. Each bite offers a delightful contrast – the satisfying crunch giving way to the luxurious, almost melt-in-your-mouth creaminess. It’s the perfect balance of textures and flavors that makes you crave just one more. Whether you’re looking to impress guests or simply indulge in a moment of pure bliss, this recipe for Creamy Cannoncini will guide you to perfection.
Ingredients:
- 3 large egg yolks
- 3 tablespoons (30 g) all-purpose flour
- 1/2 cup (100 g) granulated sugar
- 1 teaspoon pure vanilla extract
- 8 fluid ounces (235 ml) whole milk
- 1 sheet (approximately 8 oz / 225 g) puff pastry, thawed according to package directions
- 1/4 cup (50 g) granulated sugar, for rolling
- 1 large egg, beaten (for egg wash)
- Powdered sugar, for dusting (for garnish)
Preparing the Creamy Filling
The heart of our Creamy Cannoncini lies in a luscious pastry cream, or crème pâtissière. This process requires a little attention, but the result is absolutely worth it.
Step 1: Whisking the Yolks and Sugar
In a medium-sized, heavy-bottomed saucepan, combine the 3 egg yolks and the 1/2 cup (100 g) of granulated sugar. Using a whisk, vigorously beat these two ingredients together until the mixture becomes pnon-alcoholic ale yellow and thick, resembling a ribbon when you lift the whisk. This aeration helps create a smoother, more stable cream. Make sure there are no streaks of egg yolk remaining and the sugar is fully incorporated into the yolks. This step is crucial for achieving that velvety texture.
Step 2: Incorporating the Flour and Heating the Milk
Next, sprinkle the 3 tablespoons (30 g) of all-purpose flour over the egg yolk and sugar mixture. Whisk thoroughly until the flour is completely combined and no dry lumps are visible. This will form a thick paste. In a separate small saucepan, gently heat the 8 fluid ounces (235 ml) of milk over medium-low heat. You want the milk to be warm but not boiling – just steaming. This is important because adding hot milk too quickly to the egg mixture can scramble the yolks.
Step 3: Tempering the Egg Mixture and Cooking the Cream
Once the milk is warm, slowly and gradually pour about half of the warm milk into the egg yolk and flour mixture while whisking continuously. This process is called tempering, and it gently raises the temperature of the egg yolks without cooking them prematurely. After you’ve incorporated half the milk, pour this tempered mixture back into the saucepan with the remaining warm milk. Now, place the saucepan over medium heat and cook, stirring constantly with a whisk or a heatproof spatula, scraping the bottom and sides of the pan. You’ll notice the mixture will begin extract to thicken. Continue cooking and stirring until the cream coats the back of a spoon and a line drawn with your finger remains intact. This typically takes about 5-8 minutes. Do not let it boil vigorously, as this can cause the cream to curdle.
Step 4: Finishing and Chilling the Pastry Cream
Once the pastry cream has reached the desired thickness, remove the saucepan from the heat. Stir in the 1 teaspoon of pure vanilla extract for that classic, comforting aroma and flavor. To prevent a skin from forming on the surface as it cools, press a piece of plastic wrap directly onto the surface of the cream, ensuring there are no air pockets. Allow the pastry cream to cool at room temperature for about 20-30 minutes, then transfer it to the refrigerator to chill completely. It should be cold and firm before you proceed to the next stage. Chilling the cream will make it easier to handle and pipe.
Assembling and Baking the Creamy Cannoncini
Now that our delicious pastry cream is ready and chilled, it’s time to bring our Creamy Cannoncini to life with the flaky puff pastry.
Step 5: Preparing and Filling the Puff Pastry
Preheat your oven to 400°F (200°C). Line a baking sheet with parchment paper. Unfold the thawed sheet of puff pastry onto a lightly floured surface. If your puff pastry is very thick, you can gently roll it out a little thinner. Cut the puff pastry into approximately 4-inch by 4-inch squares. Spoon a generous amount of the chilled pastry cream onto one half of each square, leaving a small border around the edges. Be careful not to overfill, as the cream will expand slightly.
Step 6: Folding and Sealing the Pastry
Carefully fold the other half of the puff pastry over the filling to create a rectangle. Use the tines of a fork to crimp the edges firmly, sealing the pastry cream inside. This also creates a decorative finish. Brush the tops of the folded pastries with the beaten egg wash. This will give them a beautiful golden-brown sheen when baked. Next, place the pastries onto the prepared baking sheet. For an extra touch of sweetness and crunch, gently press the tops of the pastries into the 1/4 cup (50 g) of granulated sugar you set aside for rolling. This creates a lovely caramelized crust.
Step 7: Baking to Golden Perfection
Bake the Creamy Cannoncini in the preheated oven for 18-22 minutes, or until the puff pastry is puffed, golden brown, and the filling is heated through. Keep an eye on them as oven temperatures can vary. If they are browning too quickly, you can loosely tent them with foil. Once baked to perfection, remove them from the oven and let them cool on the baking sheet for a few minutes before transferring them to a wire rack to cool further.
Step 8: Garnishing and Serving
Before serving your glorious Creamy Cannoncini, dust them generously with powdered sugar. This adds a final touch of elegance and sweetness. These are best enjoyed warm, when the pastry is at its crispiest and the filling is still wonderfully creamy. The contrast between the crisp, flaky pastry and the rich, smooth vanilla cream is simply divine. Serve them with a cup of coffee or tea for a delightful treat.
Conclusion:
And there you have it! Your journey to creating the most delightful Creamy Cannoncini is complete. We’ve explored the simple yet impactful steps to achieving that perfect, luscious texture and rich flavor that makes this dish so special. Whether you’re serving it as an elegant appetizer or a comforting side, these Creamy Cannoncini are sure to impress. Don’t be afraid to experiment with the serving suggestions – perhaps a drizzle of truffle oil for an extra touch of luxury, or a sprinkle of fresh parsley for a pop of color. The beauty of this recipe lies in its adaptability. Feel free to add a pinch of red pepper flakes for a subtle kick, or a touch of smoked paprika for a deeper, smokier profile. We encourage you to make these Creamy Cannoncini your own and discover new favorite ways to enjoy them. Happy cooking!
Frequently Asked Questions about Creamy Cannoncini:
Q1: Can I make Creamy Cannoncini ahead of time?
Yes, you can prepare the main components of your Creamy Cannoncini ahead of time. Cook the cannoncini until they are tender but still hold their shape. Prepare the creamy sauce separately. When you’re ready to serve, gently reheat the cannoncini and then stir in the sauce, allowing it to warm through. Be careful not to overcook after adding the sauce to maintain the best texture.
Q2: What are some good vegetarian or vegan variations?
For a vegetarian version, the recipe as outlined is already suitable. To make Creamy Cannoncini vegan, you can substitute the heavy cream with full-fat coconut milk or a cashew cream. For the cheese, nutritional yeast can provide a cheesy flavor, or you can use a good quality vegan parmesan alternative. Ensure any stock used is vegetable-based.
Creamy Cannoncini Recipe – Rich & Delicious Comfort Food
Indulge in these delightful Creamy Cannoncini, featuring a rich vanilla pastry cream encased in flaky puff pastry. A perfect comfort food treat.
Ingredients
-
3 large egg yolks
-
3 tablespoons (30 g) all-purpose flour
-
1/2 cup (100 g) granulated sugar
-
1 teaspoon pure vanilla extract
-
8 fluid ounces (235 ml) whole milk
-
1 sheet (approximately 8 oz / 225 g) puff pastry, thawed
-
1/4 cup (50 g) granulated sugar, for rolling
-
1 large egg, beaten (for egg wash)
-
Powdered sugar, for dusting (for garnish)
Instructions
-
Step 1
In a medium-sized, heavy-bottomed saucepan, combine the 3 egg yolks and 1/2 cup (100 g) of granulated sugar. Whisk vigorously until pale yellow and thick, resembling a ribbon. -
Step 2
Sprinkle 3 tablespoons (30 g) of all-purpose flour over the egg yolk and sugar mixture. Whisk until combined to form a thick paste. Gently heat 8 fluid ounces (235 ml) of milk in a separate saucepan until warm and steaming. -
Step 3
Slowly pour about half of the warm milk into the egg mixture while whisking continuously to temper. Pour this mixture back into the saucepan with the remaining milk. Cook over medium heat, stirring constantly, until the cream thickens and coats the back of a spoon (about 5-8 minutes). -
Step 4
Remove from heat and stir in 1 teaspoon of pure vanilla extract. Press plastic wrap directly onto the surface of the cream to prevent a skin. Let cool at room temperature for 20-30 minutes, then chill completely in the refrigerator. -
Step 5
Preheat oven to 400°F (200°C). Line a baking sheet with parchment paper. Cut thawed puff pastry into approximately 4-inch squares. Spoon chilled pastry cream onto one half of each square, leaving a border. -
Step 6
Fold the other half of the puff pastry over the filling to create rectangles. Crimp the edges with a fork to seal. Brush the tops with beaten egg wash. Press the tops into 1/4 cup (50 g) granulated sugar. -
Step 7
Bake for 18-22 minutes, or until puffed and golden brown. Let cool slightly on the baking sheet before transferring to a wire rack. -
Step 8
Dust generously with powdered sugar before serving. Best enjoyed warm.
Important Information
Nutrition Facts (Per Serving)
It is important to consider this information as approximate and not to use it as definitive health advice.
Allergy Information
Please check ingredients for potential allergens and consult a health professional if in doubt.