Cheesy Garlic Chicken Wraps-Quick Easy Meal
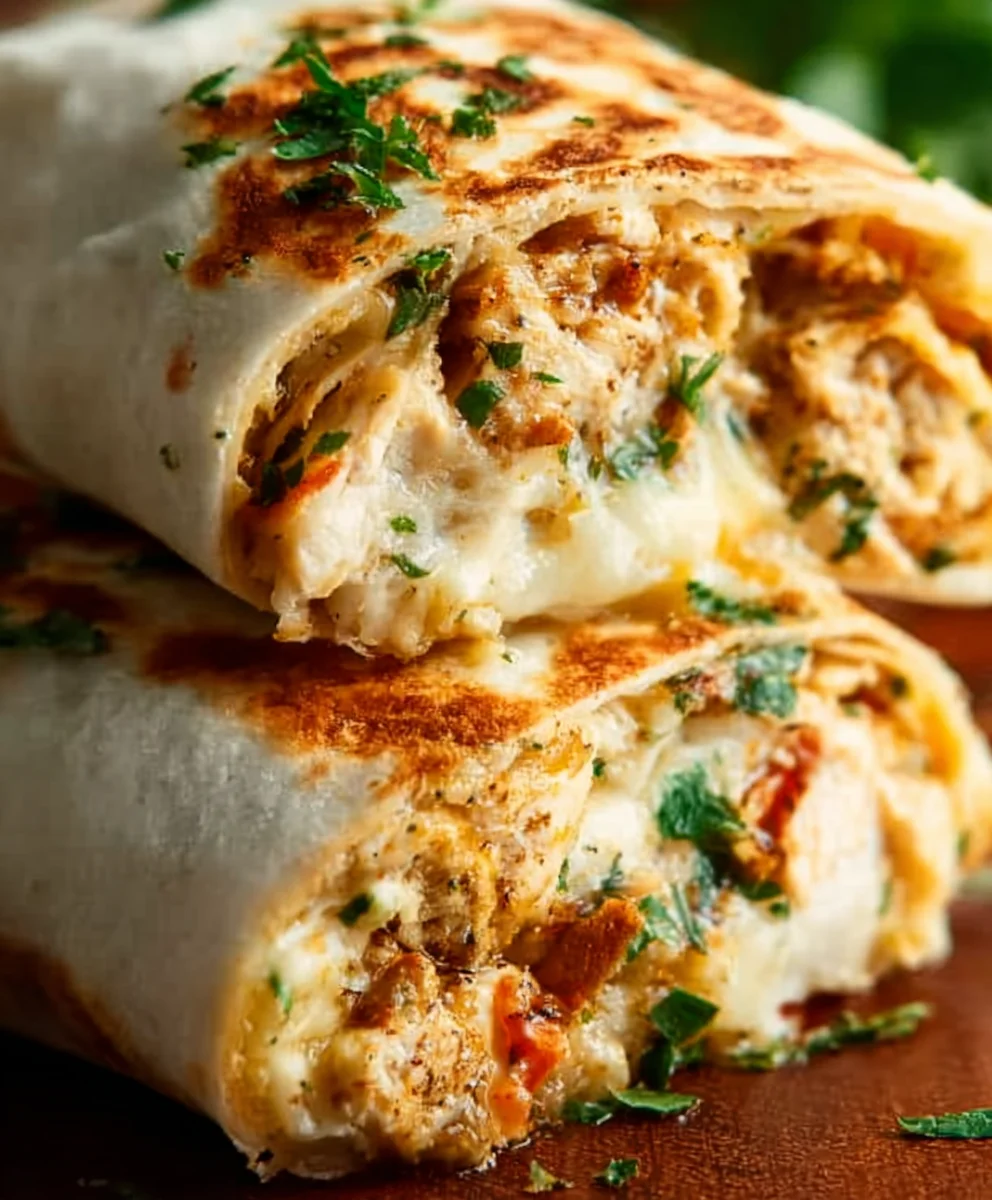
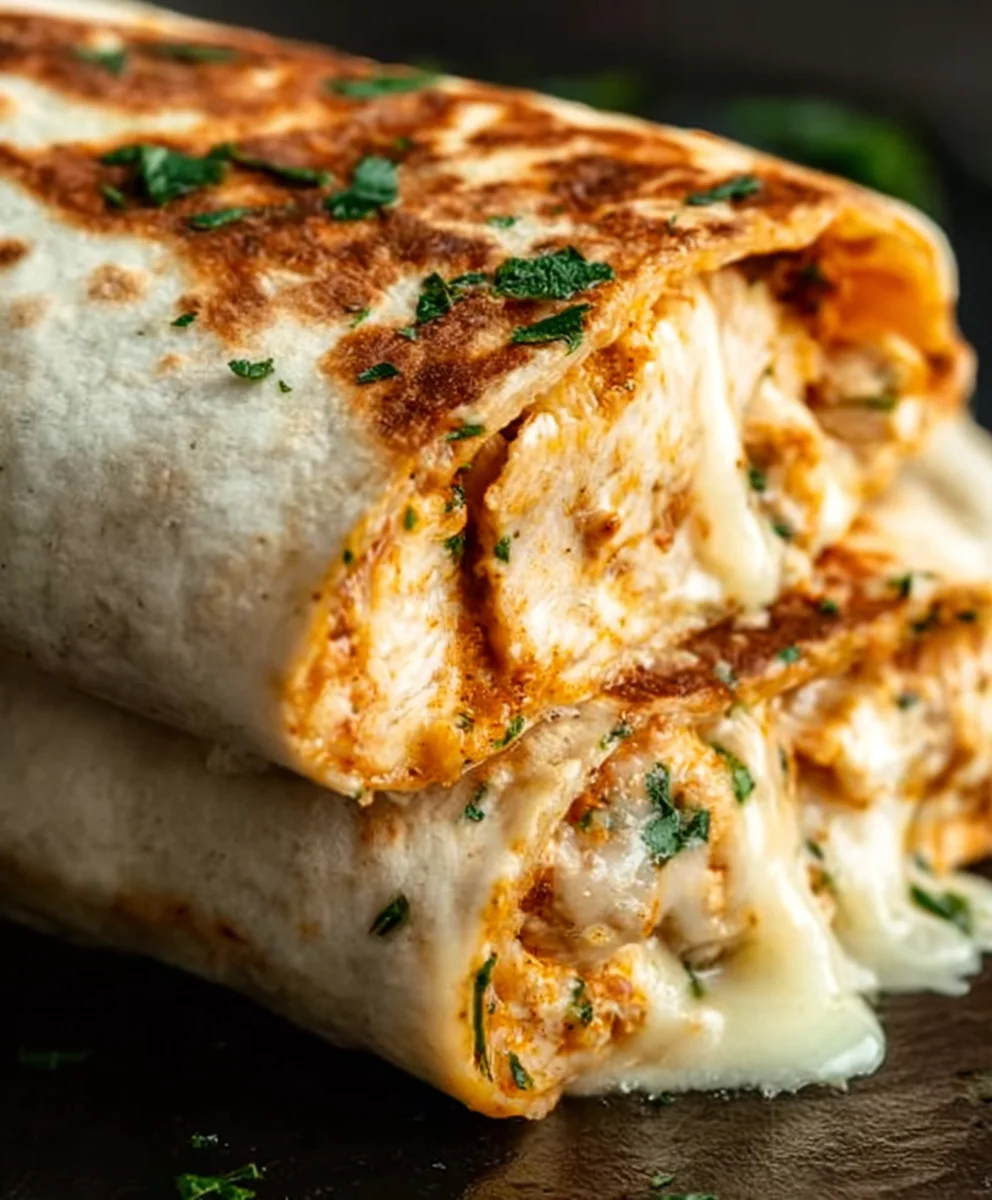
Cheesy Garlic Chicken Wraps are the ultimate weeknight warrior, and for good reason! Imagin extracte tender, juicy chicken bathed in a rich, creamy, and undeniably garlicky sauce, all nestled within a warm, pliable tortilla and then elevated with a generous blanket of melted, gooey cheese. It’s a symphony of flavors and textures that appeals to nearly everyone. This dish isn’t just food; it’s comfort in a convenient, handheld package. What makes these Cheesy Garlic Chicken Wraps so special is the perfect balance. We’re talking about that savory depth from the garlic, the satisfying richness of the cheese, and the delightful tenderness of perfectly cooked chicken, all coming together in a way that feels both indulgent and approachable. They’re incredibly versatile, making them ideal for a quick lunch, a family dinner, or even a casual get-together with friends. Get ready to discover your new go-to recipe!
Ingredients:
- 2 cups cooked chicken, shredded
- 1/2 cup garlic aioli
- 1 cup cheddar cheese, shredded
- 4 large tortillas
- Salt and pepper to taste
Preparing the Filling
Step 1: Combine Chicken and Aioli
Begin extract by preparing the flavorful chicken mixture that will be the heart of your Cheesy Garlic Chicken Wraps. In a medium-sized bowl, add the 2 cups of cooked, shredded chicken. This chicken can be pre-cooked in various ways: you might have roasted chicken breasts, rotisserie chicken, or even boiled chicken that you’ve shredded. Ensure the chicken is fully cooled before proceeding. Next, spoon in the 1/2 cup of garlic aioli. The garlic aioli will act as a binder, adding a rich, creamy, and pungent garlic flavor to the chicken. Stir gently until the chicken is evenly coated with the aioli. Don’t be afraid to really work it in there to ensure every strand of chicken gets a taste of that delicious garlicky goodness. This step is crucial for developing the overall flavor profile of your wraps.
Step 2: Season the Chicken Mixture
Now it’s time to enhance the flavor of our chicken and aioli combination. Take a moment to season the mixture with salt and freshly ground black pepper to your personal preference. Start with a pinch of salt and a few grinds of pepper, then stir everything together thoroughly. Taste a small piece of the chicken mixture (making sure it’s not too hot if your chicken was recently cooked) and adjust the seasoning as needed. Remember, you can always add more salt and pepper, but you can’t take it away. Aim for a balanced flavor that complements the richness of the aioli and the savory chicken. This seasoning step is essential to prevent the wraps from tasting bland and ensures a more satisfying eating experience.
Step 3: Incorporate the Cheese
The next step brings in the “cheesy” element that makes these wraps so irresistible. Add the 1 cup of shredded cheddar cheese to the bowl with the seasoned chicken and aioli mixture. Cheddar cheese offers a wonderful sharp and slightly nutty flavor that melts beautifully, creating that signature gooey texture we all love in a wrap. Gently fold the shredded cheese into the chicken mixture. You want to distribute the cheese as evenly as possible so that you get a delightful cheesy bite in every wrap. Avoid overmixing at this stage, as you want to maintain some of the integrity of the shredded cheese before it melts. The residual warmth from the chicken (if any) will start to soften the cheese, setting the stage for a delicious melt when the wraps are heated.
Assembling and Cooking the Wraps
Step 4: Warming the Tortillas
Before we can assemble our Cheesy Garlic Chicken Wraps, it’s important to prepare the tortillas. Take your 4 large tortillas and gently warm them. This step is crucial for making the tortillas pliable and less likely to tear when you’re rolling them up. There are several ways to do this. You can warm them one at a time in a dry skillet over medium heat for about 15-30 seconds per side until they are warm and flexible. Alternatively, you can wrap a stack of tortillas in a damp paper towel and microwave them for 30-60 seconds. Another method is to quickly pass them over an open gas flame (carefully!) until they puff slightly. The goal is to make them soft and bendable without making them crispy or dry. Once warmed, set them aside and keep them covered with a clean kitchen towel to retain their warmth and flexibility.
Step 5: Filling and Rolling the Wraps
Now for the most exciting part – assembling your Cheesy Garlic Chicken Wraps! Lay one warmed tortilla flat on a clean surface. Spoon approximately one-quarter of the chicken and cheese mixture onto the center of the tortilla, leaving a border around the edges. Don’t overfill the tortilla, as this will make it difficult to roll neatly. To roll the wrap, first fold in the sides of the tortilla over the filling. Then, starting from the edge closest to you, tightly roll up the tortilla, tucking in the filling as you go. Repeat this process for the remaining three tortillas and filling. Ensure your rolls are snug to prevent any of the delicious filling from escaping during the cooking process.
Step 6: Grilling or Pan-Frying the Wraps
To achieve that perfectly golden and slightly crispy exterior, and to ensure the cheese inside is beautifully melted, we’ll now cook the assembled wraps. You can either grill or pan-fry them. For pan-frying, heat a lightly oiled skillet or griddle over medium heat. Carefully place the rolled wraps seam-side down in the hot skillet. Cook for 2-4 minutes per side, or until golden brown and heated through. The cheese inside should be delightfully melted and gooey. If you prefer a grilled effect, you can use a grill pan or a regular grill with lightly oiled grates. Cook for a similar amount of time, turning occasionally, until you achieve those desirable grill marks and a warm, melted interior. This final cooking step is where all the flavors meld together and the textures become perfect for enjoying.
Conclusion:
And there you have it – your perfectly delicious and incredibly satisfying Cheesy Garlic Chicken Wraps are ready to be devoured! We’ve walked through each step, from searing the tender chicken to creating that irresistible cheesy garlic sauce, and finally, wrapping it all up in a warm tortilla. These Cheesy Garlic Chicken Wraps are more than just a meal; they’re a fantastic option for a quick weeknight dinner, a fun lunch, or even a casual gathering with friends. Don’t be afraid to get creative with your fillings – the possibilities are endless!
For serving, I love to pair these wraps with a simple side salad, some crispy sweet potato fries, or even just a handful of your favorite chips. They’re also excellent on their own, packed with flavor. If you’re looking to mix things up, consider adding a pinch of smoked paprika to the chicken for an extra layer of smokiness, or perhaps a drizzle of hot sauce for a spicy kick. You could also swap out the shredded cheddar for Monterey Jack or a blend of cheeses for a different cheesy profile. The most important thing is to enjoy the process and the incredibly tasty results of your Cheesy Garlic Chicken Wraps!
Frequently Asked Questions:
Can I make the Cheesy Garlic Chicken Wraps ahead of time?
You can prepare the chicken filling and the cheesy garlic sauce in advance and store them in airtight containers in the refrigerator for up to 2 days. However, for the best texture, I recommend assembling the wraps just before serving to prevent the tortillas from becoming soggy. Reheat the filling gently before assembling.
What other vegetables can I add to my Cheesy Garlic Chicken Wraps?
Absolutely! Feel free to add ingredients like sautéed bell peppers and onions, fresh spinach, chopped tomatoes, corn, or even some black beans for extra texture and flavor. A sprinkle of fresh cilantro or parsley also adds a lovely bright note.
Cheesy Garlic Chicken Wraps – Quick Easy Meal
Delicious and easy-to-make wraps filled with shredded chicken, garlic aioli, and melted cheddar cheese. Perfect for a quick meal.
Ingredients
-
2 cups cooked chicken, shredded
-
1/2 cup garlic aioli
-
1 cup cheddar cheese, shredded
-
4 large tortillas
-
Salt to taste
-
Pepper to taste
Instructions
-
Step 1
Combine shredded chicken and garlic aioli in a medium bowl until evenly coated. -
Step 2
Season the chicken mixture with salt and pepper to your preference. Taste and adjust as needed. -
Step 3
Gently fold in the shredded cheddar cheese until evenly distributed throughout the chicken mixture. -
Step 4
Warm the tortillas in a dry skillet, microwave, or over an open flame until pliable. Keep them covered. -
Step 5
Spoon about one-quarter of the filling onto the center of each warmed tortilla. Fold in the sides and tightly roll up the wraps. -
Step 6
Heat a lightly oiled skillet or griddle over medium heat. Place wraps seam-side down and cook for 2-4 minutes per side, until golden brown and the cheese is melted.
Important Information
Nutrition Facts (Per Serving)
It is important to consider this information as approximate and not to use it as definitive health advice.
Allergy Information
Please check ingredients for potential allergens and consult a health professional if in doubt.